

A resource for those seeking information on organizing and transforming spaces.

How to Prepare Your Home for a Major Renovation Project
A major renovation can turn your home into a construction zone for weeks or even months. The good news is that most of the stress comes from surprises, and good preparation removes the surprises. Here is how to get your home ready before the first hammer swings.
We partnered with a home improvement company for this post. The opinions in the post are honest. All reviews and opinions expressed in this post are based on our personal views. We are excited because we know you will love it.
A major renovation can turn your home into a construction zone for weeks or even months. The good news is that most of the stress comes from surprises, and good preparation removes the surprises. Here is how to get your home ready before the first hammer swings.
Where Should You Start Before a Renovation Begins?
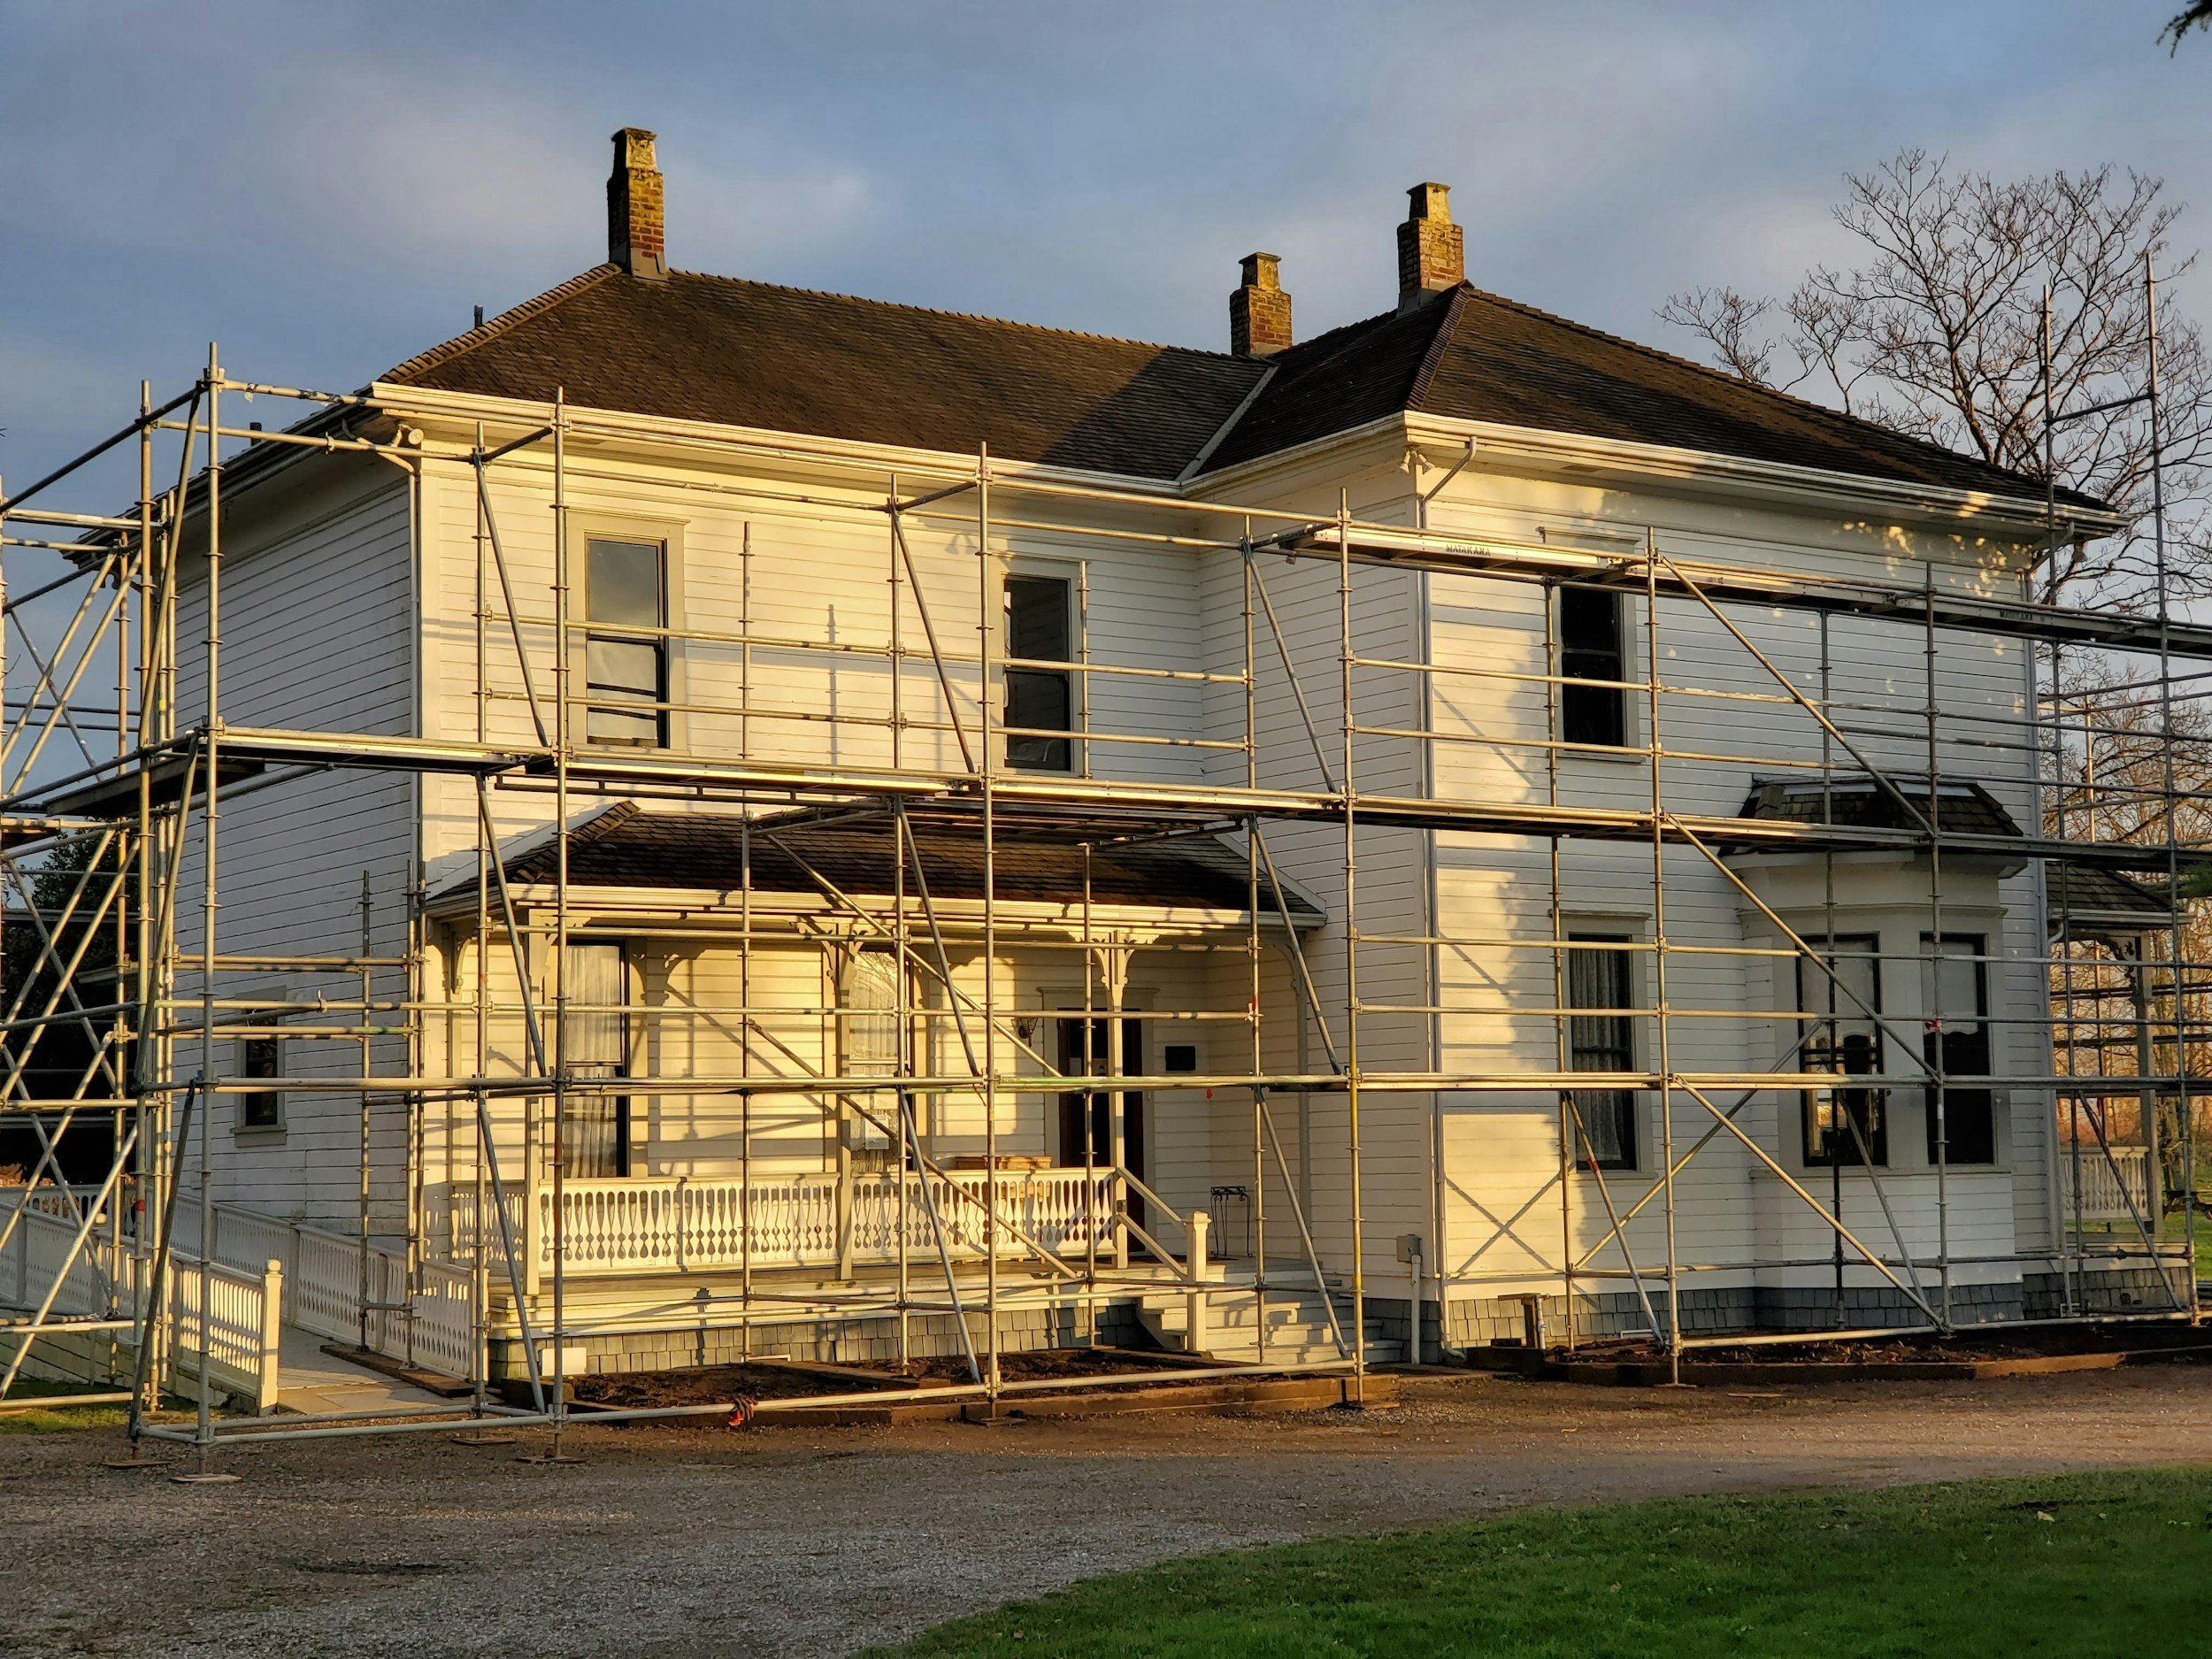
Start with a clear written plan. Know exactly what is being changed, what is staying, and what the timeline looks like. Sit down with your contractor and walk through the scope room by room.
Ask about the order of work too. Demolition, framing, electrical, plumbing, insulation, drywall, and finishes all need to happen in a certain sequence. When you understand that sequence, delays and change orders feel a lot less painful.
Set a realistic budget while you are at it. Add a cushion of 10 to 20 percent for the unexpected. Older homes in particular tend to hide a few problems behind the walls.
How Do You Clear Out the Work Area?
Remove everything from the rooms being renovated. Furniture, rugs, curtains, artwork, and small decor items should all go. Dust travels farther than you would expect, and even a covered couch in the next room can end up gritty.
If you cannot move something, wrap it in heavy plastic sheeting and tape the seams. Close and seal vents in the work zone so dust does not circulate through your whole house.
Consider renting a storage unit for larger pieces. A few months of rent is cheaper than replacing a sofa that absorbed drywall dust.
Why Should You Check Your Electrical System First?
Because renovations put real strain on wiring, and old systems often cannot keep up. New appliances, added lighting, a kitchen remodel, or a finished basement can all push your panel past its limits.
This is the step many homeowners skip, and it is often the one that causes the biggest delays. If crews open a wall and find outdated or unsafe wiring, work stops until it is fixed. Having an electrician in Fenton Mo inspect your home before construction starts lets you catch those problems early and build the fix into your budget and schedule.
An inspection should look at your panel capacity, the condition of existing circuits, grounding, and whether you have enough outlets for how you actually live. If you plan to add an EV charger, a hot tub, or a home office, mention that now so the wiring can be planned with those loads in mind.
What Utilities and Systems Need Attention?
Know where your main shutoffs are for water, gas, and electricity. Show your contractor and make sure everyone in the household can find them in an emergency.
Plan for temporary interruptions as well. Your power may be off for several hours while circuits are updated, and the water may be shut down while plumbing is moved. Ask for the dates ahead of time so you can plan around them.
If your renovation will affect the kitchen, set up a temporary cooking area somewhere else. A microwave, a hot plate, a coffee maker, and a small fridge in a spare room can make a long project much easier to live with. Just be careful not to overload a single circuit with all those appliances at once.
How Do You Protect the Rest of Your Home?
Create a clear barrier between the work zone and the living areas. Zip walls, which are plastic sheets that attach to the ceiling and floor with a zipper opening, work well for this. Hang them in doorways and tape them tightly.
Cover your floors along the path crews will take, from the entrance to the work area. Rosin paper, floor protection film, or heavy cardboard all do the job. Hardwood floors in particular scratch easily under boots and tools.
Keep a box fan in a window, facing outward, to pull dusty air out of the house. Change your HVAC filters more often than usual during the project too. Every few weeks is a good rule.
What Should You Do About Safety and Security?
Renovation sites bring in strangers, tools, and open walls, so safety deserves some thought. Keep children and pets completely away from the work area. Nails, wires, and chemicals on the floor are real hazards.
Make sure smoke and carbon monoxide detectors stay working, even if crews need to remove a few temporarily. Ask that they be put back at the end of every workday.
Lock up valuables or move them offsite. Most contractors are trustworthy, but with several tradespeople coming and going, it is smart to keep jewelry, documents, and electronics out of sight.
How Do You Handle Daily Life During the Project?
Expect noise, dust, and disruption, and plan your routine around it. Early morning starts are common, so if you work from home, think about where you can take calls. A library, a coworking space, or a friend’s house might be worth considering during the loudest phases.
Set up a clean zone in your home where nothing construction related is allowed. Even one bedroom that stays dust free and quiet can help you feel like you still have a home.
If the project is large, such as a whole house remodel, think about staying somewhere else for part of it. A short term rental or time with family can save your sanity and speed up the work, since crews do not have to work around you.
What Is the Best Way to Communicate With Your Contractor?
Agree on a single point of contact and a regular check in schedule. A quick 10 minute conversation at the end of each week prevents most misunderstandings.
Keep every change in writing. If you decide to move an outlet or upgrade a fixture, get it documented with the cost and any impact on the timeline. That paper trail protects you and your contractor both.
Take photos before, during, and after each phase. Pictures of the inside of your walls before they are closed up can be incredibly useful years later, especially for wiring and plumbing.
Ready for the First Day?
A renovation goes best when you do the boring work first. Clear the space, protect the rest of the house, check your electrical system, and keep communication open. These steps take a few days of effort, but they can save you weeks of frustration and thousands of dollars.
Walk through your home one last time before demolition begins. Confirm the shutoffs, the temporary kitchen, the dust barriers, and the schedule. Then take a deep breath, because the hard part of preparing is done and the exciting part is about to begin.
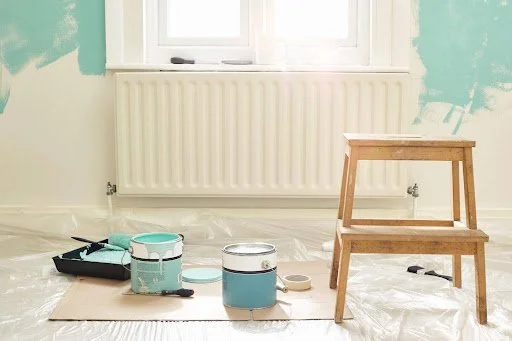
The Hidden Weight Of Renovation Waste
A home renovation often begins with decisions about what will be added: new flooring, cabinets, countertops, fixtures, or finishes. Less attention goes to everything that must come out first. Even a modest remodeling project can generate piles of drywall, lumber, tile, packaging, old fixtures, and other debris. Planning for those materials before demolition starts can make a project cleaner and reduce unnecessary disposal.
A home renovation often begins with decisions about what will be added: new flooring, cabinets, countertops, fixtures, or finishes. Less attention goes to everything that must come out first. Even a modest remodeling project can generate piles of drywall, lumber, tile, packaging, old fixtures, and other debris. Planning for those materials before demolition starts can make a project cleaner and reduce unnecessary disposal.
Renovation Debris Adds Up Fast
Construction and demolition materials are a major waste stream in the United States. The Environmental Protection Agency estimated that 600 million tons of this debris were generated in 2018, although that figure includes construction, renovation, and demolition across buildings, roads, and bridges.
Inside a home, weight can accumulate surprisingly quickly. Removing a tile floor produces tile, mortar, and possibly underlayment. Taking down a wall can generate drywall, framing materials, insulation, fasteners, and trim. Kitchen renovations may add countertops, cabinets, sinks, appliances, and flooring to the pile.
Decide What Can Stay Out of the Trash
Demolition does not automatically make every removed material garbage. Doors, cabinets, plumbing fixtures, hardware, windows, and other components may be suitable for reuse if they remain in good condition. Wood, concrete, asphalt, and metals are among the materials that may have recycling options, depending on local facilities.
Planning for reuse before demolition is important. A cabinet carefully unscrewed from a wall has a better chance of being donated or reused than one broken apart with a pry bar.
Plan Disposal Before Work Begins
Homeowners should estimate the types and approximate quantities of debris the project will create. Contractors can explain how they handle waste, while local authorities or recycling facilities can clarify disposal requirements.
For larger projects, dumpster rental servicesmay provide a centralized location for approved debris. However, homeowners should confirm which materials are accepted. Certain waste may require separate handling, and rules can vary by location. It also helps to separate recyclable or reusable materials as work progresses rather than sorting through one mixed pile afterward.
Renovation waste is easy to overlook because attention naturally falls on the finished room. Yet every material removed has to go somewhere. Planning demolition carefully and arranging disposal in advance can reduce clutter and keep waste from becoming an unexpected problem halfway through the project. Check out the infographic below for more information.


Planning Exterior Home Upgrades That Improve Everyday Living
Your home’s exterior is more than a facade; it shapes how you arrive, how you host guests, and how you use outdoor living spaces. Strategic exterior home upgrades boost safety, curb appeal, and everyday comfort. They also enhance energy efficiency and add lasting value through thoughtful home remodeling.
Your home’s exterior is more than a facade; it shapes how you arrive, how you host guests, and how you use outdoor living spaces. Strategic exterior home upgrades boost safety, curb appeal, and everyday comfort. They also enhance energy efficiency and add lasting value through thoughtful home remodeling.
In this guide, you’ll learn how to:
• Assess your current exterior and set clear aesthetic and functional goals
• Plan budgets, timelines, and phased work for smooth progress
• Refresh curb appeal with paint, doors, and landscaping
• Improve energy efficiency with windows, roofing, and smart plantings
• Create functional outdoor living spaces for cooking, dining, and relaxing
• Add smart and sustainable features for long-term savings
• Decide which DIY exterior upgrades you can tackle and when to hire pros
Ready to transform your outdoor space? Let’s begin by evaluating your home’s current condition and defining your upgrade goals.
1. Assess Your Current Exterior and Set Goals
Begin with a detailed walkthrough of your property. Carry a notebook and take photos of every exterior surface, including siding, trim, roof, and walkways. Note problem areas such as peeling paint, loose shingles, or uneven paths. Identify issues that pose safety risks, like trip hazards or rotted framing, versus those that are purely cosmetic.
Prioritize enhancements that boost safety and prevent damage, then rank remaining upgrades by visual impact and long-term value. Clear goals help guide decisions and keep your exterior home remodeling project on track.
Exterior condition checklist
• Siding and paint for rot or fading
• Roof shingles, gutters, and downspouts
• Driveway, paths, and patio surfaces
• Trim, fascia, soffits, and eaves
• Exterior lights, hardware, and outlets
Defining aesthetic vs. functional goals
Aesthetic goals focus on color schemes, materials, and curb appeal. Functional goals address water drainage, insulation, shade, and security. By separating these objectives, you create a balanced plan. For example, choose a trim color that complements siding while adding a gutter extension to channel runoff effectively.
Aligning upgrades with lifestyle needs
Consider how your family uses outdoor living spaces. If you host gatherings often, plan seating zones and cooking areas. Gardeners should allocate space for raised beds or planters. Think about storage for tools, bicycles, or sports equipment. Upgrades that match your daily routine ensure your exterior remains both attractive and practical.
2. Budgeting, Timeline, and Phasing
Create a realistic budget and timeline before starting any exterior home upgrades. Set milestones to monitor progress and decide which projects to tackle now versus later. Define key milestones such as permit approvals, material deliveries, and inspection dates to stay organized and avoid delays.
Cost Breakdown by Project Type
• Painting: $2,250–12,000
• Garage door replacement: $850–5,500
• Premium materials uplift: +15%–30%
• Labor: typically 40%–60% of total
Phased vs One-Time Renovation
A phased approach tackles safety and structural repairs first, spreads expenses across stages, and delivers visible progress at each milestone. A one-time renovation saves repeat mobilization costs and compresses the schedule but demands a larger upfront investment.
Contingency Planning
Allocate a 10%–20% buffer for permit fees, waste removal, and hidden issues like framing repairs. Update your timeline when unexpected repairs arise to keep the project on track.
3. Enhancing Curb Appeal and Aesthetics
Refresh your home’s exterior with targeted updates that deliver big visual returns without overspending. From a fresh coat of paint to new hardware accents, these cost-effective curb appeal upgrades boost value and enjoyment.
Fresh Paint and Trim Accents
Repainting is one of the most effective ways to revitalize your facade. Homeowners spend a median of $2,000 on exterior paint, making it the top outdoor project choice. Choose a cohesive palette by lightening a base hue for trim and eaves, or go bold with contrasting accents. For a classic look, opt for a monochromatic scheme like softened olive siding with crisp white trim. For drama, pair deep blue siding with a bright red door and muted green accents.
Upgrading the Front Door and Garage Door
Doors are focal points that welcome guests and define style. Nearly one in five homeowners replaces doors during curb appeal projects. Select materials: fiberglass for durability or solid wood for warmth. Add decorative hardware such as rustic strap hinges or sleek matte-black handles. Consider window inserts, frosted for privacy or clear for an open feel. Panel configurations, raised or recessed, further tailor your door to traditional or modern architecture. Finish with integrated lighting like LED strips or wall sconces to highlight textures and improve evening visibility.
Landscaping and Hardscaping Highlights
Frame your upgrades with thoughtful landscaping. Define walkways using pavers or gravel, edged by low-maintenance shrubs. Install simple retaining walls to add depth and prevent erosion. Accent beds with seasonal blooms and mulch for color contrast. Finally, incorporate solar pathway lights or lantern-style sconces to guide visitors and showcase garden features after dusk.
4. Boosting Energy Efficiency
Upgrade exterior elements to lower utility bills and stabilize indoor temperatures year-round. Focus on sealing, insulation, and strategic landscaping to tighten the building envelope. Investments in energy efficiency often pay for themselves within 5–10 years while improving home value.
Installing Energy-Efficient Windows and Doors
Replace single-pane units with multi-pane windows featuring low-emissivity coatings. Low-e glass cuts energy loss by 30%–50%, and NFRC labels help compare U-factor and SHGC values. Finish with weatherstripping and caulking around frames to reduce drafts. New exterior doors often include advanced sealing systems and adjustable thresholds to minimize air infiltration.
Roofing, Insulation, and Siding Options
A well-sealed roof and insulated siding boost R-value and prevent air leakage. Air sealing and added insulation lower heating and cooling use by around 10%. Consider cool-roof materials that reflect sunlight or insulated vinyl siding for extra thermal gains. Tackling these upgrades together optimizes overall performance.
Strategic Shade and Windbreak Landscaping
Position deciduous trees to shade south and west walls in summer and allow sun in winter. Evergreen hedges or shrubs placed upwind act as windbreaks, reducing heat loss on colder days. This living barrier cuts heating costs and enhances comfort with minimal maintenance.
5. Creating Functional Outdoor Living Spaces
Well-planned outdoor living spaces depend on clear layouts and durable materials. Divide the project into zones for cooking, dining, and relaxing. Ensure safe circulation with proper grading and drainage to avoid puddles or ice in colder months.
Decks, Patios, and Screened Porches
Orientation and Drainage
Position structures to capitalize on winter sun and summer shade. Slope finished surfaces away from the house at 1/4 inch per foot to prevent water pooling. Screened porches offer insect protection without full enclosure.
Patios offer a versatile flat space ideal for dining and lounging. Well-designed patios complement decks and porches, creating a cohesive outdoor area.
Use climate-adaptive materials like stone, concrete pavers, or porcelain tile that resist freeze-thaw cycles and handle moisture without cracking.
Built-In Seating and Outdoor Kitchens
Create built-in benches with concrete block systems, integrated storage, and standard counter heights. Plan an outdoor kitchen layout that separates hot and cold zones, place grilling appliances away from refrigeration to improve efficiency. Add a fire pit or outdoor fireplace to extend comfort into cooler seasons.
Lighting and Weatherproofing
Layer lighting with ambient fixtures under pergolas, task lights above prep areas, and accent uplighting around seating. Select damp-rated LED lights and glow-in-the-dark pathway pavers for minimal wiring. Protect installations with retractable awnings or wind screens, and apply water-repellent sealers to wood components. Plan maintenance for leaf drop and snow removal to preserve performance.
6. Incorporating Smart and Sustainable Features
Enhance your exterior with technology and eco-friendly materials to boost efficiency and resilience. These sustainable features help future-proof your home against rising energy costs and extreme weather, while adding curb appeal and property value.
Solar and LED Exterior Lighting
Harness solar panels paired with integrated LED fixtures to cut electricity use. Look for models with motion sensors and dusk-to-dawn photosensors. Many systems sync with smart home hubs, allowing voice commands and scheduling from a smartphone. Advanced panels use MPPT controllers for maximum energy harvest.
App-Controlled Irrigation Systems
Install IoT-enabled valves and soil-moisture sensors to create hydrozones. Use a mobile app to set watering schedules based on weather forecasts. Real-time analytics track water consumption and prevent overwatering. Pair with drought-tolerant plants for best results.
Recycled Composite Decking and Green Roofing
Choose composite decking made from recycled plastics and wood fibers for low-maintenance durability. Composite boards resist moisture, mold, and UV damage, and often come with long warranties. For green roofs, select lightweight modular trays with native sedums or grasses. Living roofs improve insulation, absorb stormwater, and extend membrane life.
7. Hiring Pros vs. DIY Considerations
Skill Assessment and Safety Concerns
Assess your skill level and risk before starting DIY exterior upgrades. Simple tasks, like painting a one-story home, removing light fixtures, or demolishing a small deck, are manageable for most homeowners. Industry data shows a full pro project averages $8,454 versus $979 for DIY, while a hybrid plan runs around $5,774. Leave structural changes, plumbing, gas, or electrical work to licensed professionals to avoid safety hazards and code violations.
Permits, Codes, and Inspections
Research local building codes early. Many exterior upgrades, roofing, rewiring, or major structural work require permits and inspections. Professionals typically manage filings and schedule inspections. If you DIY, confirm permit requirements, submission deadlines, and inspection timelines to maintain compliance.
Selecting Qualified Contractors
Hire licensed, insured, and bonded contractors. Obtain three written estimates and verify references. Consider BIY (Buy It Yourself) to source fixtures at discount prices, then schedule pros for installation. Ensure contracts specify scope, timeline, payment schedule, and warranty details.
Conclusion
Upgrading your home’s exterior is more than a facelift. It boosts safety, comfort, efficiency, and curb appeal while adding lasting value. Use this guide to plan each step and stay on track.
Key takeaways:
• Assess current conditions and set clear aesthetic and functional goals
• Build a realistic budget and phased timeline with a contingency buffer
• Refresh paint, doors, and landscaping for maximum curb appeal
• Improve energy efficiency with high-performance windows, roofing, and smart plantings
• Create dedicated zones for cooking, dining, and relaxing using durable materials
• Incorporate smart and sustainable features to cut costs and environmental impact
• Balance DIY exterior upgrades with professional help to meet safety codes and quality standards
With a structured plan and informed choices, you can transform your outdoor space into a welcoming, efficient, and stylish extension of your home. Your dream exterior is within reach. Start today and enjoy the rewards of well-planned home remodeling.
Sara Young
Sarah Young holds a Bachelors in Marketing Communications from California Lutheran University. She enjoys running her website glitternglue.com where she can share her own and others thoughts on lifestyle tips! During her spare time, she enjoys going to the beach with her dog or painting nature murals.
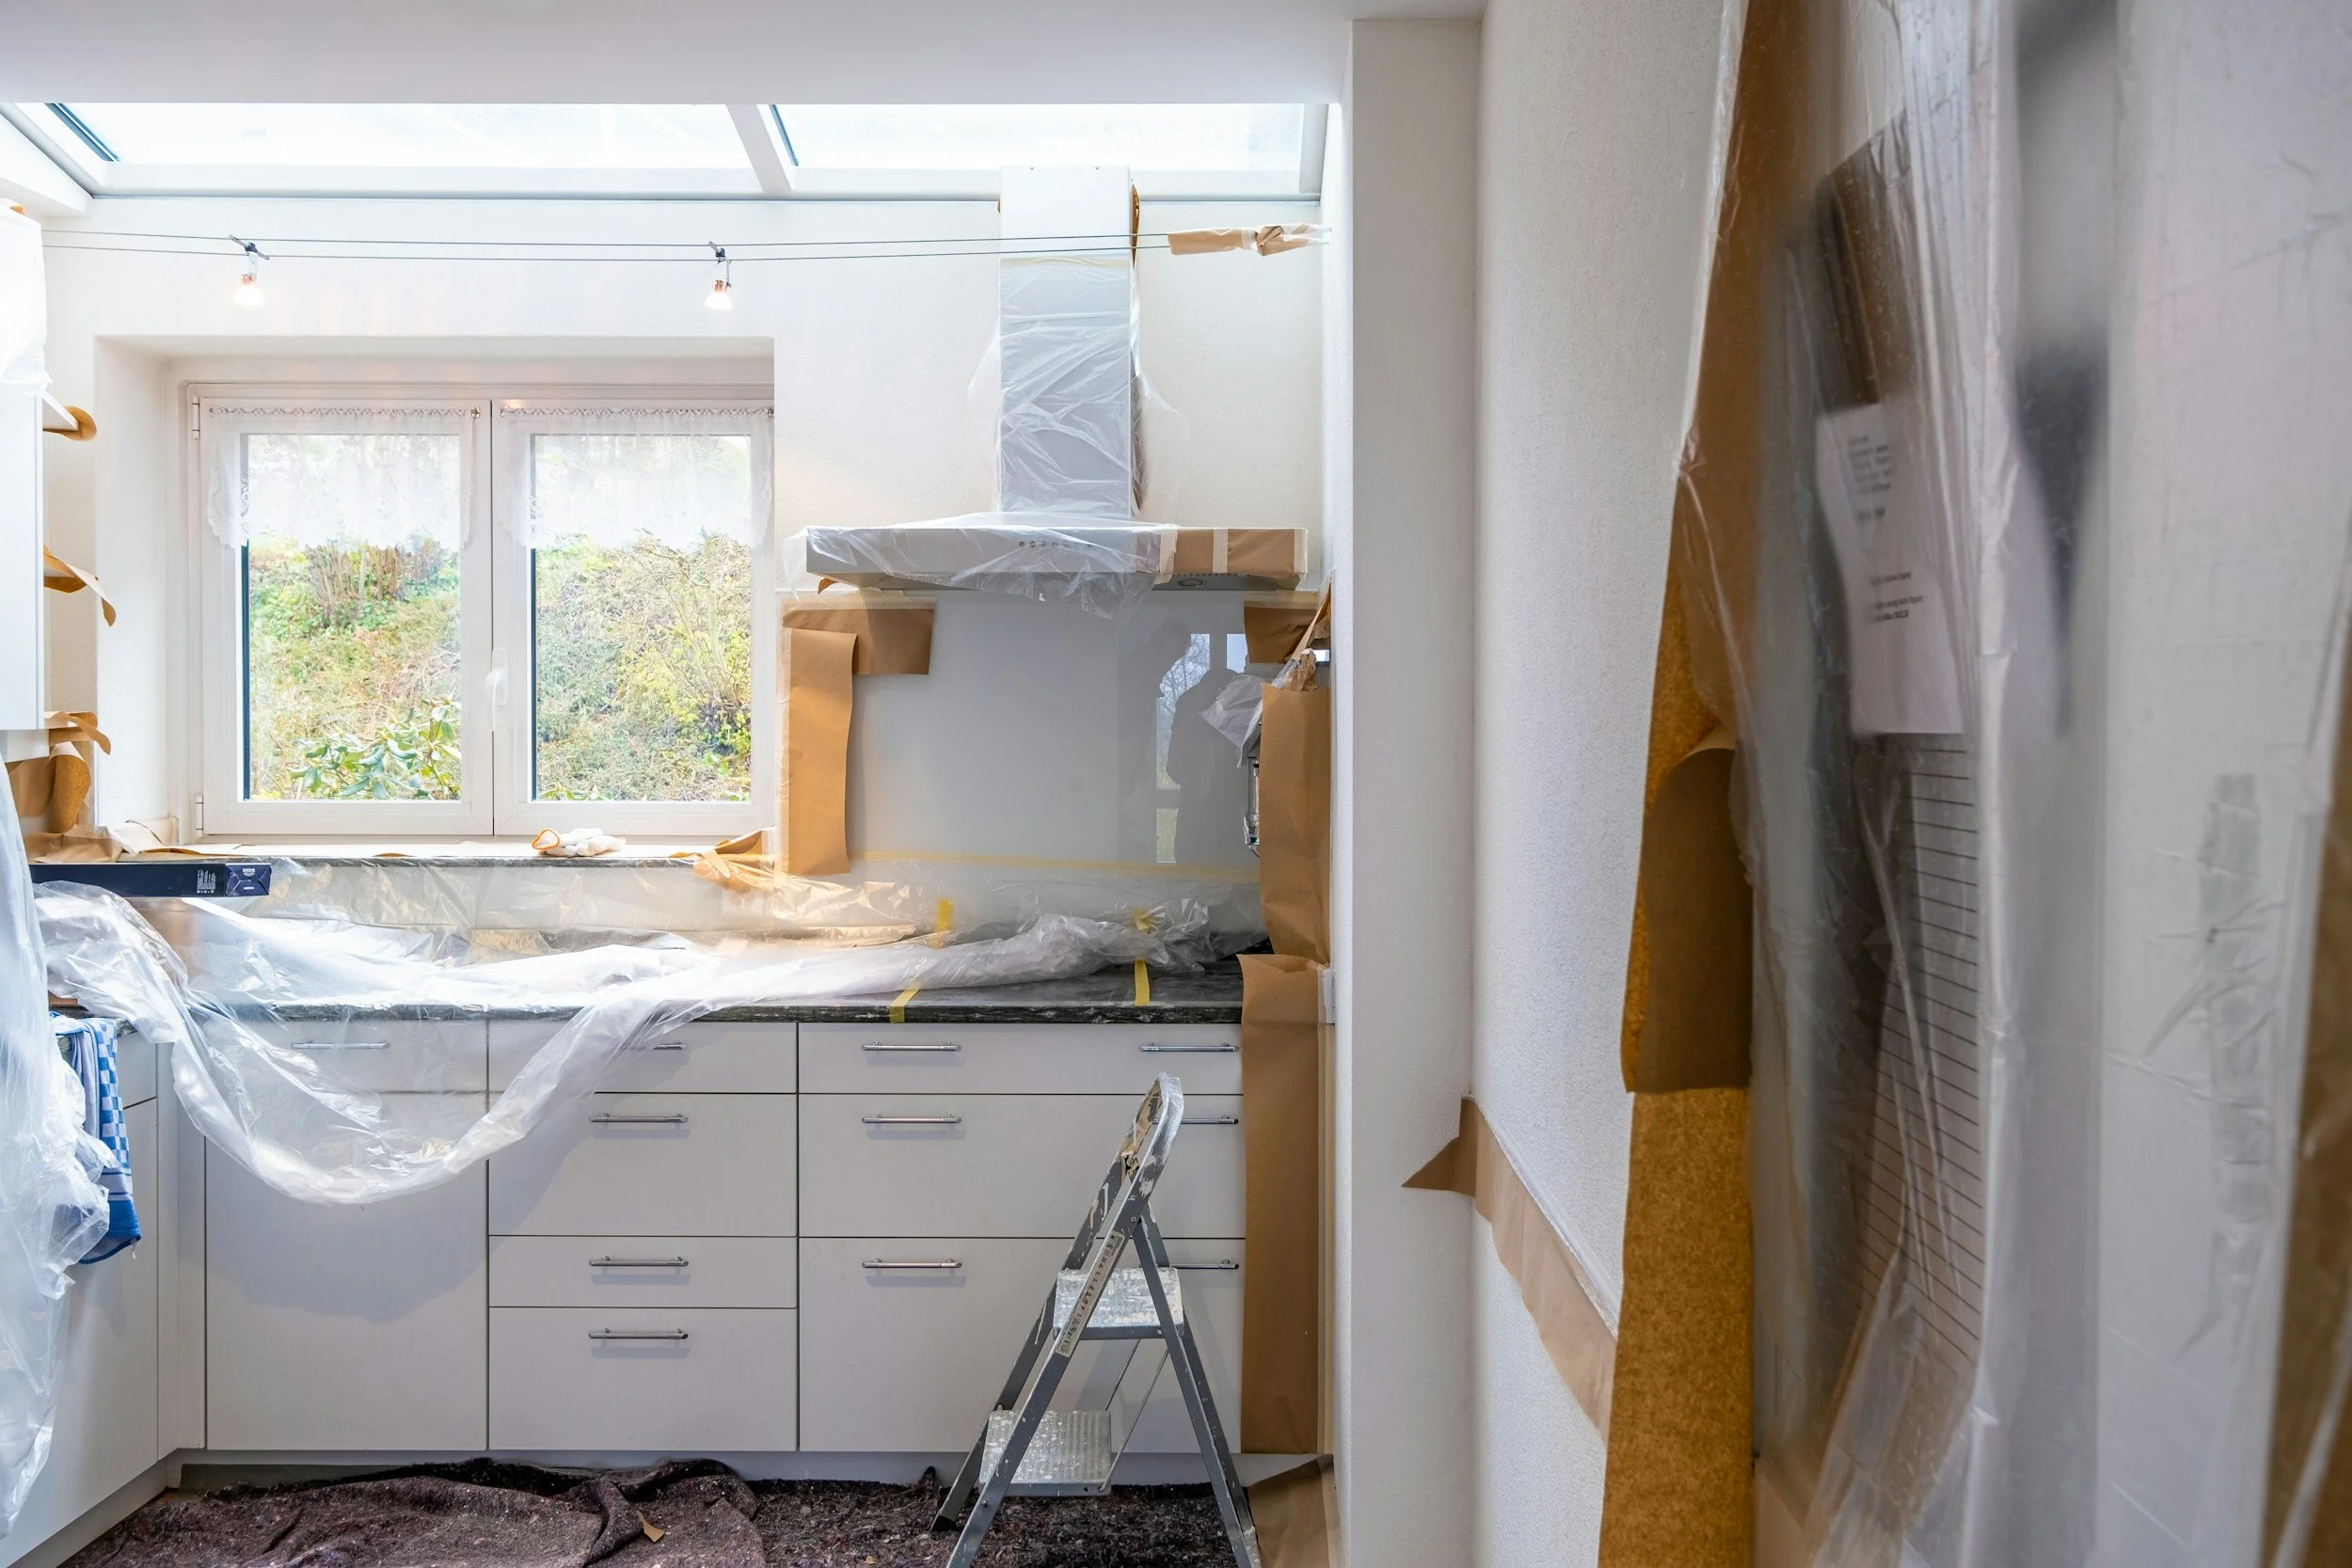
How to Prepare Your Home for a Renovation
A home renovation isn’t just about new finishes, it’s about how your house actually works. Behind the walls, systems like wiring, plumbing, insulation, and even your furnace determine comfort, efficiency, and long-term costs. Proper home renovation planning before demolition starts helps you avoid expensive surprises and make decisions that improve performance, not just appearance.
We partnered with a home improvement company for this post. The opinions in the post are honest. All reviews and opinions expressed in this post are based on our personal views. We are excited because we know you will love it.
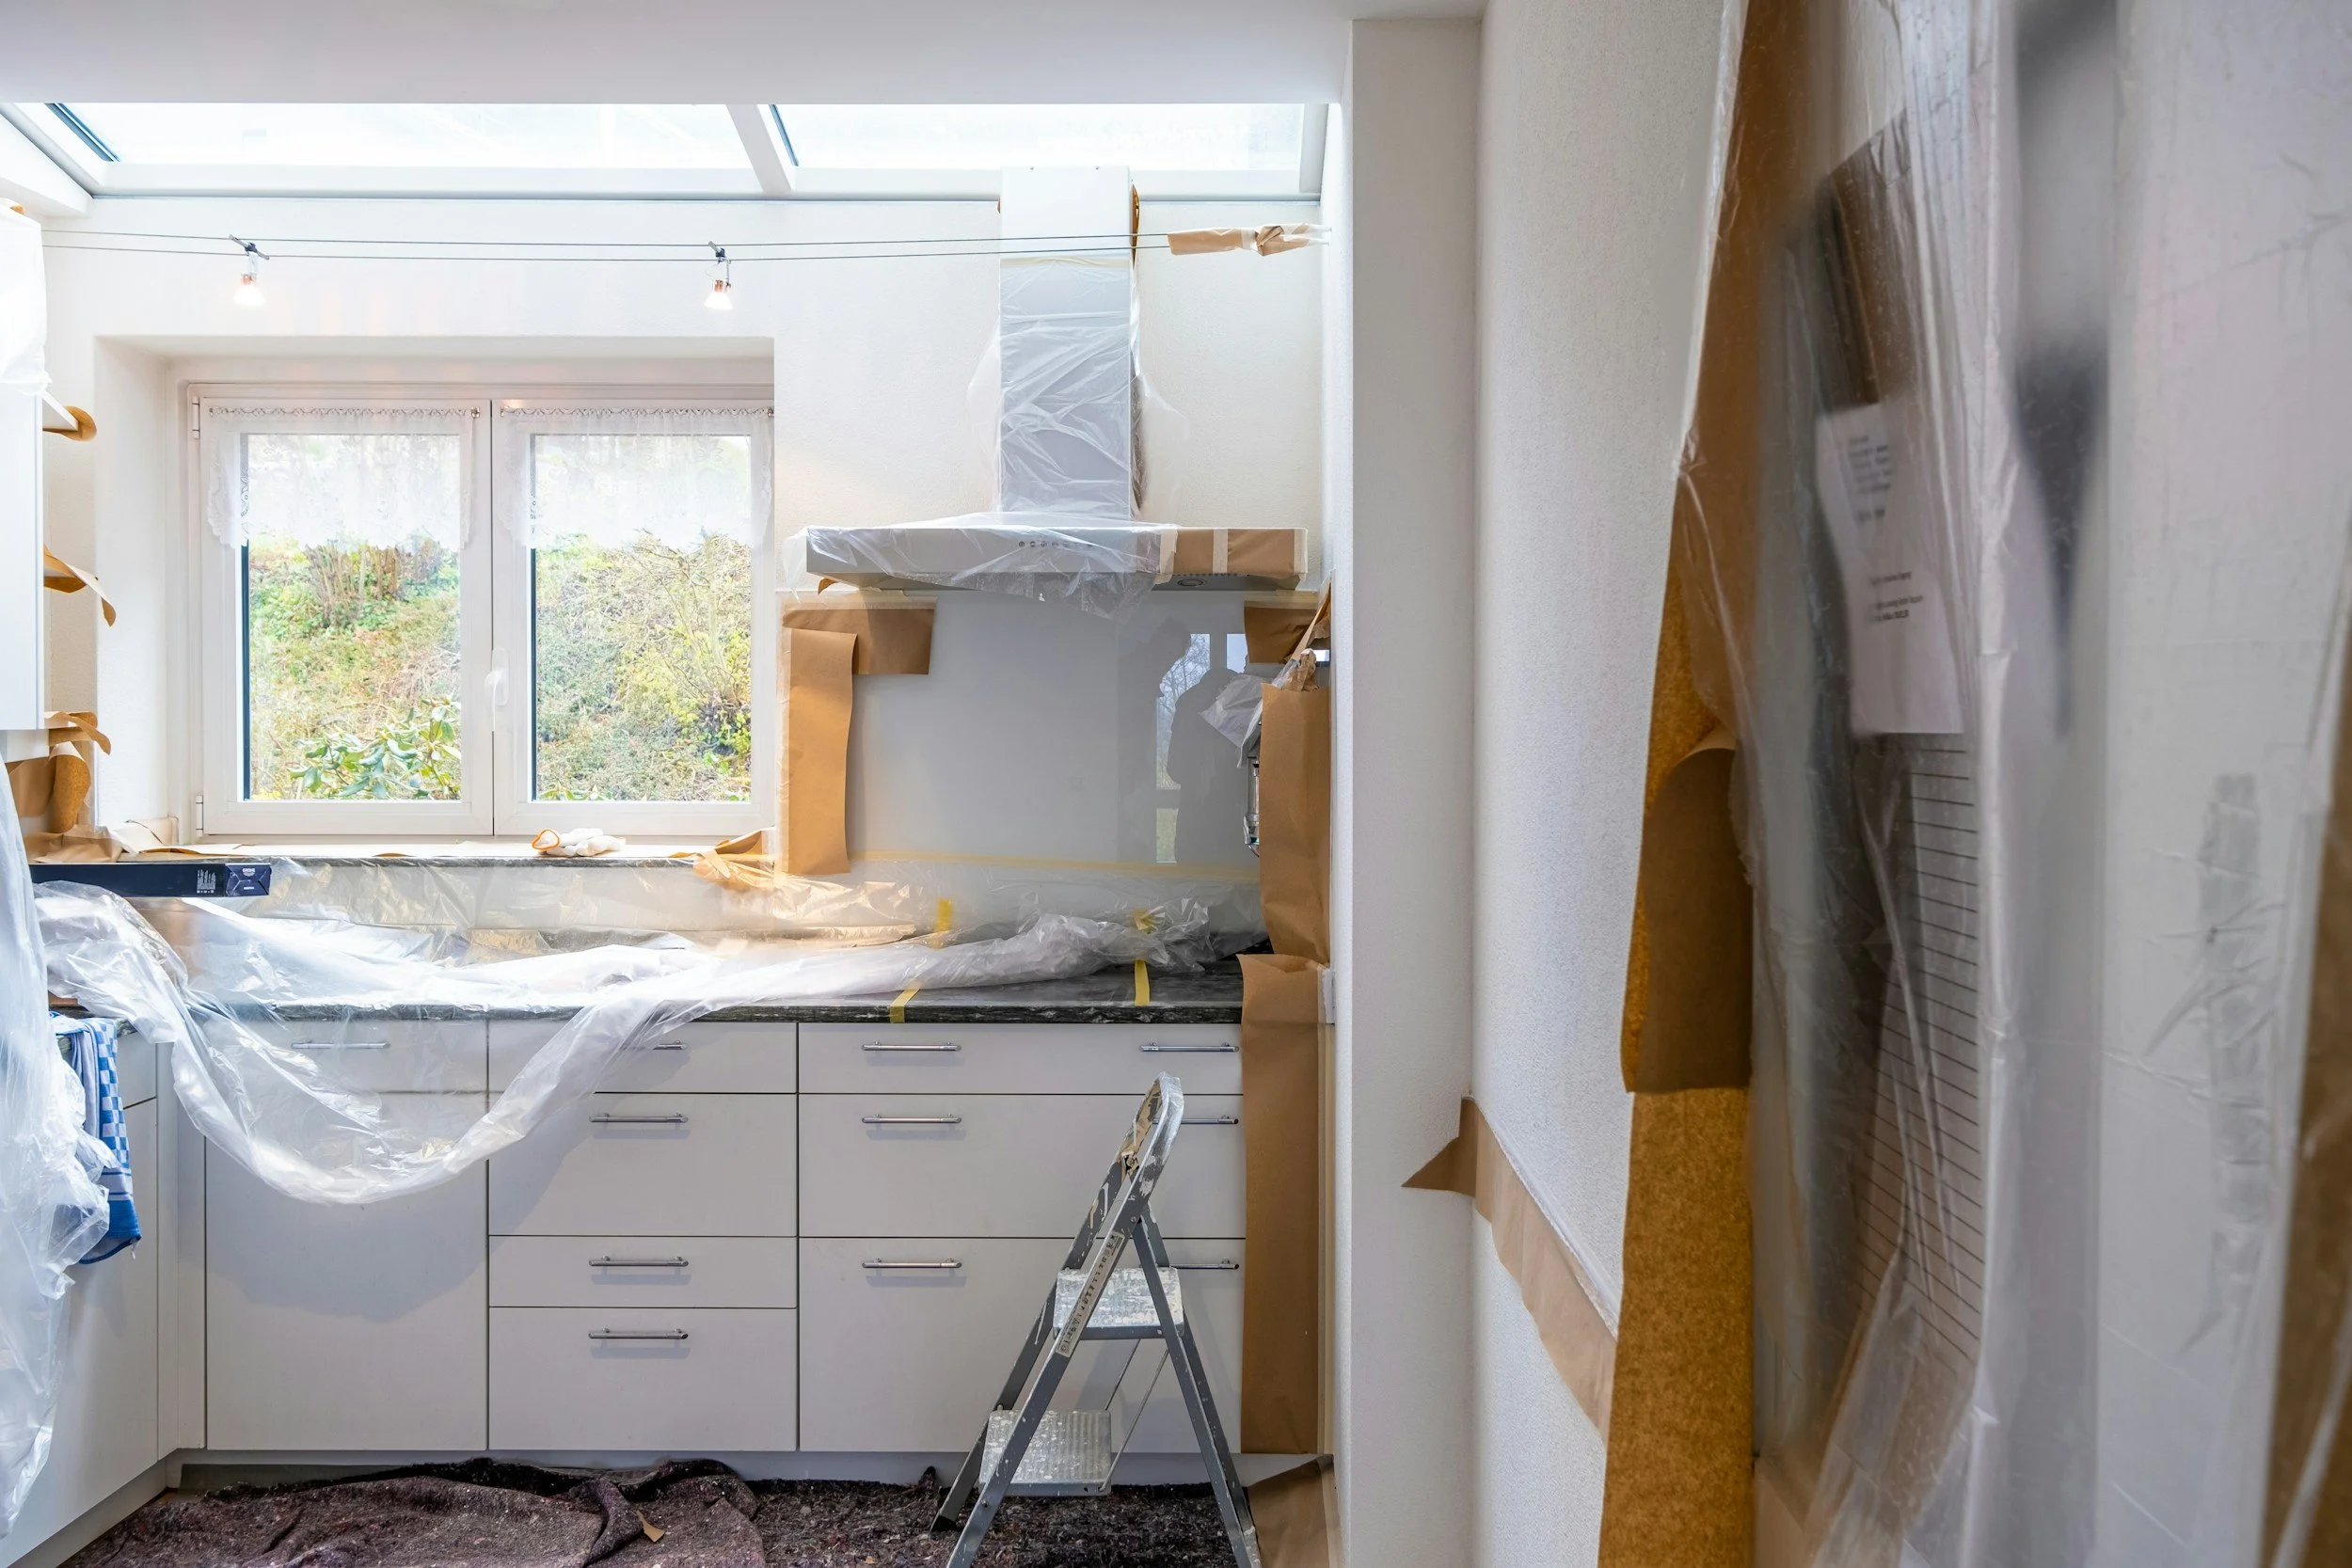
A home renovation isn’t just about new finishes, it’s about how your house actually works. Behind the walls, systems like wiring, plumbing, insulation, and even your furnace determine comfort, efficiency, and long-term costs. Proper home renovation planning before demolition starts helps you avoid expensive surprises and make decisions that improve performance, not just appearance.
Defining Your Home Renovation Goals
If your only goal is "make it look better," you’re not planning deeply enough.
A home renovation should solve a problem, not just change a surface. A renovation should solve structural, functional, or efficiency problems, not just visual dissatisfaction.
Maybe your kitchen isn’t ugly, it just doesn’t function when two people cook. Maybe your bathroom isn’t outdated, it’s poorly ventilated and always damp. Maybe your layout doesn’t support how you actually live.
Start by asking:
What frustrates me daily in this space?
What do I want this room to feel like at 7 AM and at 9 PM?
Am I renovating for resale value, lifestyle improvement, or long-term durability?
Before work begins, define the measurable outcome you want from your home renovation. That might include reducing energy loss and lowering utility bills, improving lighting quality and reducing shadow zones, increasing usable storage without expanding square footage, improving indoor air quality and ventilation, or supporting lifestyle changes like working from home.
When you’re clear on the outcome, efficiency, resale ROI, better lighting, energy savings, smarter storage, every decision in your home renovation plan becomes easier. Clear objectives prevent budget drift. If the goal is durability and performance, materials and systems should reflect that. If the goal is resale value, design choices should align with buyer expectations in your market. If the goal is long-term living, comfort and infrastructure matter more than trends.
Without a defined result, a home renovation becomes an aesthetic upgrade instead of a strategic improvement.
Building a Clear Home Renovation Plan
A mood board is not a plan.
A clear home renovation plan includes more than design drawings. It includes sequencing, technical coordination, and defined decision points.
A real home renovation plan includes scope (what’s being touched, and what’s not), a budget with a 15-20% contingency buffer, a timeline with realistic sequencing, contractor responsibilities, permit requirements, and material lead times.
Before demolition starts, you should know the exact scope of work, which walls are structural, where utilities run, the order in which trades will work, when materials must be delivered, and what inspections are required.
You also need a decision schedule as part of your home renovation planning. Many delays happen because homeowners are still choosing tile while the crew is ready to install it. It is critical to finalize selections early. Cabinet sizes affect electrical placement. Plumbing fixture specs affect rough-in heights. Flooring thickness affects door clearances.
The more decisions you make before demolition starts, the cheaper and smoother your home renovation will be. When planning is incomplete, small technical oversights compound into delays and added costs.
Smart Home Renovation Planning Before You Start
The most expensive mistakes happen inside walls, not on surfaces. Most expensive mistakes happen behind the walls, not on the surface.
Think beyond finishes. Infrastructure first. Electrical capacity, plumbing lines, ventilation, insulation, these determine long-term performance during a renovation at home.
Focus on electrical panel capacity and circuit distribution, plumbing pipe condition and water pressure, proper drainage slope and venting, HVAC airflow balance and return placement, insulation gaps and air sealing.
Future-proofing matters in home renovation planning. Even if you’re not installing smart systems now, run conduit or extra wiring. It’s cheap while walls are open and expensive later.
Workflow, not aesthetics. In kitchens and bathrooms especially, movement patterns matter more than color palettes. Lighting layers are critical. Most homes rely too heavily on overhead lighting. Plan task, ambient, and accent lighting from the start.
Energy efficiency also deserves attention during a home renovation. Air sealing and insulation upgrades during renovation often pay back faster than cosmetic upgrades.
Layout changes drive cost. Moving plumbing stacks or load-bearing walls significantly increases structural and labor expenses.
Another major source of budget overrun during renovation at home is scope expansion mid-project. Clearly define what is excluded as well as what is included. If something is not written into the contract, it will likely become a change order.
Costly mistakes usually happen when people design for Pinterest instead of real-life use. Precision in scope prevents financial surprises.
How to Prepare for a Home Renovation
Renovation is disruptive. Plan for that disruption, not just the build.
Preparing your home for renovation reduces damage and downtime. Preparing logistically minimizes disruption and protects existing finishes from unnecessary damage.
Declutter aggressively. Anything left in the work zone will get dusty, or damaged. Remove valuables and fragile items from the renovation zone.
Create "safe zones." Designate one calm, clean area of the house that stays untouched. If remaining in the home during renovation at home, establish a temporary living setup. That might include a makeshift kitchen, temporary laundry access, or alternate bathing arrangements.
Physically preparing your home for renovation is about containment. Practically preparing yourself is about lowering expectations for comfort during the process.
Seal off adjacent rooms to limit dust spread. Protect flooring in access paths. Protect flooring and HVAC. Seal vents and isolate construction areas to prevent dust spreading through the entire home. If your project will generate heavy dust, scheduling furnace service before and after renovation can help protect the system from debris buildup and airflow restrictions.
Plan for noise and access. If you work from home, consider temporary workspace relocation.
Identify storage for delivered materials and confirm access to electrical panels and water shut-offs as part of preparing your home for renovation.
How to Prepare the Electrical System for a Home Renovation
Electrical upgrades should be strategic, not reactive.
Electrical planning should account for both current demand and future load growth during a home renovation. Modern homes consume more electricity than older systems were designed to handle. Induction cooking, electric vehicles, heat pumps, and home offices increase demand.
Before renovation begins, check your panel capacity and confirm it can handle new loads. If the panel is undersized, outdated, or lacks breaker space, electrical panel replacement may be necessary to safely support modern demand. Evaluate panel amperage and available breaker space, dedicated circuits for large appliances, GFCI and AFCI code requirements, proper grounding and bonding, and surge protection at the panel level.
Plan additional outlets where furniture placement actually makes sense. Separate lighting circuits from outlet circuits where possible. Upgrade old wiring if the home is older.
If walls are open during renovation at home, it’s the perfect time to add dedicated circuits for major appliances, install surge protection at the panel, pre-wire for future smart systems, improve lighting circuits, run conduit for future technology, and, if needed, upgrade service capacity.
Electrical upgrades are relatively inexpensive during home renovation planning, and extremely expensive after drywall is closed. Electrical upgrades are far less expensive during a home renovation than after finishes are installed.
How to Prepare Home for Plumbing Renovations
Plumbing planning is about access and risk reduction.
Start by confirming the condition and material of existing pipes before beginning your home renovation. Older galvanized pipes may need replacement rather than connection to new fixtures. Inspect old pipes for corrosion and decide whether you’re patching or fully replacing aging plumbing. Inspect old pipes for corrosion and decide whether you’re patching or fully replacing aging plumbing. This is also the right time to schedule water heater service to assess tank condition, sediment buildup, heating efficiency, and remaining lifespan.
First, understand where shut-off valves are and ensure they work. Replace old ones if necessary. Confirm main shut-off valve condition, fixture shut-off functionality, drain line integrity, vent stack adequacy, and water pressure levels.
Plan fixture placement carefully. Moving plumbing fixtures increases cost significantly in a home renovation plan. If possible, keep toilets and drains near original locations. Relocating toilets or main drain lines significantly increases labor and structural modifications.
Upgrade to pressure-balanced or thermostatic valves in showers. Plan cleanouts and access points for future maintenance.
Have a clear plan for temporary water shutoffs and drainage during the project. Ensure temporary water shutdowns are scheduled and communicated clearly if you are living in the home during renovation at home.
Proper plumbing preparation prevents leaks, pressure issues, and drainage failures after renovation is complete.
Managing Life During a Renovation at Home
This is where many homeowners underestimate reality.
Where will I cook?
Where will I shower?
Where will I store daily-use items?
Renovation is part construction, part logistics management. Living through renovation at home requires structure.
Define work hours and site access rules. Establish material staging areas and safe pathways through the home. Clarify daily cleanup expectations. Protect pets from noise and open doors. Dust control and noise management should be addressed in advance, especially if working remotely.
If renovating a kitchen, set up a temporary "mini kitchen" with a microwave, coffee maker, mini fridge, and basic dishwashing station. Establish a simplified food prep zone with essential appliances. If renovating bathrooms, confirm access to alternate facilities.
The smoother your daily routine runs during a home renovation, the less stressful the project feels. Maintaining predictable routines reduces stress and keeps renovation at home from disrupting work and family life more than necessary.
Final Checklist Before Your Home Renovation
Before demolition day in your home renovation:
Permits approved
Insurance verified (contractor liability + your home insurance)
Materials ordered and confirmed
Payment schedule documented
Written contract signed
Detailed scope defined
Timeline reviewed
Contingency budget set aside
Neighbors informed (if needed)
Photos taken of the current space (for reference and protection)
One more overlooked step in home renovation planning:
Walk the project with your contractor and confirm exactly what is not included in your home renovation plan. Misunderstandings usually happen around assumptions. Confirm details such as outlet placement, fixture heights, material transitions, final drawings, and measurements.
Clarity before demolition reduces disputes, delays, and expensive rework, and ensures your home renovation delivers the results you planned for.