

A resource for those seeking information on organizing and transforming spaces.

Got an Asphalt Driveway? How to Seal It up Properly
Many people make mistakes when sealing their driveways. Homeowners with asphalt driveways over-seal them, while those with concrete driveways do not seal their driveways at all. A sealed asphalt driveway appears fresh with a black finish, but you should seal the driveway at least once in two or three years. Frequent sealing of an asphalt driveway leads to peeling and an unsightly hairline. The following is a guide on the proper sealing of an asphalt driveway.

Many people make mistakes when sealing their driveways. Homeowners with asphalt driveways over-seal them, while those with concrete driveways do not seal their driveways at all. A sealed asphalt driveway appears fresh with a black finish, but you should seal the driveway at least once in two or three years. Frequent sealing of an asphalt driveway leads to peeling and an unsightly hairline. The following is a guide on the proper sealing of an asphalt driveway.
Small Cracks
An asphalt driveway with small potholes or cracks is easy to reseal, but it can be messy. To seal a small crack, begin by removing dirt or any plant matter from the crack using your garden tools. You can also use a wire brush to remove dirt from cracks. Purchase sealing products specially made for asphalt driveways for cracks of about an eighth of an inch.
Large Cracks
Repairing large potholes and cracks on asphalt driveways can be challenging. Before you seal a large hole, fix it first. A ½ inch crack can be covered with a liquid crack sealer. The sealer is available at a home improvement store near you; check the building materials section. Sealcoating of more enormous potholes and cracks is done using a cold patch, a type of asphalt sold in a bucket, can, or bag. If you have numerous potholes in your driveway such that you are consuming two or three buckets of cold patches, you should consider seeking the services of a professional.
How to Apply Cold Patch
Start by cleaning loose debris from the hole or crack. At an angle, chip away asphalt to make the crack bottom larger than at the surface level. This is the tricky part of sealcoating large cracks. The older asphalt rim at the crack surface will hold the patch together. Pour the cold patch into the crack until it is slightly higher than the adjacent driveway. Use a square tamping tool to tamp it down firmly. If you don’t have a tamping tool, place a plywood board above the patch and drive across it. Seal the edges with liquid crack filler.
It would be best if you resealed an asphalt driveway once every three years to protect them from oil damage and cracks. After sealing the driveway, give it time to cure, and remember to clean the surface before sealing. Place barriers at the driveway entrance and keep pets and children away for at least one day to allow the seal to cure.

4 Ways to Make Your Home More Livable as a Senior
A worry for some seniors is reaching the age when you can no longer live alone in your own home. Making these four changes around the house may help you to extend the time you can stay in your home.

A worry for some seniors is reaching the age when you can no longer live alone in your own home. Making these four changes around the house may help you to extend the time you can stay in your home.
Tub to Shower Conversion
Making modifications to your home may seem daunting, but many providers have streamlined the conversion process down to a one or two-day process. Available models also allow for relatively little demolition since many new units can fit into the same space occupied by your old shower or tub. When weighing the cost, you will have to consider that a tub to shower conversion alone may allow you to stay safely in your own home for many more years than you anticipated.
Converting One Home Entrance Into a Ramp
Falls are a major concern when living alone as a senior. Stairs increase the chances of tripping and falling in your home. Adding a ramp to one entrance of the home can relieve some fall anxiety that may come from bringing home groceries, taking the pet outside for a break, or even simple task such as going outside to get the mail. A small wooden ramp built by a local handyman may be an easy and inexpensive way to prevent a fall.
Get Rid of High Maintenance Items
The amount of home maintenance we can do ourselves decreases over time. Reducing the number of items on our property that require constant maintenance can alleviate the burden on you when the time comes that you cannot do the work yourself. Swimming pools, large fences, and too much landscaping are all beautiful, but all require constant maintenance. Eliminating or reducing the number of items that require a lot of maintenance will be one less thing you will have to worry about as you age.
Make Good Use of Unused Bedrooms
Do you know another senior with a similar situation that may be looking to live independently on a budget? Having another person live with you in your home who can contribute to the monthly expenses may help you to continue to live in your own home while not overextending your fixed budget. Make sure that your roommate is going to be of help to you, not a burden.
For more ideas, talk to your family, financial advisor, and other seniors. Open conversation about your desire to continue to live in your own home will expose you to ideas that you may not have considered.

Guest Post - 5 Essential Tips for Keeping Your Kids Safe at Playgrounds
Here are five tips for child safety on a playground.

Things are opening up, and isn’t it grand? People are out and about, warm weather is here, and outdoor activities in public places are filling up. One of those most popular places is playgrounds – play places that offer fresh air and a place for energy-driven kids to go a bit “wild” in a good way.
But how safe are playgrounds? As a parent, you take all sorts of precautions to keep your child safe at home and in the neighborhood, and you expect schools to keep them safe in that environment. And you have a responsibility to keep them safe in all public places, too.
Here are five tips for child safety on a playground.
1. Check the Grounds and the Equipment
It’s been a long time since playgrounds have been openly available to kids. Hopefully, they have been inspected, refurbished as necessary, and are safe. But don’t count on it. It is up to you as a parent to inspect the equipment your child will use, as well as the grounds surrounding that equipment.
Are ground surfaces soft enough to cushion a fall? If a surface is a concrete or rock, then a helmet is a must, if not knee and elbow pads.
Are there dangerous and/or sharp objects on the grounds? Remove them.
Are there tripping hazards (tree roots, large rocks, etc.)?
In terms of equipment, each piece should be checked.
Are there moving parts that could snag a jacket or pinch a finger?
Are there metal surfaces, such as those of slides, that are too hot to the touch?
Are ground surfaces under climbing pieces that are soft for falls
Are swings in good repair with working safety bars for toddlers?
Sandboxes are notoriously unsanitary.
2. Supervise, Supervise, Supervise
There is a huge temptation to sit back on a bench and read a book while our children play – after all, this should be a relaxing time for us too. No, it should not be.
Your eye should be on your child at all times. Many young moms in school try to find a shady spot to get some coursework done while a child is at play – after all, they are behind, stressed, and have a movie review due. So, they break out the tablet to watch the film. No, No, No. If you are that pressed, order movie review writing and get your eye on your child.
The younger the child, the more supervision will be necessary. They can get themselves into dangerous situations, and you will need to intervene quickly.
3. Age-Appropriateness is Key
Most modern playgrounds are divided into sections for general age groups. But these are not separated by fencing. It’s easy for a little who is not under strict supervision to run over to an “older” area and get injured. Consider how devastating a blow it could be to get kicked in the head by an older child on a swing. Parents have to ensure that their children stay only in those areas that are built just for their age group.
4. Sanitation/Health
COVID is not fully eradicated, and you do not know the status of other adults or children on the playground. Obviously, you cannot wipe down every piece of equipment before your child uses it. But you can “wipe down” your child, and you should do it often. Always take a supply of wipes and hand cleanser, and use it often.
Sunburn danger should not even be a topic for discussion here. Children need an SPF between 35 and 50 to be adequately protected. And hats are always appropriate for those wee ones who still do not have much hair.
Hydration is important. Water is the best option, but other drinks like Pedialyte are good too. Snacks should be healthy and also provide hydration – apples, oranges, and grapes are great.
5. Indoor Playgrounds
For really hot and humid days, indoor playgrounds are a great choice. Parents should remember, though, that much greater supervision will be necessary. They must move about with small children and stand directly in their view.
Adult travel is a great respite from the demands of parenting. But there are also times when family travel is planned. Indoor playgrounds can be commonly found at resorts geared toward families. Many combine pools and other playground activities (crawl tubes, slides, bounce houses, etc.) in one large space. And risk-taking toddlers may be a challenge. The safest bet is to insist that small ones wear floaties or a simple life jacket at all times. Again, supervision and frequent sanitation practices should be the norm.
Final Note: Playground Etiquette Never Goes Out of Style
Children must be taught many things from a very early age. They don’t put small foreign objects in their mouths; they don’t hit, bit or kick other children; they don’t throw things; they don’t harass the dog. Playground etiquette must be taught as well. Taking turns, no pushing or shoving, and no roughhousing are cardinal rules for the safety of self and others, and parents must quickly intervene when they observe this behavior.
Author’s bio. Jessica Fender is a professional writer and educational blogger. Jessica enjoys sharing her ideas to make writing and learning fun.

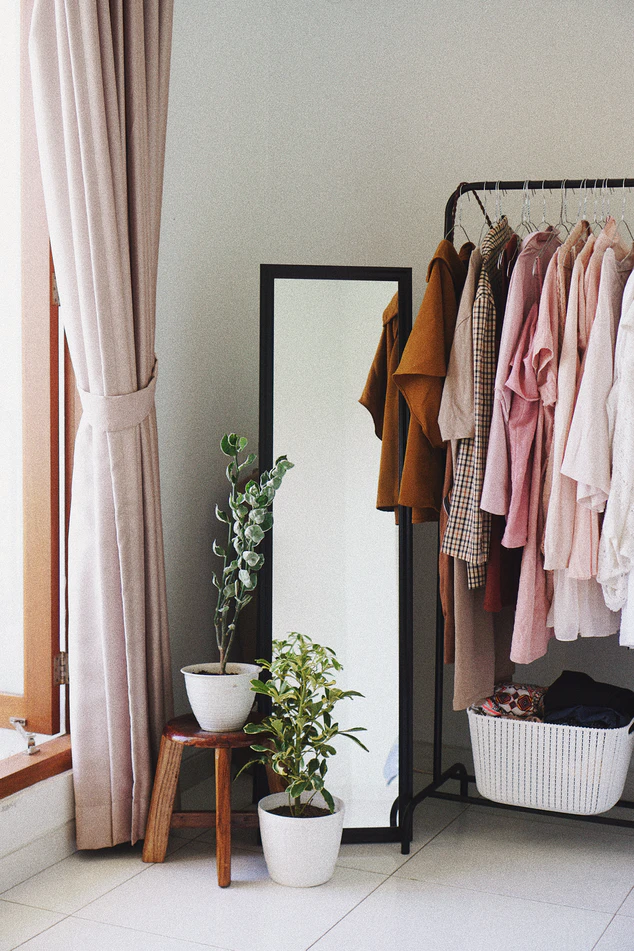
Simple Ways To Make Your Dressing Room More Organized
Having a dressing room is a fantastic asset when it comes to organizing your home. A separate space that is dedicated to your clothes and accessories will free room elsewhere in your home as well as helping to keep everything in one place, saving you time when you’re getting ready.
However, it can be overwhelming to know the best ways to organize your dressing room, so here are a few simple tips that will work for dressing rooms of any size!
1. Keep The Floors Clear
One of the simplest things you can do to keep your dressing room organized is to keep the floors clear. Having shoe boxes, storage boxes or general mess on the floor can make the space feel so much messier than it normally would be, so keeping them stored away elsewhere and decluttering is the best option.
When you get into the habit of keeping things on the floor, it will be much more difficult to keep things tidy, so doing a bit of a reshuffle and finding space for things in cupboards or wardrobes, rather than the floor, is the best option.
2. Close Things Off With Doors
Having open wardrobes can look great when you stay on top of your organizing, however for some people, having closed doors is a much better option. This is a great way to block off anything in the wardrobes to keep things looking really nice and clean.
With open wardrobes, it can often be tempting to organize things in a way that look good, but it may not be very functional when it comes to finding what you need. So, having doors is the best of both worlds as you will have a beautiful space and you can also organize your things however works best for you without worrying how they look!
3. Install A Wall Shelf
Installing a wall shelf works particularly well for a smaller dressing room, as you gain so much extra space that you might not otherwise have. If you have some space on the wall, look at installing 2-3 shelves with a decent amount of space between them.
You can use this space to display some of your most prized possessions, such as your favorite shoes or handbags. Not only will this be a design feature but it will also free up space elsewhere. This is also a fantastic opportunity to accessorize, with wall art prints, artificial flowers, plants or candles.
Final Thoughts
Life is so much easier when your dressing room is organized. You will save so much time as everything should be easier to access, so it is definitely worth spending some time to get organized and you will continue to reap the benefits.