

A resource for those seeking information on organizing and transforming spaces.

Home Improvement Forecast: Salary Tactics for Cost Management
More families took on home improvement projects last year according to a new Housing Statistics report from the United States Census Bureau. In 2023, there was a 17% increase in homeowners undertaking renovations compared to 2022. With the economy causing worry, planning to cut costs on a home project is wise money advice this year. This article shares smart ideas anyone can use to save on desired upgrades in every price range.
We partnered with a home improvement company for this post. The opinions in the post are honest. All reviews and opinions expressed in this post are based on our personal views. We are excited because we know you will love it.
More families took on home improvement projects last year according to a new Housing Statistics report from the United States Census Bureau. In 2023, there was a 17% increase in homeowners undertaking renovations compared to 2022. With the economy causing worry, planning to cut costs on a home project is wise money advice this year. This article shares smart ideas anyone can use to save on desired upgrades in every price range.
Make a Home Improvement Wish List
What changes would make your home better for your lifestyle? Walk through each room and write ideas like:
Kitchen - paint cabinets, add an island
Bathrooms - re-tile shower, install storage shelves
Living Room - mount TV, upgrade flooring
Outdoor Space - build a patio or deck
List all dream upgrades before pricing materials and labor. To determine what can realistically fit into your budget now, calculate hourly salary for workers and other major expenses and examine your current savings versus expenses. This helps you prioritize the number of projects from most important to “nice to have” extras. Putting wants in order makes it easier to see what fits into savings now versus longer-term plans.
Have Savings Ready for Unexpected Costs
Actual home renovation costs often end up higher than first estimates. Unexpected issues like wood rot, wiring problems, or tricky room dimensions add expenses during a project. Budget experts say planning ahead for surprise overages just in case is smart. Look at the data that shows the share of project management costs:
Data Source: Joint Center for Housing Studies of Harvard University
Save up to 15% more than your home improvement budget as a buffer for potential added costs down the road. Having extra savings helps prevent going into debt to finish vital home repairs or upgrades.
Take on Do-It-Yourself Tasks to Save Big
Professionals charge $40 to over $100 per hour for home upgrades and repairs. When homeowners take on suitable fix-it tasks, it keeps more cash in their pocket. Easy DIY projects include:
Installing new fixtures or hardware like curtain rods, shelves, or towel bars
Painting walls, cabinets, or furniture with new color
Swapping out lighting, fans, sinks and toilets
Re-grouting tile or caulking around sinks/showers
Refinishing worn cabinets and wood furniture
Watch online video tutorials to gain skills for the above home upgrades without previous experience. Gather friends for a home improvement work party to get big DIY jobs done faster as a team.
Compare Multiple Quotes for Big Projects
Hiring specialty contractors is needed for major remodels like rewiring, roof repairs, excavation work, or additions. Never choose the first company that provides a bid. Qualified professionals expect customers to compare rates carefully.
Request 3-5 project quotes to make the best deal for in-demand services like:
Electricians to install wiring, lighting, and backup power
Plumbers for complex bath/kitchen revamp
HVAC companies for new heating/cooling systems
Landscapers to re-grade terrain or build structures
Inform each contractor you are gathering several bids. Ask lots of questions about their specific quote details too before signing any contract.
Have Realistic Timelines to Avoid Overpaying
Even experienced contractors often face delays of weeks or longer when it comes to project deadlines. Don’t plan home upgrades assuming best-case scenarios for completion dates to prevent budget overages.
Ordering special items like custom windows, cabinetry or lighting fixtures often takes 12+ weeks currently. Bad weather, damaged shipments, and material shortages also delay timelines routinely. Plan extra lead time for parts/materials to prevent paying rush order fees down the road.
Making more room in home improvement budgets for realistic timeframes avoids scrambling financially. Communicate early if faster turnarounds become urgent so contractors can help strategize affordable solutions.
Scale Back Projects in Phases If Needed
Preferred upgrades like granite kitchen counters or master suites may bust renovation budgets quickly. Breaking one major project into smaller mini-makeovers prevents overspending without sacrificing the end vision.
Doing kitchen upgrades step-by-step over 2-3 years allows for saving up again between phases. Phase smaller home additions similarly by priority room when budgets only allow framing or roughing in one section at first. Then schedule interior finishing work room-by-room as savings grow over time.
No financial shame exists in pacing out makeovers gradually in affordable chunks. Embrace phases to gain upgraded home features after shorter-term saving stints.
Look at Used Materials to Save
Buying used and antique building supplies is an eco-friendly way to save over 50% on home upgrades. Check local salvage yards and online sites like Craigslist for quality reusable materials. Used lumber, flooring, sinks, tile, and lighting save money. Inspect carefully for damage. Refinish or repaint vintage home items to fit your style. Install used materials yourself or have contractors integrate them into designs to maximize savings.
Choose Low-Cost Flooring Alternatives
New hardwood or stone flooring costs a fortune. Affordable substitutions include stained concrete, vinyl plank floors, and laminates. Stained concrete gives an upscale look for just the price of dye. Luxury vinyl plank flooring withstands pets and kids while mimicking wood or tile. Laminate floors are installed quickly over existing surfaces. Buy high-wear flooring options that offer warranties and replicate pricier materials for a fraction of the price.
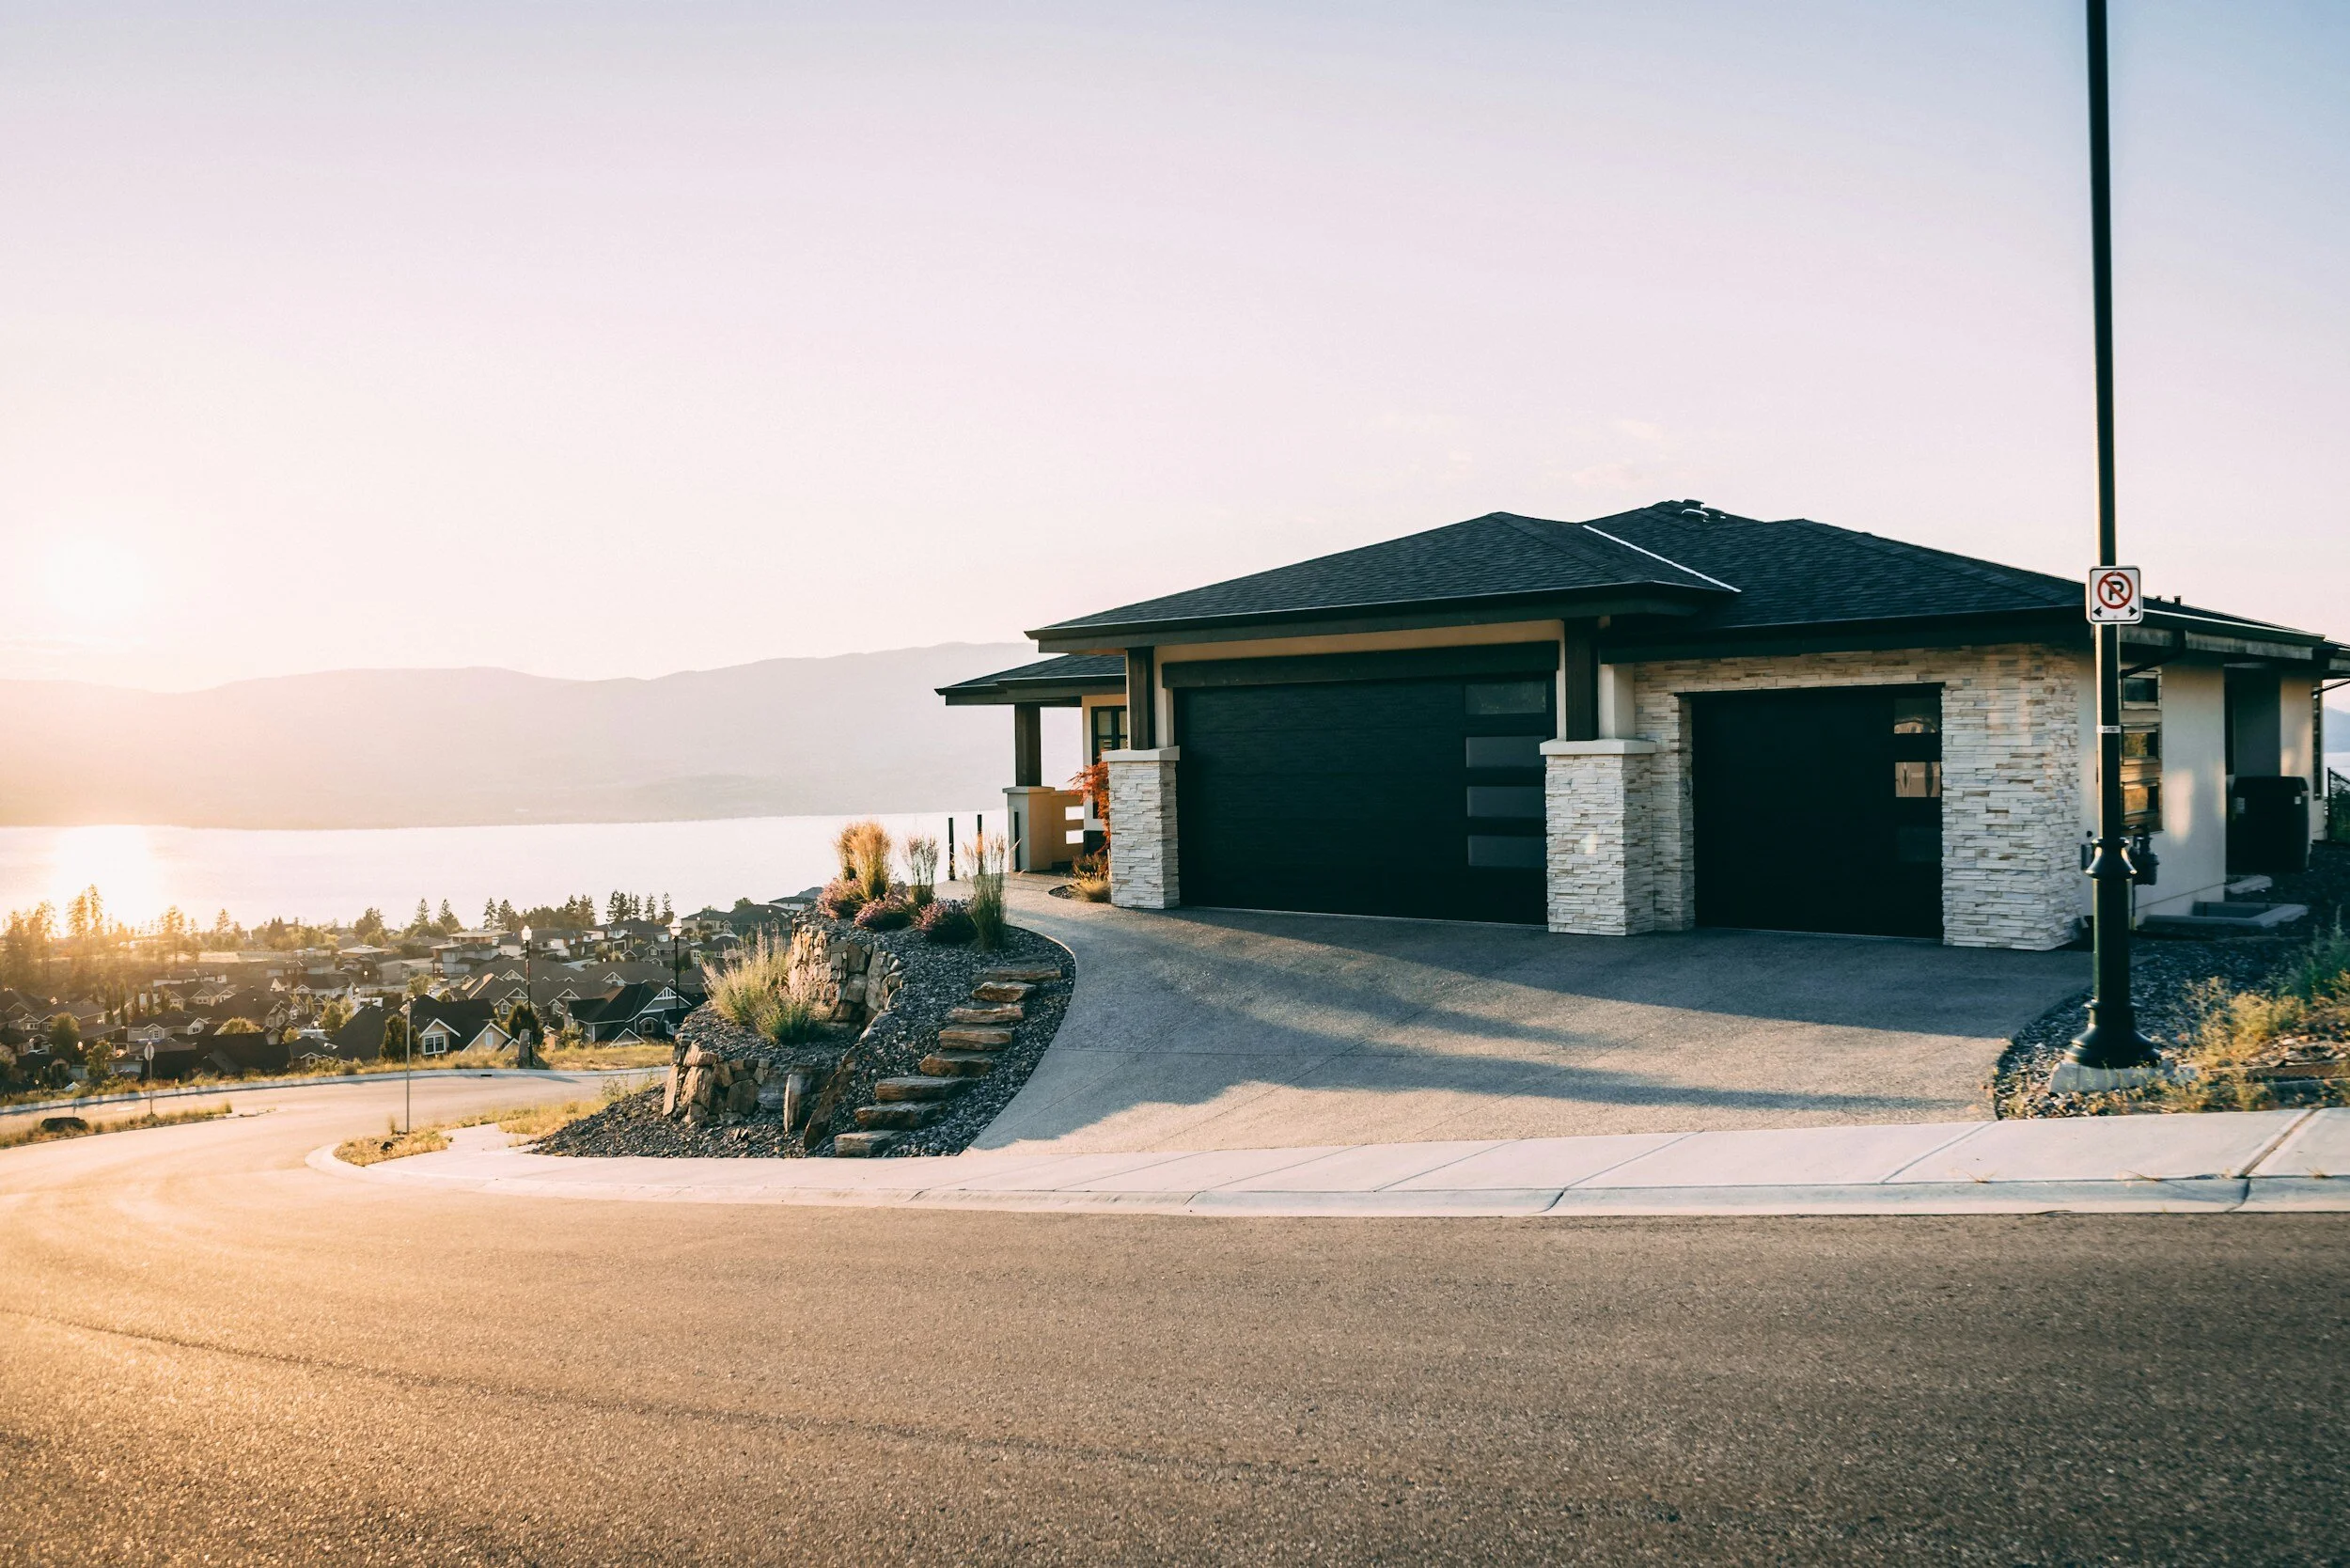
Focus on Curb Appeal for Maximum Value
A gorgeous front yard, exterior paint, and a new front door boost a home's curb appeal dramatically yet affordably. Keep lawn care and edging tidy weekly. Add pretty planters, yard art, and seating. New shutters, numbers, and exterior lighting also upgrade style. A fresh paint color and a new welcome mat make a superb first impression. Enhancing curb appeal attracts buyers and often increases the home value when selling over making isolated interior upgrades.
In Conclusion
Nailing down reliable cost management tactics before home improvement projects start prevents budget pitfalls even if unexpected expenses creep up. Comparing contractor bids, maximizing DIY tasks, allowing longer timeframes, and doing phased makeovers all empower homeowners in this economy. Use this suite of sensible salary-saving measures to win your desired home upgrades on plan and on budget in 2023!
FAQs
FAQ 1: How can I cut costs on a kitchen remodel?
Look for savings on cabinets by choosing budget-friendly options like stock cabinets instead of expensive custom built-ins. Use inexpensive countertop materials like butcher block or laminate rather than pricy granite or quartz. DIY smaller jobs like painting cabinets and installing backsplash tile to avoid labor fees.
FAQ 2: What are the fastest home upgrades to increase value?
Curb appeal projects like new exterior paint, landscaping, an updated front door, and outdoor lighting pay off quickly when selling. They make great first impressions without extensive time. Painting walls in neutral colors and staging rooms also sells homes faster by making them feel clean and spacious for buyers.
FAQ 3: Should I take out a home equity loan to pay for renovations?
Use extreme caution with home equity loans and lines of credit for remodeling. They put your home at risk if payments are missed. A fixed-rate home improvement loan often works better to avoid owing more over time. Save up cash slowly in a separate account specifically for upgrades to prevent going into debt.
FAQ 4: How much should I budget for a bathroom remodel?
A minor bathroom update like a new vanity, sink, toilet, lighting, and paint averages $4,000-$7,000. A full gut remodel with a new tub/shower, tile, fixtures, cabinetry, and layout often runs $12,000-$25,000 on average. Get quotes from several contractors to compare rates for your specific bathroom size and project scope.

5 Upgrades to Make Your Home More Energy-Efficient
As a homeowner, you’re probably always searching for ways to save money on your energy bills. One of the most effective ways to do this is by making your home more energy-efficient. Not only does this help you save money in the long run, but it also reduces your impact on the environment. In this article, we will discuss five upgrades you can make to your home to make it more energy-efficient.
As a homeowner, you’re probably always searching for ways to save money on your energy bills. One of the most effective ways to do this is by making your home more energy-efficient. Not only does this help you save money in the long run, but it also reduces your impact on the environment. In this article, we will discuss five upgrades you can make to your home to make it more energy-efficient.
Seal Your Windows and Doors
Any gaps or cracks around your windows and doors can let in outdoor air, affecting the temperature and causing your HVAC system to work harder. Not to mention, it’s a waste of valuable energy. Sealing your windows and doors is a quick and easy fix that can save you a lot of money on your energy bills. One solution is to add weatherstripping or caulking to your windows and doors to create a better seal.
Upgrade Your Insulation
Upgrading your insulation is one of the best ways to increase your home’s energy efficiency. Proper insulation makes it easier to regulate indoor temperatures and reduces the strain on your HVAC system. If you haven’t upgraded your wall insulation in a while, you may want to consider using spray foam insulation. This type of insulation provides more comprehensive coverage than traditional insulation options. Contact a roofing contractor, such as Alpha and Omega Roofing, for help in insulating your roof.
Smart Thermostat
A smart thermostat is an excellent option to control the temperature and save energy. This device allows you to control your heating and cooling system remotely, and you can even set the temperature based on your schedule. When you’re not at home, you can turn off the system, and when you return, the thermostat will adjust back to your preferred temperature.
Upgrading Your Appliances
Outdated appliances can drain your energy and raise your bills – not to mention they’re not the best for the environment. Upgrading to Energy Star-rated appliances can reduce not only your bills but also your carbon footprint. Dishwashers, refrigerators, and washing machines use a lot of energy, and upgrading to energy-efficient models will make a significant difference.
Solar Panels
Solar panels are the best way to have a sustainable and energy-efficient home. Solar panels are known to be expensive, but they’re one of the most cost-effective investments you can make for your home’s energy efficiency. With solar panels, you’ll be able to generate your own electricity and save a lot of money on your energy bills in the long run.
In conclusion, making your home energy-efficient is vital, not just for the environment but also for your wallet. Even making small upgrades to your home can make a significant difference, and the above five upgrades are all easy options that can make notable changes to your energy bills. If you’re not sure where to start or if you need guidance, contact a certified home energy auditor to give you insights on the specific upgrades that can be made in your home. By making your home more energy-efficient, you’re doing yourself and the environment a great service.
Transform Your Garage
If you've been doing projects in my garage, you've probably realized that keeping your tools organized is a struggle.
We partnered with a home improvement company for this post. The opinions in the post are honest. All reviews and opinions expressed in this post are based on our personal views. We are excited because we know you will love it.
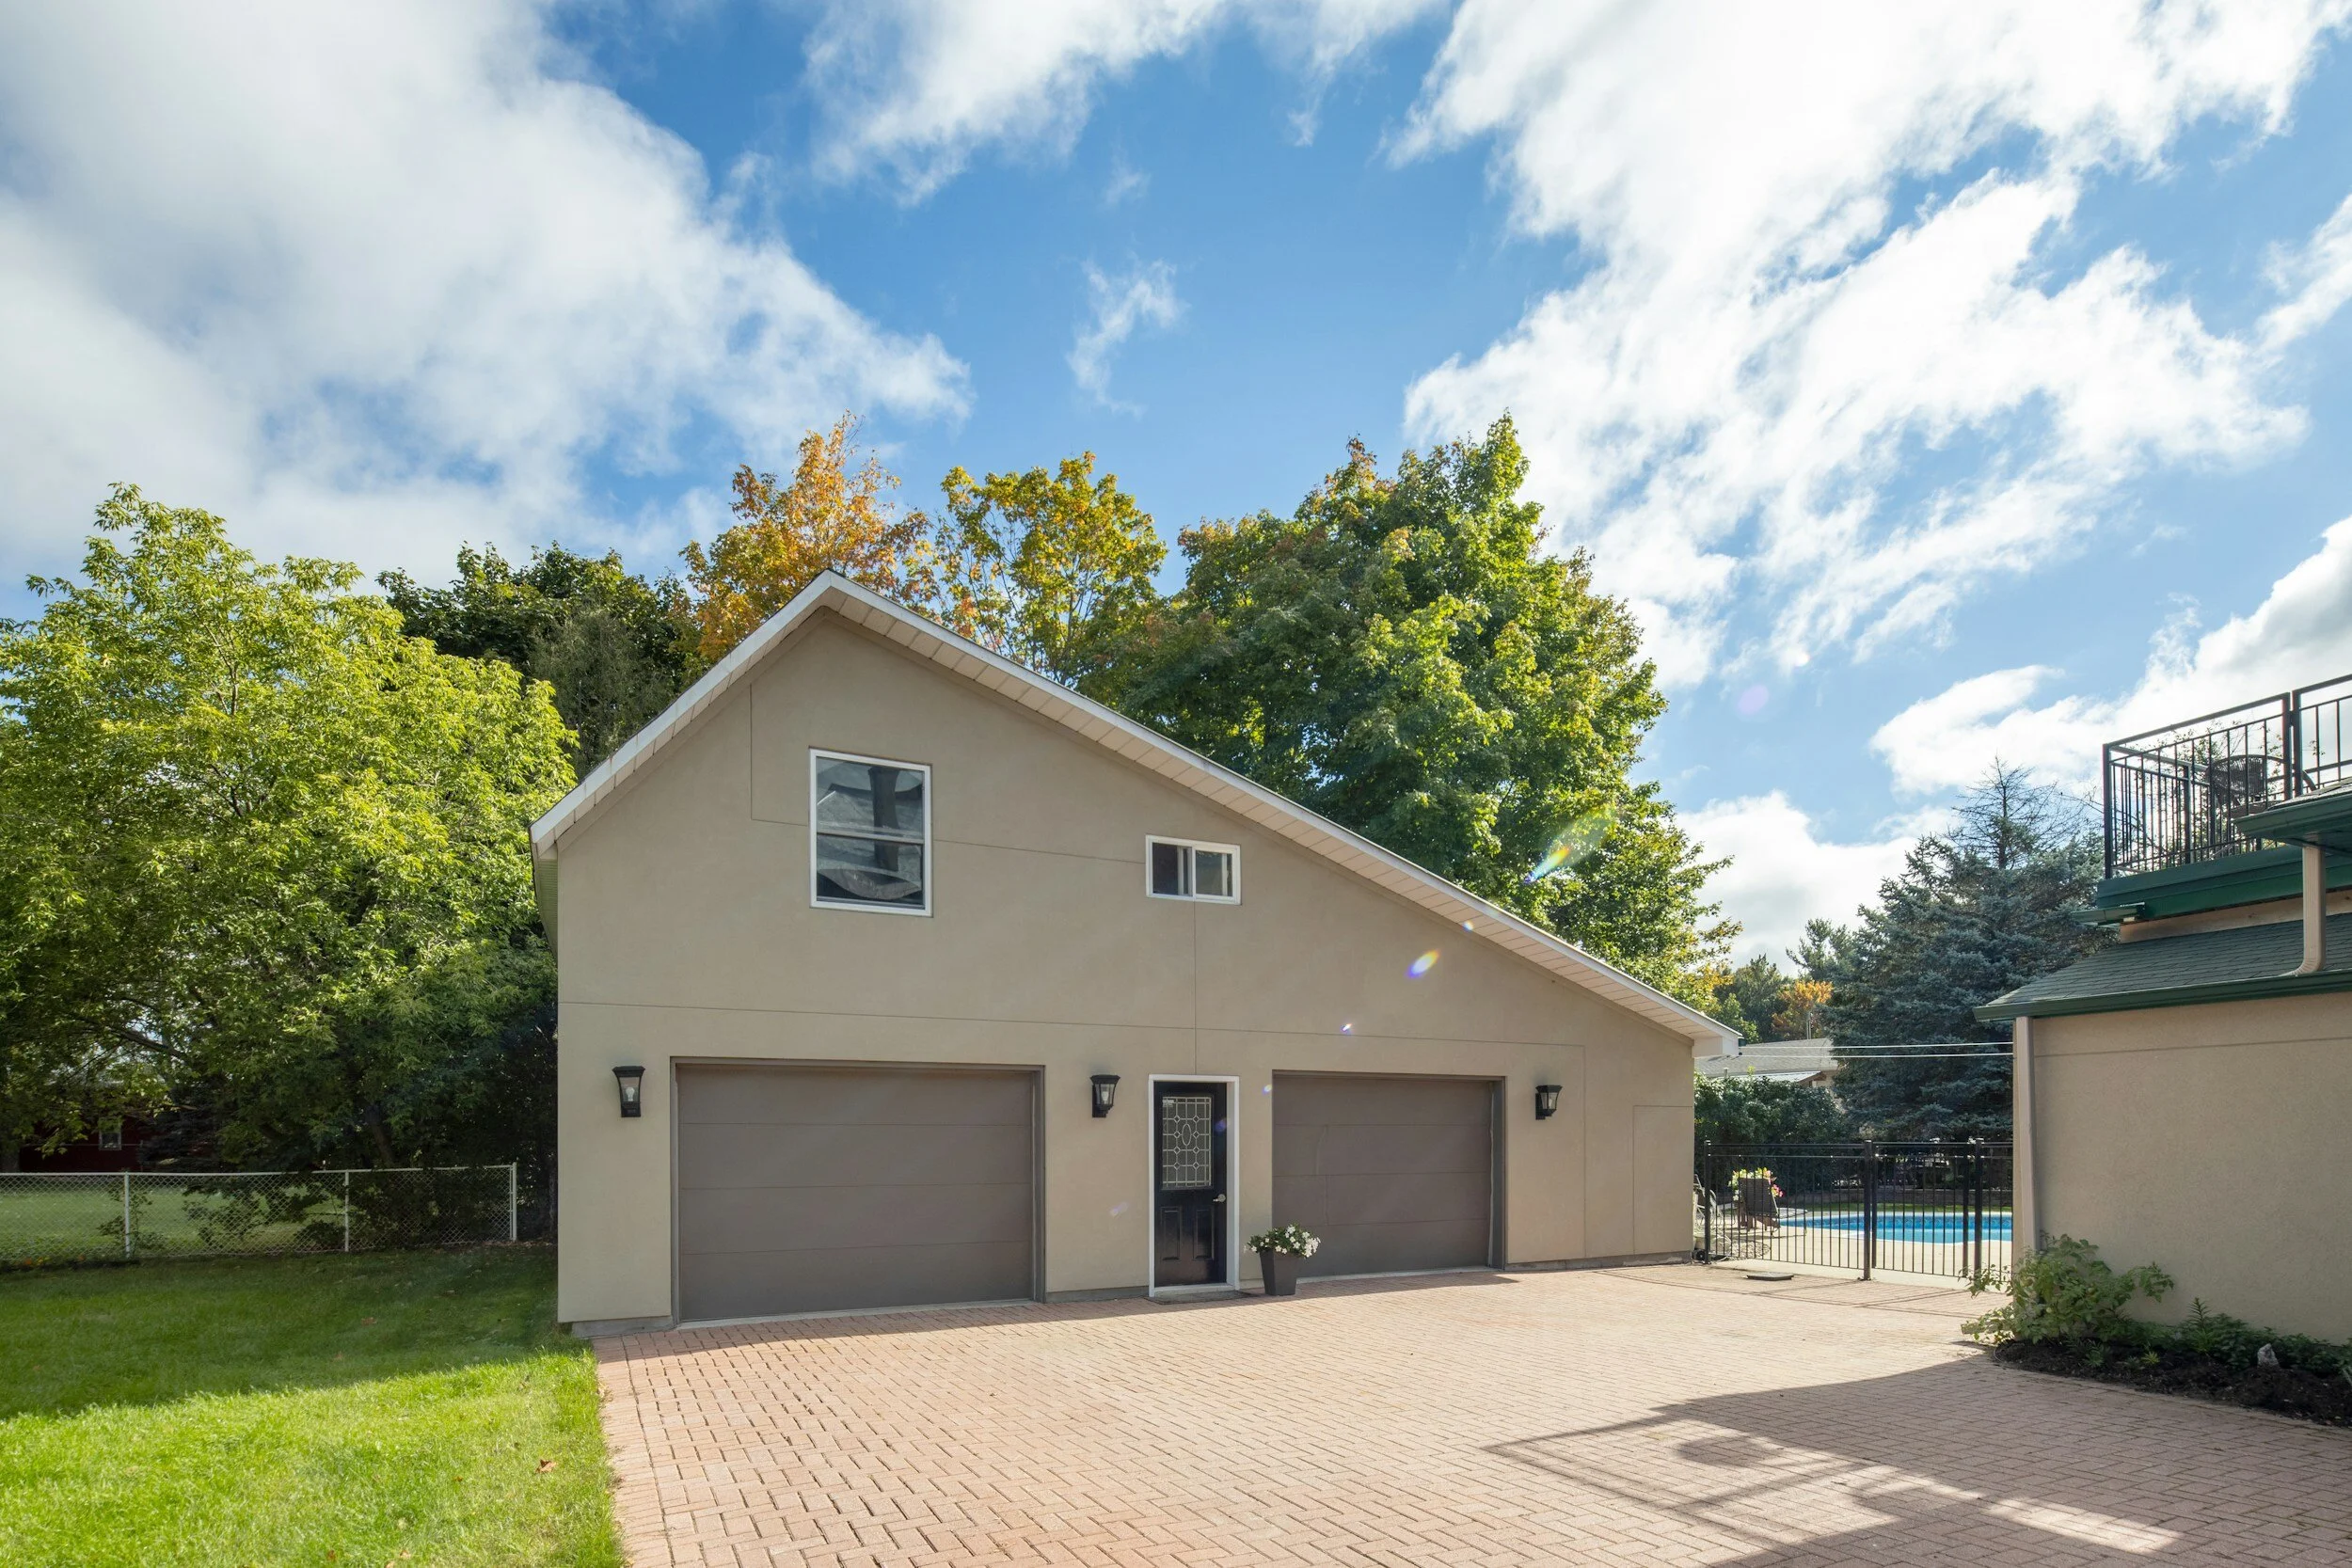
If you've been doing projects in my garage, you've probably realized that keeping your tools organized is a struggle.
With a lot of trial and error, I found some things that worked really well…and others that didn't.
You'd be surprised at how much space you can save with a few simple tips. Let's take a look at some of my favorite storage ideas.
Clean & Declutter First
Decluttering your garage is the first and most crucial step towards a well-organized, clean garage.
If your garage is full of old clothes, toys, sports equipment, and odd tools, there's no room for your next DIY project. No matter your garage's size, you need a dedicated space for you and your tools.
Once you have some open garage floor space to dedicate to tool storage, start by removing items you don't need anymore.
Dividing your stuff into two piles: one to dispose of and one to organize later.
This includes your tools!
Start by disposing of broken tools or ones that are missing pieces or attachments. Anything you can eliminate at this stage will save you room later on.
Once you know exactly what you have left, designing your perfect workspace will be easier!
Create a Specific Work Area
Everybody needs a dedicated place to work in your garage.
You might only need a workbench for smaller projects. For larger projects, you might need to use your entire garage.
Regardless of the size of your garage, you need to divide your space into smaller sections to make the most of it. This is especially critical for small garages.
Here are some garage storage ideas to help organize your tools:
A workbench – either foldable or mobile
Closed cabinets – for chemicals, power tools, and hazardous materials
Open shelves and drawers (preferably with clear plastic bins) – for equipment and items that need to be readily accessible
A wall-mounted organizer, wire shelving, or pegboards – for smaller items
Heavy-duty steel shelves for heavy or bulky items
Wire and cable organizers
Separate storage for rechargeable batteries and power tools
Extension-cord reels mounted to your garage ceiling so you have power wherever you need it.
Use these suggestions as a starting point and adapt them to your individual needs.
Once you've got an initial design set up, you'll be able to adjust the design of your garage from project to project.
Increase Storage Space with Shelves & Cabinets
Sturdy shelves and cabinets are at the core of your garage storage system. They'll store items like long-handled tools, gardening supplies, sports equipment, and other miscellaneous tools.
Take advantage of any open wall space that you have. This includes the vertical space directly above your workbench.
I use heavy-duty garage shelves to store bulky items I want to keep off my garage floor.
These include extra kitchen and bathroom tiles and floorboards for my bedroom. I've also dedicated a shelf to oversized items like air filters, accessories for my pressure washer, and some storage bins.
I have small wire shelving near our garage entry door as a catch-all area for car keys, hats, and umbrellas.
The right mix of shelves will see wall shelves above your work area and floor-standing units. You can use overhead storage above your garage door for additional storage space.
This way, you can keep the stuff you use most at arm's reach and keep the things you use less often out of the way until you need them.
Cabinets with doors are a safe place to store chemicals and other items that could be hazardous. They're also a great place to store things you want to keep away from kids or pets.
I use two freestanding Gladiator cabinets and several wall-mounted cabinets.
The smaller freestanding cabinet holds the garden supplies like fertilizer and weed killer that I want to keep out of the way. The larger freestanding cabinet holds all my old paint cans, wood stains, drywall tools, and supplies.
Garage cabinets range between $100 and $800, depending on the size and options.
Maximize Wall Space With Pegboards
Pegboards are perfect for storing tools you need every day or if you're the kind of person who likes having your tools on display.
The area above your workbench is the perfect area to store the tools we use the most. I also organize the tools I use most on a Wall-Control metal pegboard and accessories mounted above my workbench.
Leaving your tools out after a day's work makes your workspace look messy, which we're trying to avoid. However, simply tossing them in a drawer can quickly lead to clutter.
I prefer using pegboard on small sections of my walls. They're perfect for storing screwdrivers, glue, adhesive tape, scissors, wire cutters, and smaller electric tools.
If pegboards aren't your style, try a magnetic strip or mat. They're a great place to store knives, screwdrivers, or other small items like nails, nuts, and bolts for your current projects.
Use Mobile Tool Carts to Keep Tools Organized on the Go
Large workbenches are great, but they take up a lot of space.
Foldable workbenches can be stored out of the way against the wall or in the corner of your workshop. But if you have home improvement projects where you need to be able to move freely, a mobile tool cart could be the answer.
Some, like my Gladiator GearDrawer, even include closed cabinets and open shelves that make them perfect to follow you around the garage during the day.
When you start to organize your tool cart, I recommend subdividing it into at least two compartments.
One should host the tools you use more frequently, and the second should store the other tools you like to have at your fingertips.
Alternatively, you could mount a magnetic strip to your mobile workbench to access hand tools easily.
The Best Garage Organization Ideas Grow With You
Organizing your workshop tools can seem like a big project at first. But following these tips and tricks doesn't have to be.
If you're a weekend DIY warrior, every new project will have different needs. Your workshop can accommodate those needs by setting up your garage with mobile shelves, pegboards, cabinets, foldable workbenches, or flexible panels.
Proper garage organization will ensure you have enough space for all the stuff you need for your next project.

What Are the Best Basement Waterproofing Methods?
Basements are usually one or more floors that are below the ground floor of your building. Its construction provides valuable space in your commercial and residential construction. A basement is also known as a cellar. It gives you extra space without compromising your indoor or outdoor space. Sometimes, water running in and out of your house causes basement dampness or flooding with years of wear and tear. That’s when you should consider getting basement waterproofing to protect your basement from seeping water. In this article, we’ll get familiar with the concept of basement waterproofing, its causes, methods, and advantages in detail. Let’s get started!
We partnered with a home improvement company for this post. The opinions in the post are honest. All reviews and opinions expressed in this post are based on our personal views. We are excited because we know you will love it.

Basements are usually one or more floors that are below the ground floor of your building. Its construction provides valuable space in your commercial and residential construction. A basement is also known as a cellar. It gives you extra space without compromising your indoor or outdoor space. Sometimes, water running in and out of your house causes basement dampness or flooding with years of wear and tear. That’s when you should consider getting basement waterproofing to protect your basement from seeping water. In this article, we’ll get familiar with the concept of basement waterproofing, its causes, methods, and advantages in detail. Let’s get started!
What is Basement Waterproofing?
Basement waterproofing is a method where your hired professionals use different techniques to block unnecessary water seeping inside your basement. In exterior basement waterproofing, your skilled professionals will excavate the walls outside your foundation to preserve the structural integrity. Similarly, in interior sealants, sealants are applied to your basement’s wall and floor.
This process helps you protect and seal your basement from further water damage. Waterproofing your basement solves your house’s moisture problem, and you’ll be able to live in a safe and secure house.
While waterproofing your cellar, the professionals will perform an inspection, either for free or at a cost. Then, they’ll choose a suitable method and start their work according to your basement’s requirements.
Causes of a Wet Basement
You can face a wet basement due to various reasons. To make things easier for you to understand, we’ve listed down some of the most common reasons that cause a wet basement:
1. Condensation
Condensation is the reverse of vaporization. When there’s condensation, the basement’s gas phase turns into the liquid phase. As a result, you’ll see water sports, puddles, or droplets on your basement wall or floor. When you see this sign, you should consider waterproofing your basement.
2. Humidity
In the summer, when the cool air of your basement collides with external hot air, it causes humidity in your basement. Sometimes, a dehumidifier might help, but sometimes, it might not. However, when you fail to maintain your basement's humidity, it causes basement wetness.
3. Cracked Foundation
When there are crevices and cracks in your foundation, water seeps into your basement, which leads to wet basements. Cracked foundations can result from various factors, such as expansive soils, plumbing leaks, tree roots, drainage, earthquakes, poor soil, and more.
4. Plumbing Leaks:
Your basement is usually a dark and hidden space. Due to this, you might forget to check and repair it from time to time. If you forget to check it, you sometimes deal with different plumbing issues. We’d suggest you check your basement’s plumbing if you’re facing wet basement issues.
5. Mold Growth
The basement of your house is usually deprived of natural light. Due to this, you can maintain a good humidity level in your basement. Mold usually grows in damp places, so that you can face mold growth issues in your basement. When mold grows in your house, you’ll face a degradation of indoor air quality. Eventually, it will make your basement weak and wet.
6. Poor Drainage
Most basements are not well managed enough to face water drainage problems. As a result, they can’t handle an overflow of excessive water, which leads to a wet basement.
Methods of Basement Waterproofing
Check out our top four basement waterproofing methods as follows:
1. Interior Waterproofing
If you’re facing water issues in your basement due to condensation, that’s when you should consider doing interior waterproofing in the basement. This method redirects water that will enter your building into the drainage system. The coatings will be done on your basement’s floor and walls to prevent basement leakage.
Interior waterproofing is a perfect solution for you if you’re looking for an affordable and effective method. So, you should consider hiring a professional who is familiar with what they’re doing. If you do so, you’ll be able to rely on the waterproofing for many years to come.
2. Exterior Waterproofing
Exterior waterproofing is one of the most reliable waterproofing methods for your basement. This method prevents water from entering your house, so you’ll have no fear of damage inside the basement. In this method, your waterproofing service provider will fully excavate on the bottom and around your foundation to make it strong. This way, external water won’t seep inside your house's foundation walls at any cost. Polymers are used to coat the exterior of your house, which cures all the water issues instantly.
3. Foundation Crack Injections
In this method, your house foundation wall cracks are repaired from the inside without extracting any soil. The professionals you hire inject different types of liquid, like epoxy or polyurethane, around the cracked part. This process hardens your foundation, which prevents water from seeping inside your house.
This method is usually used to cover up cracks that aren’t too huge and can be repaired instantly. However, if you have seen large cracks around your foundation, we suggest you not use this method.
4. Drainage Systems
You get moisture in your basement when there’s drainage. If you want to get rid of drainage in order to keep your basement area dry. The drainage system available out there will redirect water away from your house foundation. Different kinds of soil drain away in different ways, so before installing any drainage system in your house, you should consider checking your soil type.
After that, you can install a sump pump to collect water that exists around your foundation or basement. No matter which drainage system you want to install in your home, it’s better to consult a professional before doing so.
Advantages of Doing Basement Waterproofing
We all wish to live in a problem-free house. With basement waterproofing, you can do so. To help you understand, we’ve listed some of the top advantages of waterproofing your basement.
Increases your house value: When you decide to waterproof your basement, you can count it as an aspect of increasing your house value. A healthy home and lifestyle can increase your home value by up to 25%.
Prevents water damage: If you don’t take care of your basement issues on time, it leads to severe issues like structural damage. To avoid this, we’d suggest you do waterproofing on time and save your basement from damage.
Reduce your energy bills: When your basement is not waterproofed, you need to heat and cool your house more to maintain humidity. But once you waterproof your home, you need to spend less on your water and electricity bills.
Enhance structural integrity: When water enters your basement from unexpected sources and places, it destroys your house's structure. You can protect your house against the damage of structural elements with basement waterproofing.
Improve air quality: When you do the basement waterproofing of your house, there’s no growth of mold, fungi, or bacteria. This will improve the air quality in your house and positively impact your health.
Conclusion
If you want to protect your basement, house, and belongings from water, doing basement waterproofing through right way is a must. It helps you maintain the structural integrity and visual appearance of your house. Our house is undoubtedly our biggest investment. Sometimes, we need to do its repair and maintenance to make sure that your basement, foundation, and other parts are in the right condition. In this blog, we’ve covered everything that you need to know about your basement and its waterproofing methods. We wish you all the best in waterproofing your basement and living in a safe and secure house.