

A resource for those seeking information on organizing and transforming spaces.

How Clutter Impacts Structural Assessments
Ever walked into a cluttered room and felt overwhelmed? Now imagine trying to inspect a building's structural integrity in that mess. It's not just annoying – it can be downright dangerous. Let's dive into how all that stuff piling up can seriously complicate structural assessments and repairs.
We partnered with a home improvement company. for this post. The opinions in the post are honest. All reviews and opinions expressed in this post are based on our personal views. We are excited because we know you will love it.

Ever walked into a cluttered room and felt overwhelmed? Now imagine trying to inspect a building's structural integrity in that mess. It's not just annoying – it can be downright dangerous. Let's dive into how all that stuff piling up can seriously complicate structural assessments and repairs.
The Clutter Conundrum in Structural Inspections
We've all been there – trying to find something important in a sea of junk. Now picture an engineer attempting to assess critical building components amidst years of accumulated clutter. It's like trying to solve a puzzle with half the pieces hidden under a mountain of laundry.
Obscured Views and Missed Warning Signs
When clutter builds up, it doesn't just make a space look messy. It can literally hide potential structural issues from view. Those cracks, rust spots, or warped beams? They might be completely obscured by boxes, furniture, or equipment that's been left to gather dust.
A building inspector once shared a story about a close call he had. He was checking out an old warehouse and almost missed a seriously corroded support column because it was hidden behind stacks of old pallets and machinery. If he hadn't decided to move some of that stuff, who knows what could have happened down the line?
The Domino Effect of Disorganization
Here's the thing – when one area is cluttered, it tends to spread. Before you know it, entire sections of a building become difficult to access. This can lead to:
Incomplete inspections
Delayed maintenance
Increased safety risks for workers and occupants
It's a snowball effect that can have serious consequences if left unchecked.
Real-World Consequences: When Clutter Complicates Repairs
Let's look at some real-life examples where clutter threw a wrench in the works:
The Office Building Ordeal
A few years back, there was an office building downtown that needed some urgent steel beam repairs. The catch? Years of accumulated files, old furniture, and who-knows-what-else blocked access to critical areas. The repair team had to spend days just clearing out junk before they could even start assessing the damage. Not only did this delay the repairs, but it also racked up extra costs for the building owners.
The Factory Floor Fiasco
In another case, a manufacturing plant had to halt production due to structural concerns. The problem? Massive machinery and stockpiles of materials made it nearly impossible to properly inspect the support structures. They ended up having to dismantle and move entire production lines just to get a clear look at the building's bones. Talk about a costly and time-consuming headache!
The Residential Nightmare
It's not just commercial spaces that suffer. There was a homeowner who ignored a small leak in their basement for years. By the time they finally cleared out all the stored junk and called in a pro, the water damage had compromised the foundation. What could have been a simple fix turned into a major structural overhaul.
Clearing the Way for Safe and Effective Assessments
So, what can be done to avoid these clutter-induced catastrophes? Here are some practical tips:
Regular Clean-Ups: Don't wait for inspection time. Make decluttering a routine part of building maintenance.
Create Access Plans: Develop clear pathways to critical structural components. Mark these areas and keep them clear at all times.
Document and Organize: Keep detailed records of where important structural elements are located. This can save precious time during inspections.
Educate Occupants: Make sure everyone using the space understands the importance of keeping certain areas clutter-free.
Schedule Periodic Walk-Throughs: Don't wait for problems to arise. Regular checks can catch clutter build-up before it becomes a major issue.
The Hidden Costs of Clutter
It's easy to underestimate the impact of a messy space, but when it comes to structural integrity, the costs can add up quickly:
Increased inspection time (and therefore, higher fees)
Delayed identification of potential problems
More complex and expensive repairs when issues are finally discovered
Potential legal liabilities if structural problems lead to accidents
Declutter for Safety's Sake
Look, it's understandable. Everyone's busy, and sometimes it's easier to just shove things in a corner and forget about them. But when it comes to the buildings we live and work in, that attitude can be downright dangerous.
Next time you're tempted to let clutter pile up, remember the stories shared here. Think about the inspectors trying to do their jobs, the repair teams struggling to access critical areas, and the building owners facing massive bills because small problems grew unchecked.
Let's make a pact, shall we? Whether you're a homeowner, a business manager, or just someone who cares about safety, commit to keeping your spaces clutter-free. Not just for tidiness' sake, but for the structural integrity of the buildings we depend on every day.
A little effort in keeping things organized can go a long way in preventing major headaches (and potential disasters) down the road. So roll up those sleeves, clear out that junk, and give those beams and columns some breathing room. Your future self (and your friendly neighborhood structural engineer) will thank you for it!

What Does a Security Camera Installation Include?
When it comes to securing your home or business, few things compare to the peace of mind provided by a well-planned security camera system. Whether you're looking to prevent break-ins, monitor activities, or simply enhance overall safety, a security camera installation can offer an effective solution.
We partnered with a home improvement company for this post. The opinions in the post are honest. All reviews and opinions expressed in this post are based on our personal views. We are excited because we know you will love it.

When it comes to securing your home or business, few things compare to the peace of mind provided by a well-planned security camera system. Whether you're looking to prevent break-ins, monitor activities, or simply enhance overall safety, a security camera installation can offer an effective solution.
This article explores what a security camera installation typically encompasses and provides insights into the various aspects you should consider when implementing this important surveillance measure.
1. Assessing Your Needs:
Before tackling the technicalities of a security camera installation in Auckland or any place else where you live, it is crucial to assess your specific needs. Consider factors such as property size, layout, coverage areas, and potential vulnerabilities. This initial evaluation will be instrumental in determining the overall effectiveness of your surveillance system.
2. Planning and Design:
Once you've identified your surveillance objectives and property requirements, the next step involves creating a comprehensive plan and design for your security camera installation. This stage often includes collaborating with professionals who specialise in surveillance systems.
The planning stage takes into account factors such as ideal camera placements, types of cameras required (e.g., dome cameras or bullet cameras), lighting conditions in different areas, necessary accessories (such as mounts and cabling), and any additional features desired (such as night vision capabilities).
3. Choosing Suitable Cameras:
Selecting the right cameras plays a pivotal role in determining the effectiveness of your security system. Nowadays, numerous options are available that cater to varied requirements, including indoor/outdoor monitoring, day/night functionality, high-resolution imaging capabilities, and advanced recording features.
Choosing cameras that align with your specific needs and budget constraints is essential without compromising on quality. Additionally, consider factors like weather resistance capabilities for outdoor installations or discreet designs for indoor placement.
4. Networking Setup:
Setting up a reliable network infrastructure is vital for seamless connectivity between your security cameras and monitoring devices such as smartphones or computers. This usually involves establishing a secure wireless network or cabled connections.
During this stage, ensuring strong Wi-Fi coverage throughout your property is important for optimal camera performance. Configuring port forwarding and implementing proper firewall settings can bolster security and prevent unauthorised access.
5. Installation and Mounting:
Installing security cameras correctly is key to maximising their potential to deter threats and capture crucial footage. In most cases, professional technicians handle the installation process, ensuring proper placement, adjustment, and alignment of each camera.
Based on the design plan developed earlier, cameras are strategically installed in entrances/exits, high-traffic areas, blind spots, or any other locations that require monitoring. Careful attention should be given to securely hiding cables and securing cameras to minimise tampering risks.
6. Power Supply:
Ensuring a reliable power supply for your security camera system is vital for uninterrupted surveillance coverage. Cameras may be powered through electrical outlets or use alternative sources such as Power over Ethernet (PoE) technology.
Although many modern cameras have built-in power options, it's essential to evaluate power stability and redundancy requirements based on factors like camera quantity and geographical location.
7. Integration and Monitoring:
Once the security cameras have been installed and the network infrastructure has been set up, the next step is to integrate your surveillance system with monitoring technology.
Depending on the complexity of your setup, this may involve connecting a Network Video Recorder (NVR) or Digital Video Recorder (DVR) to your cameras, configuring software applications for remote access, or integrating with existing security systems such as alarms or access control.
By implementing an effective monitoring solution, you can remotely view live camera feeds, review recorded footage, receive alerts for suspicious activities, and manage multiple cameras from a centralised interface. This integration enhances the overall effectiveness of your security camera installation and provides convenient oversight.
Conclusion
Investing in a comprehensive security camera installation is an effective way to enhance the safety of your property or business. By carefully assessing your needs, planning diligently, choosing suitable cameras, setting up robust network infrastructure, performing meticulous installations/mountings, and harnessing reliable power supply solutions - you can create an advanced surveillance system capable of meeting your specific requirements.
Remember that an efficient security camera installation necessitates professional expertise during various stages for optimal results. Prioritise collaborating with experienced professionals who can guide you through every step of the process while adhering to local regulations within your jurisdiction.

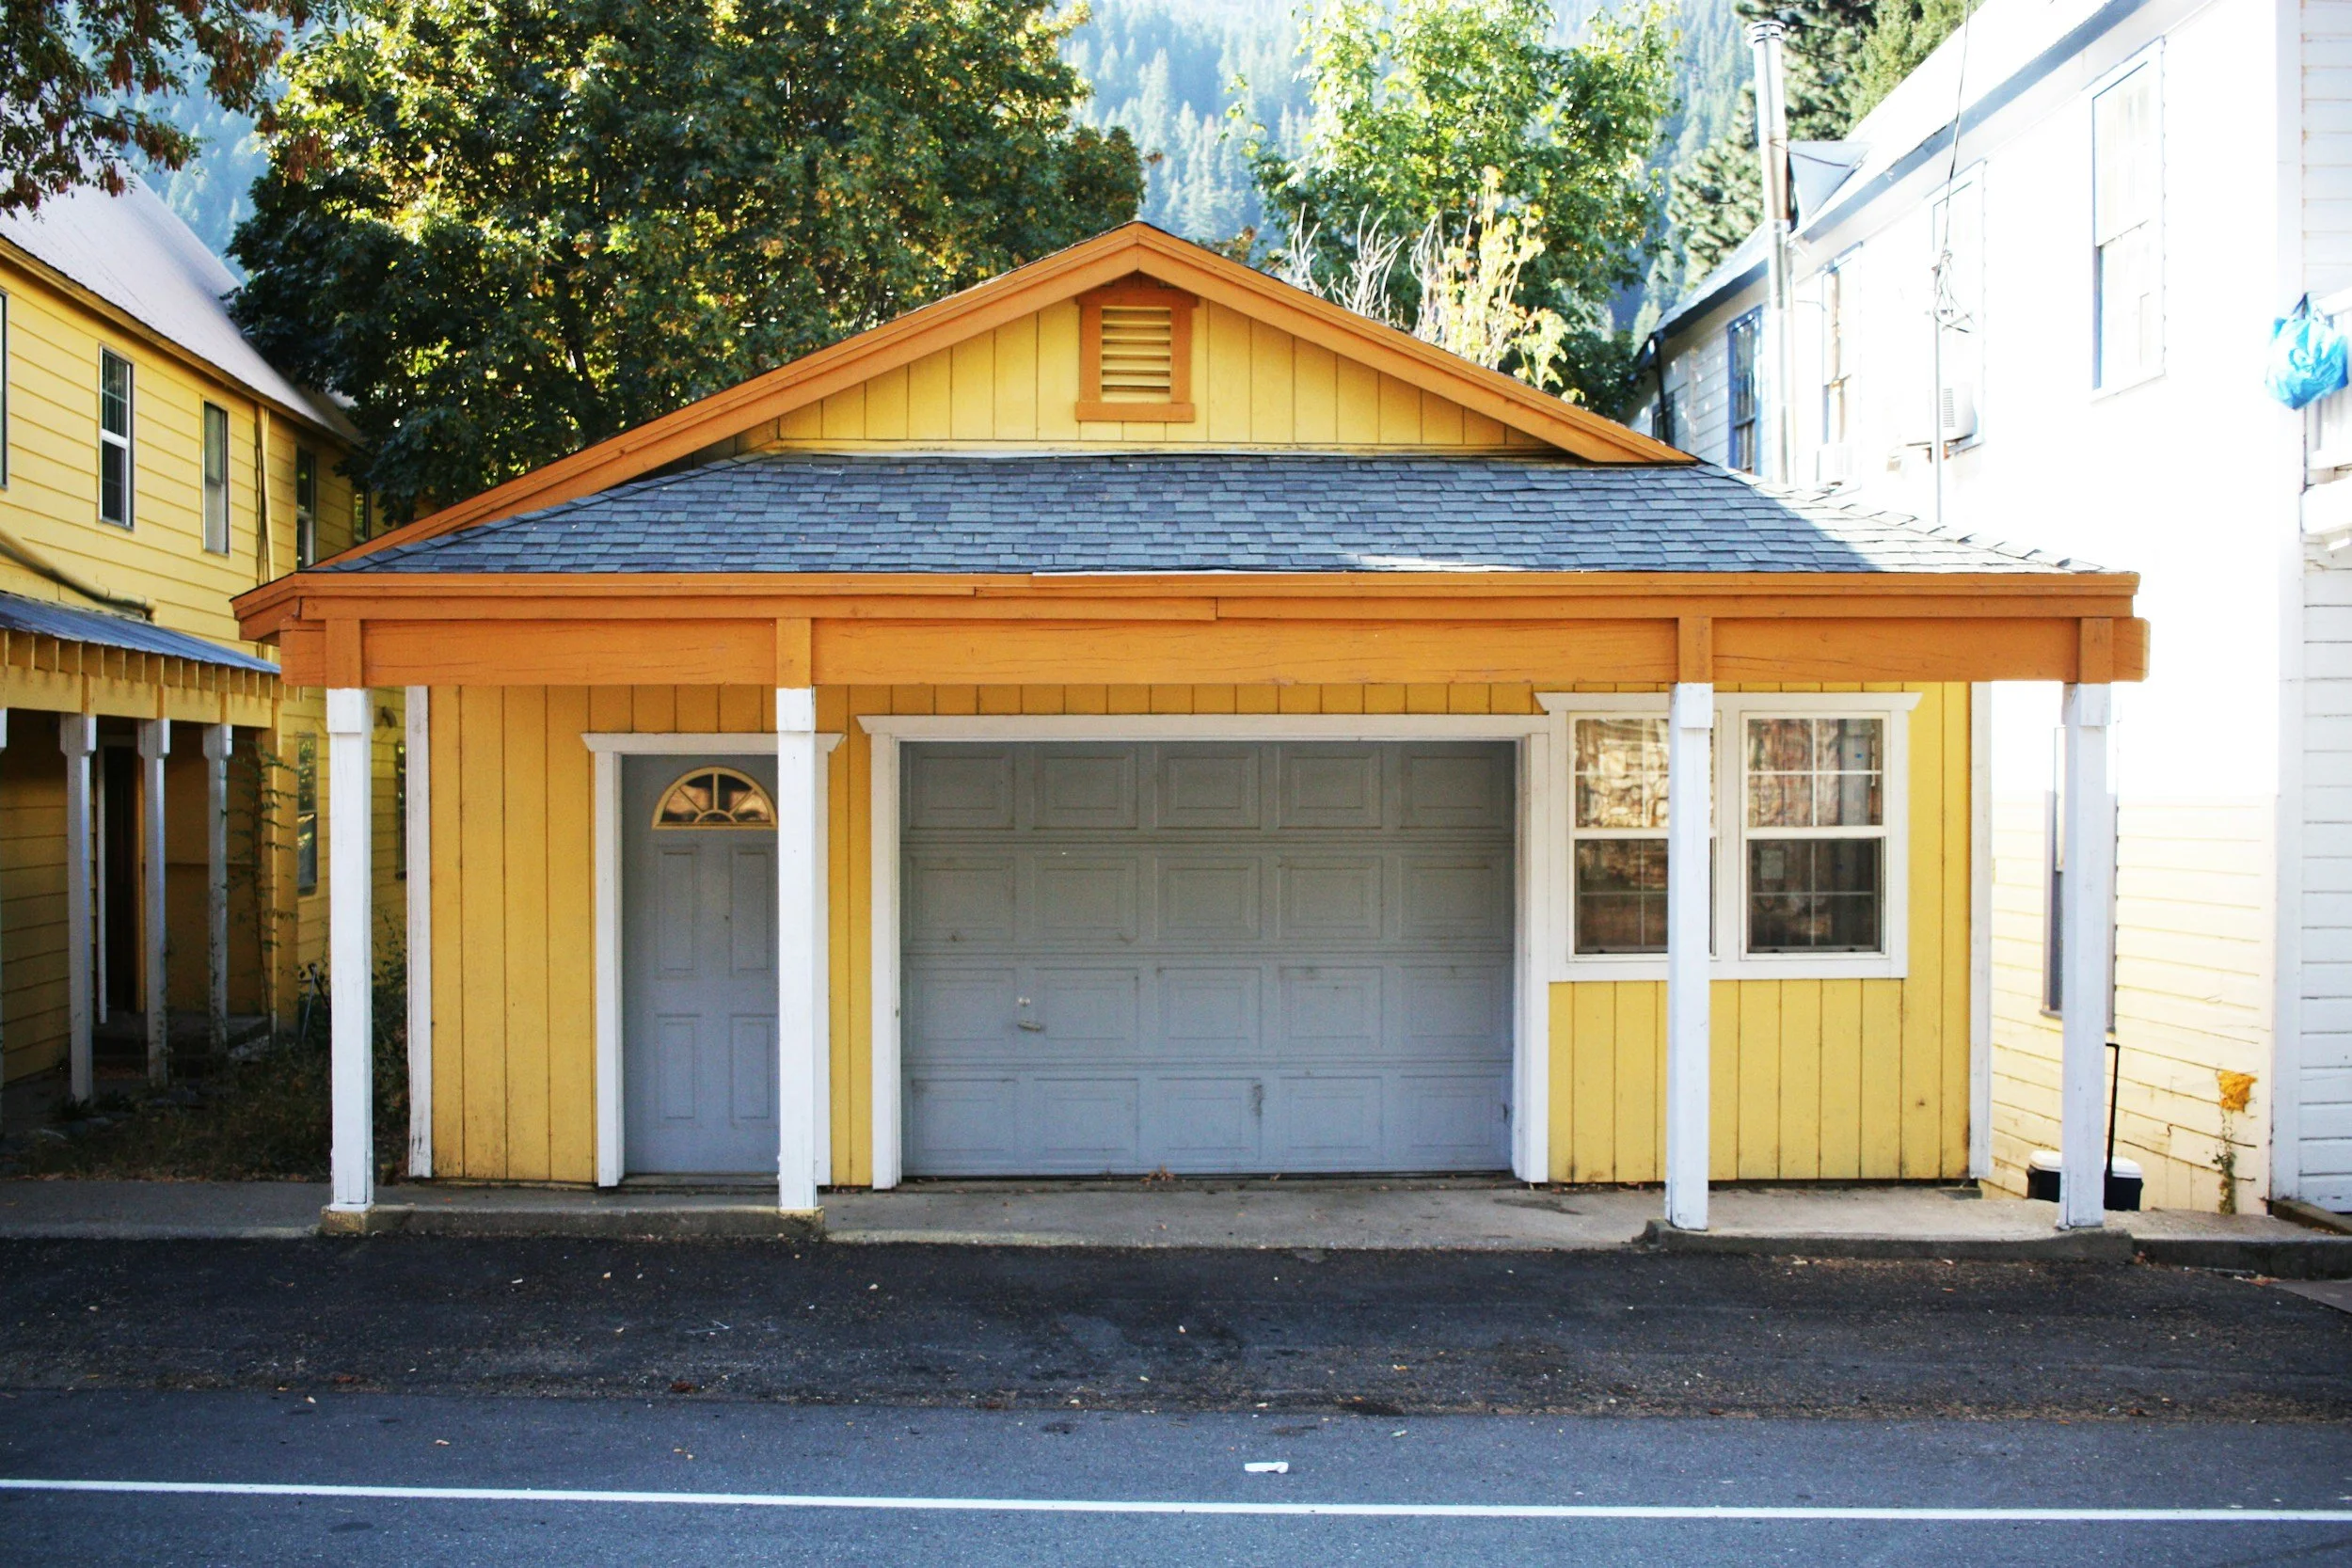
Common Problems with Garage Remotes and How to Fix Them
Is there anything more frustrating than a malfunctioning garage door remote when you're rushing out the door? If your garage remote isn't working properly, there could be a variety of issues at play. Here are some common problems with garage remotes and how you can troubleshoot and fix them without hassle.
Is there anything more frustrating than a malfunctioning garage door remote when you're rushing out the door? If your garage remote isn't working properly, there could be a variety of issues at play. Here are some common problems with garage remotes and how you can troubleshoot and fix them without hassle.
Battery Issues
One of the most common and easily overlooked reasons why your garage remote may not be working is a simple one: dead or weak batteries. Start by replacing the batteries with fresh, high-quality alkaline batteries to ensure optimal performance. It's important to avoid mixing old and new batteries, as well as different types of batteries, which can cause uneven power distribution and affect the remote's functionality. Make sure to check the battery contacts within the remote for any signs of corrosion or debris; a gentle clean with a cotton swab dipped in vinegar can remove any residue. Additionally, consider keeping a spare set of compatible batteries handy and mark a reminder on your calendar to replace them at least once a year to prevent unexpected interruptions.
Programming Errors
Sometimes, the issue lies in the programming of your garage remote. If your remote is not responding to your commands, it could be due to a programming error. First, consult your garage door opener manual for specific instructions on how to reprogram your remote. Typically, the process involves locating the "Learn" or "Program" button on the garage door opener unit, pressing and holding it until the indicator light turns on, and then pressing a button on your remote to sync it with the opener. Ensure that you complete this process within a designated time frame, often within 30 seconds, to avoid starting over. Additionally, if you've recently experienced a power outage, it may have reset the programming—requiring you to reprogram the remote. For homeowners with multiple remotes and keypads, ensure each device is programmed using the same method to prevent inconsistencies. If you experience persistent issues, it might be helpful to clear the opener's memory by pressing and holding the "Learn" button until the indicator light turns off, then reprogram all the remotes afresh.
Interference
Interference from various electronic devices is a common culprit for garage remote issues, often leading to inconsistent or weak signals. Wireless routers, baby monitors, cordless phones, and even some LED light bulbs can disrupt the communication between your remote and the garage door opener due to signal overlap. To troubleshoot this, identify and relocate or power down nearby electronic devices to see if the remote's performance improves. Switching your remote to a different frequency could also alleviate the issue; many modern garage door openers offer multiple frequency settings, which can be changed by following the manufacturer's instructions. Additionally, upgrading to a remote with rolling code technology can minimize interference problems as it changes the code each time the remote is used, making it more resistant to signal interference. If you continue to experience issues, consider installing an external antenna on the garage door opener to enhance signal reception, or use a remote signal booster, which can amplify the signal strength. This proactive approach will help ensure your garage door remote operates smoothly even in a tech-filled environment.
Obstruction in Signal Path
If your garage door remote works only when you're standing close to the door, obstructions in the signal path may be the cause. Start by examining the area between your remote and the garage door opener. Common culprits include metal shelving units, heavy-duty storage bins, and parked vehicles that can block or weaken the signal. Even less obvious obstructions like dense shrubbery or decorations near the garage entrance can interfere. Clear out these obstructions to improve the range and reliability of your remote. Additionally, keep the antenna on your garage door opener fully extended and straight to maximize signal reception. If possible, install the opener in a location free from such obstructions. Consider rearranging your storage layout to keep the path clear and ensure your remote functions smoothly. If obstructions are unavoidable, a remote signal booster could help, but prioritizing a clear signal path is the best first step.
Faulty Remote
If none of the above solutions resolve the issue, your garage remote itself might be faulty. Start by inspecting the remote for any visible signs of physical damage, such as cracked casing or worn-out buttons. If the remote appears intact, but still doesn't function, try a reset by removing its batteries for a few seconds, and then reinserting them. Should the problem persist, you may need a compatible replacement remote designed specifically for your garage door opener model. To avoid compatibility issues, purchase the remote from the original manufacturer or a trusted supplier like Frost Security Locksmiths. After obtaining a new remote, follow the garage opener's manual for programming. This often involves pressing the "Learn" button on the opener and synchronizing it with the remote. If you are unsure about the model or compatibility, many manufacturers offer resources on their websites, including model lookup tools and customer support to help with the identification process. Keeping a backup remote as a part of regular maintenance can also mitigate downtime in the future.
Dealing with a malfunctioning garage door remote can be a headache, but armed with these troubleshooting tips, you can quickly identify and resolve common issues on your own. By addressing battery issues, programming errors, interference, signal obstructions, or a faulty remote, you can get your garage door operating smoothly again in no time. If all else fails, consider seeking professional assistance from a technician specializing in garage door repairs for expert guidance and support.
Don't let a faulty garage door remote slow you down – take charge of the situation with these practical solutions!

Maximising Energy Efficiency: Financial Tips for Green Home Improvements
With growing global consciousness about the environment, many people who own houses are seeking methods to enhance energy efficiency in their homes. These green improvements not only lessen your carbon impact but also result in substantial savings on bills for utilities. However, it is difficult to overcome the first expenses. The article offers six financial suggestions for making your home energy efficient while not spending excessively.
With growing global consciousness about the environment, many people who own houses are seeking methods to enhance energy efficiency in their homes. These green improvements not only lessen your carbon impact but also result in substantial savings on bills for utilities. However, it is difficult to overcome the first expenses. The article offers six financial suggestions for making your home energy efficient while not spending excessively.
Conduct an Energy Audit
Before you start doing green home improvements, it's very important to know where your house is losing power. Having an energy audit carried out by a professional can help in identifying the places that require attention. Many utility companies give free or reduced-price energy audits. The audit will give you a complete report about your home's power usage, showing the main places where improvements can be made. This step is important to make sure that investments are directed in the right way, getting maximum results from both electricity savings and cost-effectiveness. Taking this active step can create the base for all of your future attempts to save power.
Prioritize Cost-Effective Upgrades
After you receive the outcomes of your power audit, give preference to those upgrades that are most financially feasible. Begin with easy repairs such as closing drafts, putting in insulation, and setting up doors and windows which use less power. Frequently, these improvements show a fast return on investment. Changing to energy-saving appliances and lighting may also have an important impact. When you start with the most effective changes, it becomes possible to save on utility bills right away. This makes paying for bigger projects in the future easier. Additionally, these upgrades can improve the comfort and general livability of your home.
Explore Sustainable Loan Options

Obtaining financial support for green home enhancements might pose difficulties, yet there exist particular loan choices to assist. Consider eco-friendly green loans - Handy Finance offers several tailored options designed to support energy-efficient projects. These kinds of loans usually have lesser interest rates and better conditions compared with ordinary ones. When a loan is sustainable, you can pay for your improvements little by little, which helps in handling your budget and at the same time reaching efficiency targets. Moreover, selecting a green loan might mirror dedication to sustainability and possibly provide extra benefits.
Take Advantage of Tax Incentives and Rebates
The cost of green home improvements can also be largely reduced by government incentives and rebates. Look for federal, state, and local programs that give financial help for energy-efficient upgrades. Some common incentives are tax credits for solar panels, rebates on power-saving appliances, or grants for home insulation. Using these programs can lessen your initial expenses and enhance the return on investment, rendering green home enhancements more feasible from a financial perspective. Being aware of such opportunities could result in significant savings as well as promote ongoing advancement. Regularly checking for new incentives can help you take advantage of evolving programs that support sustainability.
DIY Where Possible
For those who own a house and have financial limitations, doing it themselves (DIY) might be the best method for making green changes. A lot of energy-efficient enhancements such as weather stripping and putting in low-flow showerheads or window film can be accomplished without needing professionals. There are many resources available on the internet that will assist you in carrying out these projects, along with tutorials to guide you through them as well. Do-It-Yourself improvements can save you money on work fees and pleasure knowing that your actions have a good effect on the power effectiveness of your house. Additionally, these minor alterations may accumulate gradually, resulting in substantial electricity preservation.
Plan for Long-Term Savings

Think about green home improvements in a long-term way. At the start, it might need big money but think of how much you could save on utility bills over time. Also, calculate the payback period for each improvement and keep in mind the possible rise in your house's worth. Homes that save electricity are a selling point for buyers, and this might bring back big benefits in the future if you choose to sell. Keeping an eye on sustainability can also bring more savings through less maintenance and operational costs over time. With a smart plan, your green home may become a lasting financial asset. Planning for the long term ensures that your investments continue to pay off well into the future, providing ongoing benefits for years to come.
Making your home more energy efficient is not only good for the environment, but also a smart financial move. Doing an audit, focusing on affordable changes, using tax benefits and rebates, looking into sustainable loans, doing DIY projects, and preparing long-term savings can make these green home improvements financially possible. Try these suggestions to help you create an energy-efficient and eco-friendly house without putting too much pressure on your budget.