
DIY Repairs That Make Kids' Furniture Last Longer
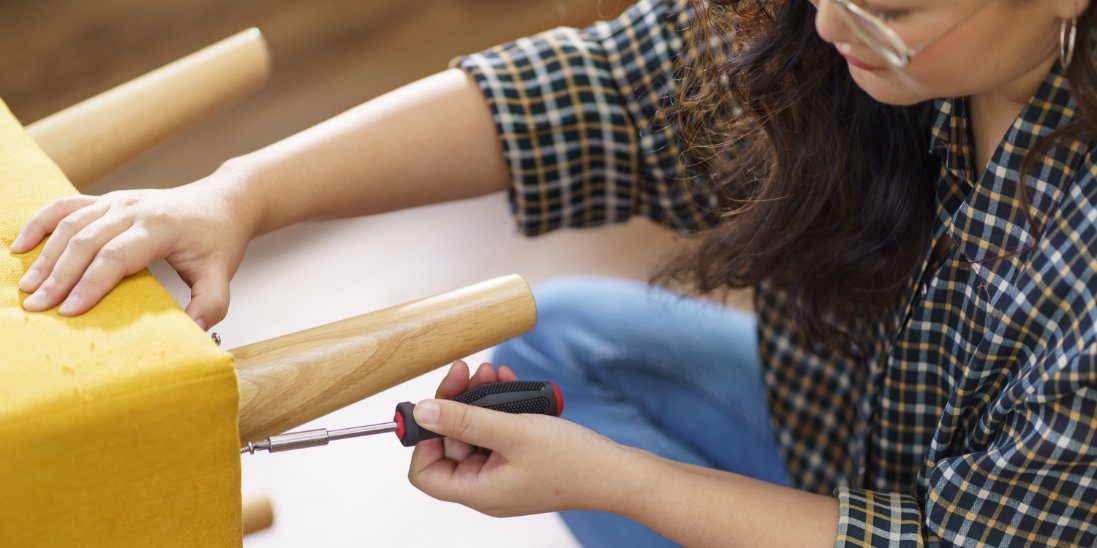
Kids have a special talent for making furniture look much older than it is. A perfectly good chair starts wobbling after a few months. The playroom bench picks up a tear, and somehow a dresser drawer stops closing even though nobody remembers doing anything to it.
Before you replace another piece, try a few of these DIY repairs that make kids' furniture last longer. Many common problems come from loose hardware or worn surfaces rather than a piece reaching the end of its life. Fixing those issues helps you stretch your budget and saves you from another furniture-shopping trip after work.
Tighten Wobbly Chairs Before They Get Worse
A slight wobble rarely stays slight for long. Every time your child climbs onto the chair or drags it across the floor, the loose joint takes more stress.
Start by turning the chair over and checking the screws. Tighten anything that has worked loose, but stop once the hardware feels secure. Overtightening might strip the hole and leave you with a bigger repair.
Check the Joints While You Are There
Give each leg a gentle wiggle after tightening the hardware. If the movement comes from a glued joint instead of a screw, you might need to reglue it. Fixing the wobble now keeps the frame from shifting every time someone sits down, which also makes the chair feel much safer during busy mornings when nobody has time to think about furniture stability.
Repair Loose Upholstery Before It Tears
Loose fabric on a kid's chair or bench usually starts small. One edge pulls away underneath, then little hands find it. From there, the problem tends to grow quickly.
Flip the piece over and see how the fabric attaches to the frame. If the material still looks strong, you might only need to pull it snug and secure the loose edge again.
For a larger upholstery project, an upholsterer’s guide to heavy-duty staple guns offers a helpful starting point for choosing tools that suit thicker materials. The right tool makes the repair easier, but technique is the most important part.
Keep the tension even so one side does not end up tighter than the other. Once the seat looks smooth again, secure the material underneath where the fasteners stay out of sight.
Stop Drawers From Becoming a Daily Battle
Before replacing the dresser, pull out the drawer and inspect the slides. A loose screw might cause the drawer to tilt slightly, which makes it catch every time someone opens it. Tighten the hardware and clear anything blocking the track. If the slides show damage, replacing them usually costs much less than buying a new dresser.
You should also check whether children have overloaded the drawer. Kids are excellent at turning one drawer into storage for half the room, after all. Removing some weight sometimes solves the problem before you reach for a screwdriver.
Smooth Rough Edges Before They Spread
Furniture edges take plenty of abuse in a family home. A toy hits the corner, paint chips away, and suddenly a small rough patch starts catching on clothes. Take care of those spots before more material breaks away. Start by gently smoothing the damaged area with fine sandpaper. You want to remove the rough edge without reshaping the furniture.
For painted pieces, touch-up paint helps protect the exposed area afterward. Try to match the existing finish closely, but don't stress about making the repair invisible. On kids' furniture, durability matters more than perfection.
Give Scratched Surfaces a Quick Refresh
A scratched tabletop does not always need refinishing from top to bottom. Start by cleaning the surface so you know which marks are permanent and which ones came from crayons or everyday grime. Once the table dries, look at the scratches again.
Light marks sometimes respond well to a furniture touch-up product made for the existing finish. Deeper scratches, on the other hand, need more attention because exposed wood has less protection from spills.
Before you start, gather what you need:
A soft cleaning cloth
Fine sandpaper for rough spots
A matching touch-up product
A small brush for detailed areas
Clean rags for wiping excess product
Keep the repair focused on the damaged section. You do not need to turn a Tuesday evening into a full furniture-restoration project.
Replace Small Hardware Instead of the Furniture
Sometimes the broken part costs only a few dollars. For example, a missing drawer pull makes a dresser feel worn out. A damaged hinge makes a toy chest frustrating to use. Neither problem means the whole piece needs to go. Take the damaged hardware with you when shopping for a replacement. Matching the hole spacing saves you from drilling new holes into the furniture.
If the original hardware feels flimsy, this is also your chance to choose something sturdier. A stronger hinge or better handle gives an older piece a little more life without changing how your child uses it. One replacement part might save you an entire afternoon of furniture shopping and assembly.
Fix Peeling Finishes Before Moisture Gets In
Once a painted or sealed surface starts peeling, water has an easier path to the material underneath. Start by removing loose finish around the damaged spot, then smooth the edge gently so the remaining coating does not keep lifting.
After cleaning the area, apply a suitable finish that matches the original surface as closely as possible. Give it enough drying time before the furniture goes back into regular use.
Know When a Repair Is No Longer Worth It
Repairing furniture makes sense when the structure still feels solid, but safety should decide when you stop. If a chair frame has a major crack or a crib component shows structural damage, replacing the piece makes more sense than trying to repair it. The same goes for furniture that keeps failing in the same spot.
Still, plenty of everyday damage falls nowhere near that level. Loose hardware, worn fabric, and sticky drawers usually deserve a closer look before you give up on the piece.
Once you get comfortable with these DIY repairs that make kids' furniture last longer, you start seeing worn furniture differently. Instead of assuming something needs replacing, you first ask what actually failed.
Sometimes the answer takes ten minutes and a screwdriver. For a busy family, that is a lot easier than hauling another flat-packed box through the front door.