

A resource for those seeking information on organizing and transforming spaces.

The Most Overlooked System in Your Home Before Summer
Before summer hits full force, most homeowners focus on the obvious, cooling and outdoor prep, but overlook how systems actually handle increased demand. Even something as simple as a pool robot hints at a bigger picture: your home is about to operate under constant load, and the systems behind it matter more than you think when preparing your home for summer.
We partnered with a home improvement company for this post. The opinions in the post are honest. All reviews and opinions expressed in this post are based on our personal views. We are excited because we know you will love it.
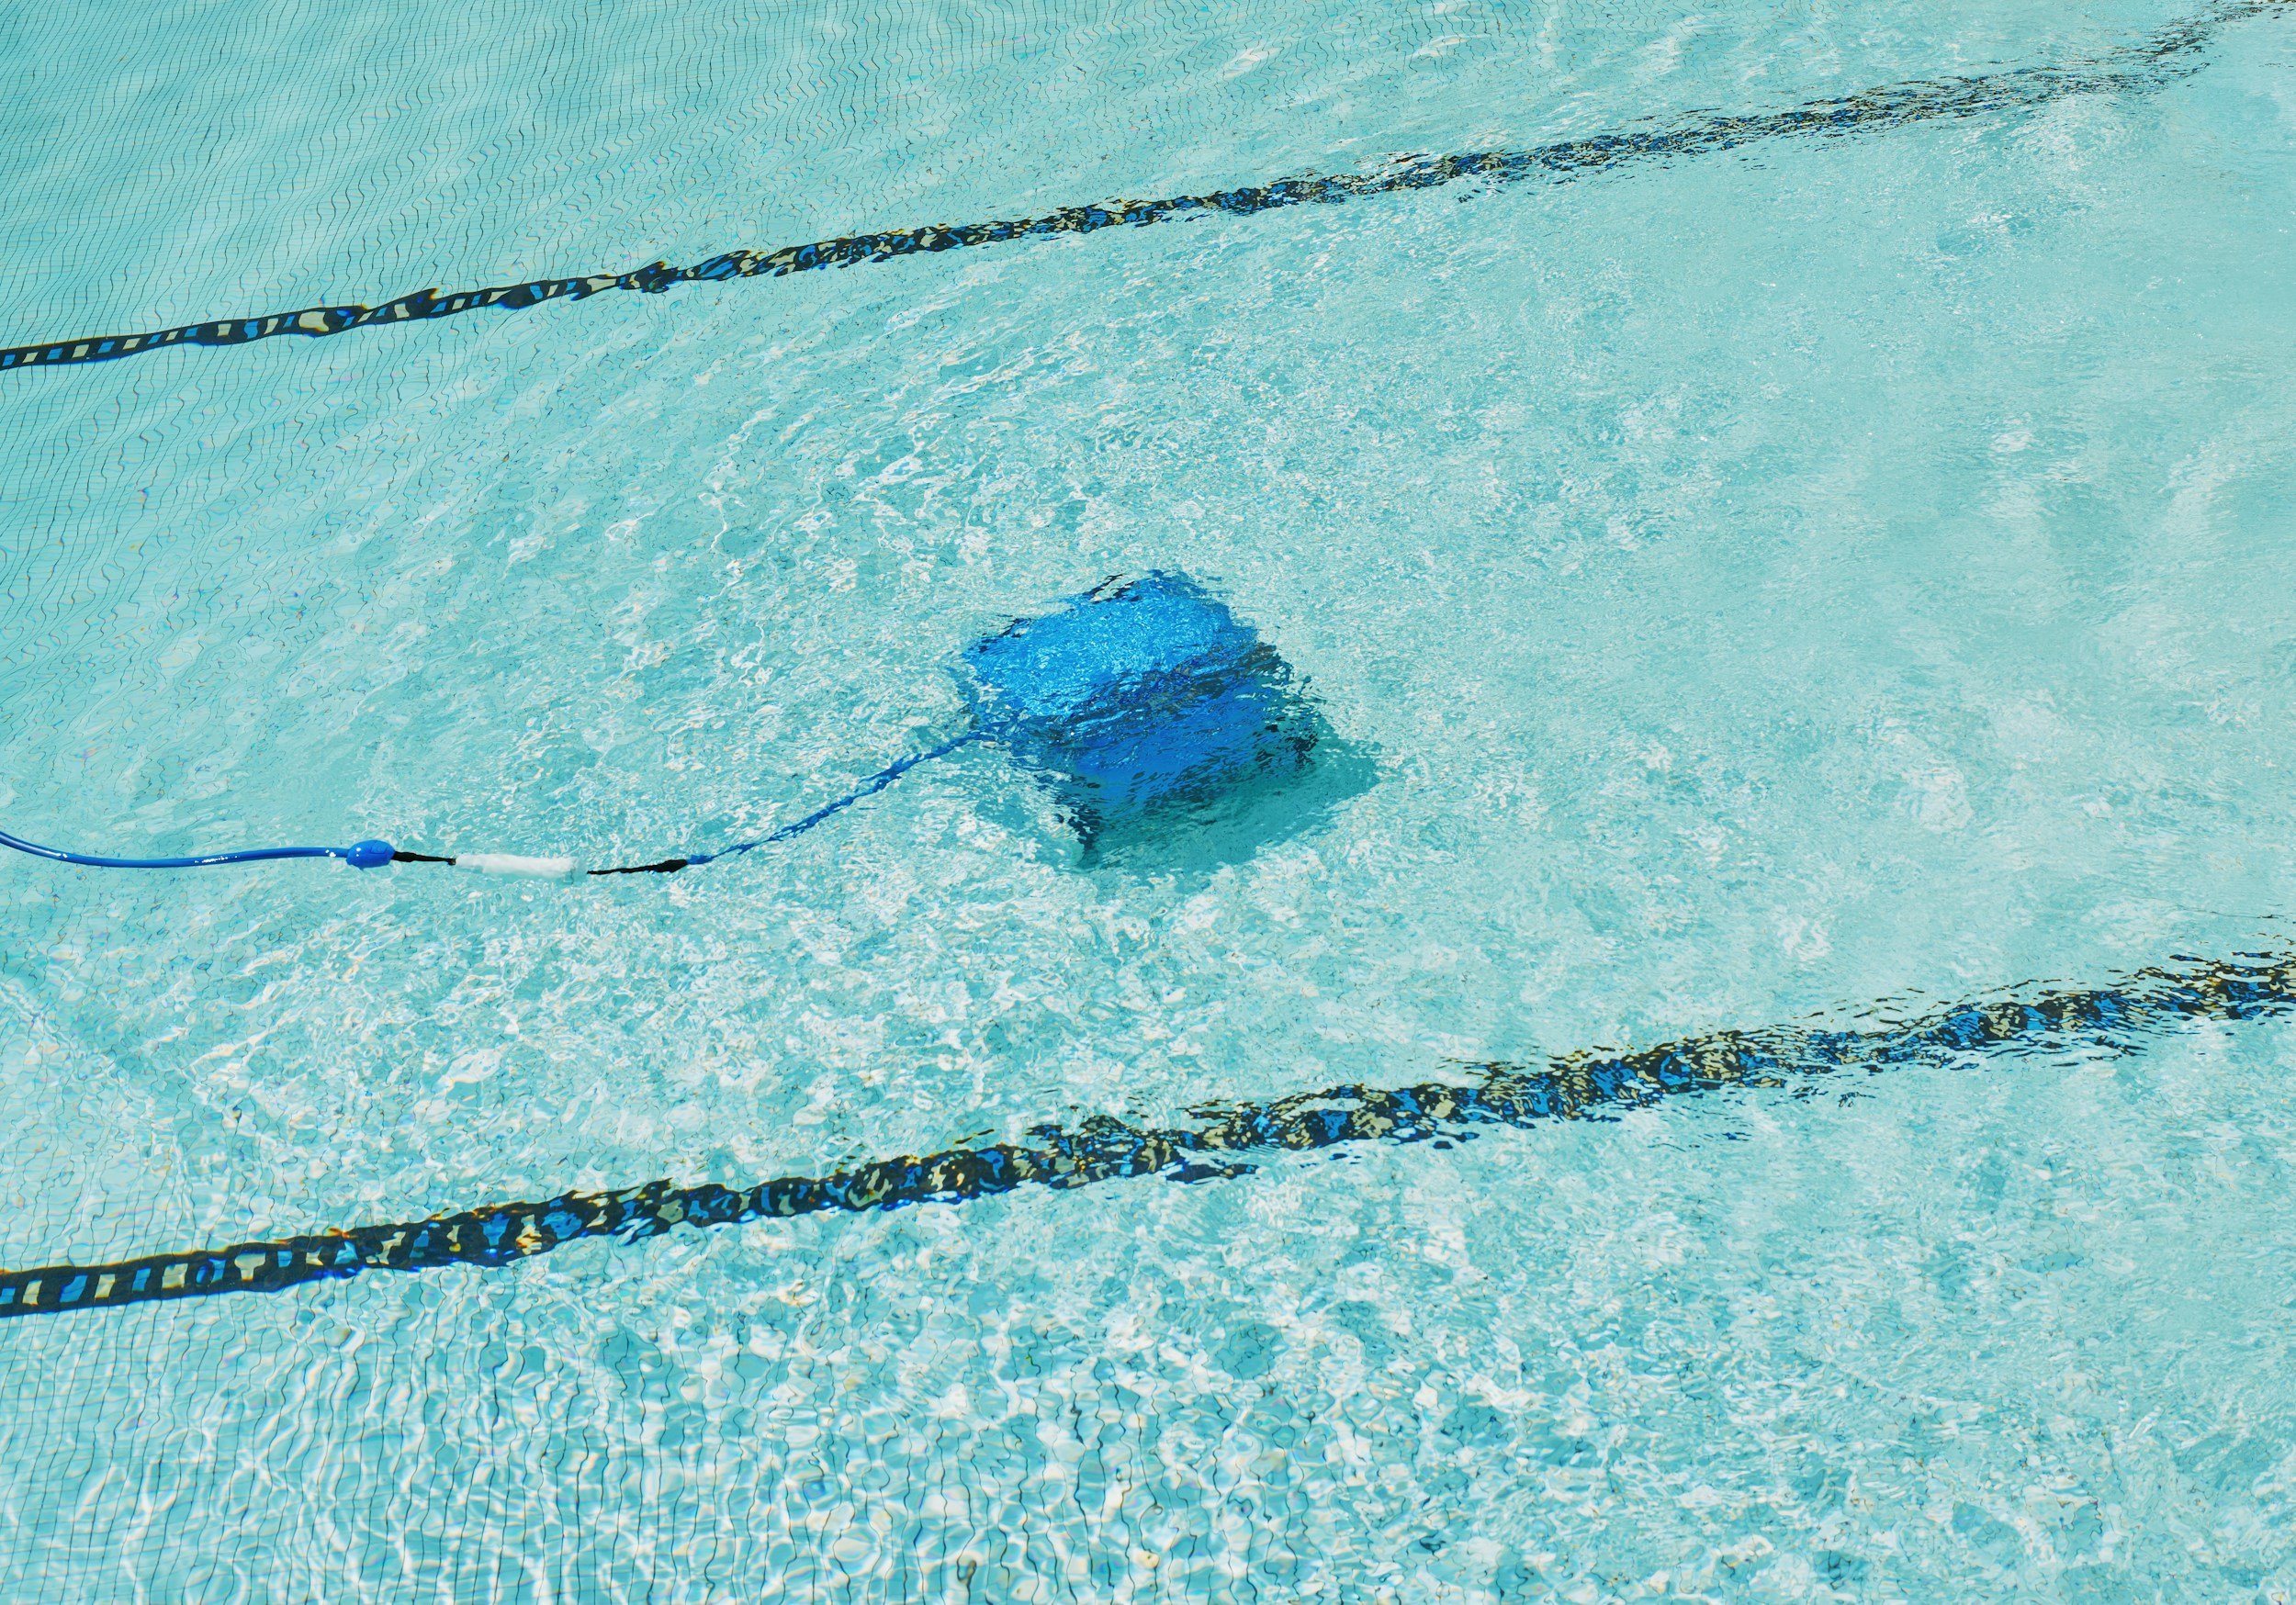
Before summer hits full force, most homeowners focus on the obvious, cooling and outdoor prep, but overlook how systems actually handle increased demand. Even something as simple as a pool robot hints at a bigger picture: your home is about to operate under constant load, and the systems behind it matter more than you think when preparing your home for summer.
Overlooked Areas in Summer Home Maintenance
Most people focus on what they can see, lawn care, AC performance, maybe gutters, but ignore systems that quietly take the biggest hit in summer home maintenance: plumbing, drainage, and ventilation.
The pattern is that homeowners react to visible problems but skip the systems that prevent them. They don’t overlook tasks, they overlook timing and cause-and-effect.
They wait until the AC struggles, the yard floods, or the water pressure drops, and then react. What’s actually missed is the transition period, when a home shifts from low winter demand to high summer stress while preparing your home for summer.
That’s when small existing weaknesses get exposed. Outdoor plumbing can show damage from winter, drainage issues surface quickly during storms, attic ventilation problems build heat, and pressure changes appear with increased demand.
The real oversight isn’t a checklist item, it’s ignoring how quickly systems go from " fine" to "failing" under seasonal load.
Why Plumbing Matters When Preparing Your Home for Summer
Because summer is when your plumbing works overtime and small issues turn into expensive ones fast, something often overlooked in summer home maintenance.
Water usage spikes with more showers, laundry, sprinklers, hoses, and pools, which increases the risk of clogs and pressure strain. Pressure inconsistencies become more noticeable, and soil expansion can add stress to the system.
Plumbing isn’t just pipes, it’s your home’s water management system. It’s the only system that connects daily behavior directly to structural risk.
You can ignore a slightly inefficient AC for a while. You can’t ignore water.
If it fails, it affects everything from comfort to structural integrity, leading to leaks, mold, foundation moisture issues, and hidden damage behind walls. Plumbing isn’t about convenience, it’s about controlling where water goes and where it doesn’t, one of the core ideas behind effective summer home maintenance tips.
Common Summer Plumbing Problems Homeowners Face
Summer has its own "personality" when it comes to plumbing issues, but it doesn’t create new problems, it reveals weak points during summer home maintenance.
The most common issues are delayed reactions. A pipe weakened in winter finally starts leaking, tree roots that were dormant start invading sewer lines, and slight clogs become full blockages under heavier use. Minor leaks can quickly become major problems because increased usage puts more pressure on weak spots.
Higher usage also brings clogged drains, low water pressure from peak demand, and water heater strain from increased daily use. Outdoor faucet or hose leaks often show up late from freeze damage.
What makes summer unique is volume and frequency. Systems that handled light use suddenly can’t keep up, so the real pattern isn’t new problems, it’s old problems accelerating.
How Pool Systems Connect to Your Home’s Plumbing
Your pool isn’t a separate system, it’s a high-demand extension of your home’s plumbing, which becomes especially important when you get your home ready for summer.
It ties into your water supply lines for filling and topping off, drainage and waste lines for backwashing or draining, and electrical and pump systems that rely on proper water flow. It pulls from the same water supply, drainage capacity, and pressure system.
That means every time you refill the pool, backwash the filter, or deal with evaporation, you’re adding load to your home’s plumbing.
If your home plumbing has pressure issues or leaks, your pool system can suffer, and vice versa. Improper drainage can overload your yard and affect your foundation. If your system is already borderline, the pool is often what pushes it over the edge.
Pool Checks Before Preparing Your Home for Summer
Don’t just check if the pool is clean, check if it’s stable under stress as part of preparing your home for summer.
Don’t just skim leaves and call it done, look at the system behind the water. Most costly pool issues don’t start in the water, they start in the plumbing and circulation system.
Focus on pump and filter performance, leaks around connections and valves, water level consistency, and backwash or drain lines to ensure proper discharge. Chemical balance should be set as a baseline before heavy use.
The key question is whether the system will still work the same after a few weeks of heavy use. Look at flow consistency, not just whether it’s running, along with subtle water loss and pressure changes in the system.
Most pool failures don’t happen on day one, they show up mid-season when everything is already in use.
Other Systems to Check During Summer Home Maintenance
A well-prepared home works like a system, not a checklist. The goal isn’t checking boxes, it’s making sure heat, water, and airflow are all managed properly together during summer home maintenance.
Instead of listing systems, think in terms of forces acting on your home. Summer introduces heat, water, and expansion, so inspect anything that manages those.
That includes air movement through the HVAC system, filters, coils, airflow, and attic ventilation to handle heat. Drainage, gutters, downspouts, and foundation grading handle water, especially during summer storms. Materials, seals, and even electrical load come into play when dealing with expansion, contraction, and increased demand from outdoor equipment.
This approach is stronger than a checklist because it helps homeowners understand why they’re inspecting something.
Summer Home Maintenance Tips That Prevent Problems
The best summer home maintenance tips aren’t about doing more, they’re about thinking differently.
Focus on reducing water pressure stress by fixing leaks early and monitoring pressure, keeping air moving through vents, filters, and attic airflow, and managing water direction so it always moves away from your home. Catch minor wear before peak usage hits, especially anything used more in summer.
Most homeowners miss warning signs like slight drops in water pressure, longer drainage times, or rooms that heat unevenly. These aren’t random, they’re early indicators.
If you act at that stage, the fix is simple. If you wait, it becomes a repair. Prevention isn’t about effort, it’s about paying attention sooner, one of the most practical summer home maintenance tips to follow.
Preventative Steps to Get Your Home Ready for Summer
Preventative maintenance isn’t about avoiding work, it’s about avoiding timing disasters when you get your home ready for summer.
Summer problems tend to happen during peak usage, are harder to schedule repairs for when everyone needs help at once, and cost more due to urgency. Contractors are busier, costs are higher, and delays are longer.
A small fix in spring takes 30 minutes, costs little, and prevents a mid-July emergency. So the same issue in spring is a minor inconvenience, but in July it becomes a major disruption.
It’s the difference between control vs. reaction. The real value of preventative maintenance is control over timing, not just cost savings when preparing your home for summer.
A Simple Checklist for Preparing Your Home for Summer
Start with plumbing and drainage since they overlap, this is the foundation of preparing your home for summer. Check outdoor faucets and hoses for leaks, test water pressure, and inspect visible pipes for corrosion or drips. At the same time, clean gutters and downspouts and make sure water flows away from the foundation. This covers both leaks and how water is handled around the house.
Move to HVAC. Replace filters, check airflow and vents, and schedule a quick system inspection if needed. This ensures air is moving properly and the system isn’t under strain.
For exterior and structure, inspect roof and attic ventilation and seal cracks around windows and doors. While doing that, keep an eye out for signs of moisture or mold, and test the sump pump if you have one.
If there’s a pool, inspect the pump, filter, and connections, check for leaks, and balance the water before regular use.
Instead of thinking in separate categories, you can also simplify everything into a 3-part system check, one of the most effective ways to get your home ready for summer.
Water control means checking for leaks, slow drains, pressure changes, and confirming water moves away from the house properly. Air movement is about consistent airflow in all rooms with clean, unobstructed filters and vents. Load capacity comes down to whether your systems can handle increased use across plumbing, HVAC, pool, and electrical.
If those three areas are solid, most summer issues never escalate.

5 Ways a Properly Installed Heating System Can Lower Your Energy Bills
Keeping your home warm during the colder months doesn’t have to mean sky-high utility bills. The secret lies in having a properly installed heating system that works efficiently and consistently. When installed correctly, your system not only keeps you comfortable but also helps you save money in the long run.
Keeping your home warm during the colder months doesn’t have to mean sky-high utility bills. The secret lies in having a properly installed heating system that works efficiently and consistently. When installed correctly, your system not only keeps you comfortable but also helps you save money in the long run.
Let’s explore five specific ways professional heating installation can make a real difference in lowering your energy costs.
Improved Energy Efficiency Through Correct Sizing
One of the most important factors in heating efficiency is system size. If the unit is undersized, it will constantly run in an attempt to keep up, consuming more energy than necessary. Conversely, an oversized system tends to switch on and off too often, which creates uneven temperatures and puts extra strain on the equipment. Professional installers carefully calculate the right size for your home, taking into account square footage, insulation, and climate. This ensures your heating system operates at peak efficiency, using only the energy it needs to keep your home comfortable without overworking.
When your system is sized correctly, it doesn’t waste energy trying to compensate for poor performance. Instead, it delivers steady warmth while consuming less power. Over time, this balance translates into lower monthly bills and fewer repair costs. Proper sizing also helps extend the life of your equipment, since it avoids the stress caused by constant cycling or overuse.
Reduced Heat Loss With Proper Ductwork Installation
Even the most advanced heating system can lose efficiency if the ductwork isn’t installed correctly. Poorly sealed or poorly designed ducts allow warm air to escape before it reaches your living spaces. This forces your system to work harder, driving up energy bills. A proper installation includes sealing joints, insulating ducts, and designing a layout that minimizes airflow restrictions. With these steps, more of the heat you pay for actually reaches your rooms, reducing waste and lowering costs.
Think of ductwork as the delivery system for your heating. If it leaks or is poorly designed, you’re essentially paying for heat that never arrives where you need it. Professional installation ensures ducts are airtight and positioned to maximize airflow. This means your system doesn’t have to run longer than necessary, and you enjoy consistent warmth without unnecessary energy loss.
Optimized Performance Through Professional Installation
Heating installation isn’t just about connecting equipment—it’s about ensuring every component works together seamlessly. Professional installers check airflow, calibrate thermostats, and balance the system to deliver consistent warmth throughout your home. When everything is set up correctly, your system doesn’t need to run longer than necessary, which directly reduces energy consumption.
This optimization also extends the lifespan of your equipment, saving you money on repairs and replacements down the line. A properly installed system is less likely to experience uneven heating, short cycling, or mechanical strain. Instead, it runs smoothly and efficiently, giving you peace of mind that your investment is working as intended. Over time, these small adjustments add up to significant savings on energy bills.
Lower Maintenance Costs With Fewer Breakdowns
A poorly installed system often leads to frequent breakdowns and costly service calls. Misaligned parts, incorrect wiring, or improper ventilation can all cause stress on the unit. By contrast, a properly installed heating system runs smoothly and requires less maintenance. This not only saves you money on repairs but also ensures your system continues to operate efficiently, keeping energy bills lower year after year.
Preventing problems before they start is one of the most effective ways to protect your budget. When installation is done correctly, your system doesn’t experience the wear and tear that comes from constant strain. This means fewer emergency repairs, fewer replacement parts, and more predictable maintenance costs. In the long run, the savings from reduced breakdowns can be just as valuable as the energy savings themselves.
Enhanced Comfort That Reduces Overuse
When your heating system is installed correctly, it delivers steady, even warmth throughout your home. You won’t need to constantly adjust the thermostat or run the system longer to compensate for cold spots. This improved comfort means you use less energy overall. A well-installed system also responds more accurately to thermostat settings, so you can enjoy the right temperature without wasting power.
Comfort and savings go hand in hand. When your home feels consistently warm, you’re less likely to overuse the system or push it beyond its limits. This balance helps reduce energy consumption while keeping your living spaces cozy. Proper installation ensures that every room benefits from the system’s output, eliminating the frustration of uneven heating and the temptation to overcompensate with higher thermostat settings.
Conclusion
Lowering your energy bills doesn’t always mean cutting back on comfort—it often comes down to how well your heating system is installed. From proper sizing and ductwork to professional calibration and reduced maintenance, each step of correct installation plays a role in saving energy and money. Investing in expert heating installation ensures your home stays warm, efficient, and cost-effective for years to come.
By focusing on efficiency, reliability, and comfort, a properly installed system gives you the best of both worlds: a cozy home and lower monthly expenses. It’s a smart investment that pays off season after season.
Top Design Ideas for Epoxy Flake Flooring
Ever wondered how to transform a dull concrete floor into something truly stunning? Perhaps you're tired of looking at that boring garage floor or searching for a durable solution for your bathroom? Maybe you've spotted those gorgeous speckled floors on social media and thought, "I want that in my home!"
Ever wondered how to transform a dull concrete floor into something truly stunning? Perhaps you're tired of looking at that boring garage floor or searching for a durable solution for your bathroom? Maybe you've spotted those gorgeous speckled floors on social media and thought, "I want that in my home!"
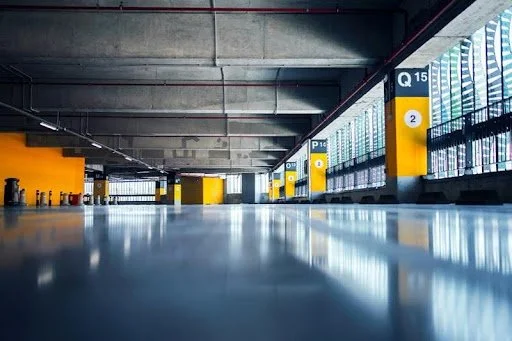
Epoxy flake flooring has taken Australian homes by storm, and it's not hard to see why. This versatile flooring option combines durability with eye-catching aesthetics, making it perfect for everything from garages to living spaces. The beauty of an epoxy floor with flakes lies in its customisation options – you can create anything from subtle, sophisticated finishes to bold, statement-making designs.
In this guide, we'll explore the best design ideas for epoxy flake flooring across different spaces in your home. You'll discover inspiring garage flooring ideas, learn whether decorative epoxy flooring works for interior spaces, and explore exciting colour combinations. We'll also look at how epoxy compares to alternatives like metallic finishes, plus help you decide between DIY and professional installation. Ready to get inspired? Let's dive in.
Stunning Garage Flooring Ideas with Epoxy Flake
Why Custom Epoxy Garage Floors Are a Game-Changer?
Gone are the days when garages were just dark, dusty spaces for parking cars. Aussie homeowners are now transforming their garages into functional extensions of their homes. Custom epoxy garage floors play a massive role in this transformation.
The magic of garage epoxy flakes lies in their ability to hide imperfections while creating a showroom-quality finish. Those coloured flakes scattered across the surface do more than just look pretty – they add texture for slip resistance and help disguise tyre marks, oil drips, and everyday wear.
Best Garage Epoxy Flakes Colours and Combination
When it comes to coloured epoxy garage floor options, the possibilities are genuinely exciting. Popular choices for Australian garages include granite-inspired blends featuring greys, blacks, and whites. These neutral combinations complement any vehicle and never go out of style.
For something bolder, consider earthy terracotta blends that suit Australian homes beautifully. Blue and grey combinations create a cool, professional workshop vibe, while charcoal-dominant mixes offer that sleek, modern look many homeowners crave.
What is the Best Epoxy for Garage Floor Applications?
Choosing the best epoxy for garage floor projects depends on your specific needs. High-build epoxy systems with 100% solids offer maximum durability for heavy vehicle traffic. Water-based options work well for lighter use and easier application. For Australian conditions, UV-stable formulations are essential to prevent yellowing in areas with sun exposure.
Epoxy Flake Flooring for Interior Spaces
Bringing Flake Floors Indoors
Epoxy floor coating interior applications have grown massively popular in recent years. While many people associate epoxy with industrial settings, modern formulations and design options have made them perfectly suitable for residential interiors.
Living room epoxy flooring for homes might sound unusual, but it offers brilliant benefits. The seamless surface eliminates grout lines where dirt accumulates, making cleaning incredibly straightforward. Plus, the reflective properties can brighten rooms and make spaces feel larger.
How Durable is Decorative Epoxy Flooring in High-Traffic Areas?
One of the biggest concerns homeowners have is whether decorative epoxy flooring can handle daily life. The answer? Absolutely. Quality epoxy installations resist scratches, impacts, and chemical spills far better than many traditional flooring options.
High-traffic areas like hallways and kitchens benefit enormously from epoxy's durability. The flake components add visual interest while also increasing surface texture for better grip. For families with kids and pets, this flooring option proves incredibly practical whilst remaining stylish.
Bathroom Floor Coatings: Epoxy Resin Options
Can You Use Epoxy Resin Bathroom Floor Coatings in Wet Areas?
Here's a question we hear constantly – can epoxy resin bathroom floor applications really work in wet environments? The short answer is yes, but with some important considerations.
Quality bathroom floor coatings must include proper anti-slip additives and appropriate sealers designed for moisture exposure. When installed correctly, epoxy creates a waterproof barrier that protects the substrate beneath. This makes it an excellent choice for bathrooms, laundries, and even outdoor covered areas.
Design Ideas for Bathroom Floor Coatings with Flakes
Bathrooms offer fantastic opportunities for creative epoxy designs. Light blue and white flake combinations create a fresh, spa-like atmosphere. Sandy beige tones with subtle gold flecks bring warmth to modern bathrooms. For something dramatic, consider a dark green epoxy floor with contrasting lighter flakes – it's bold, sophisticated, and absolutely striking.
The seamless nature of epoxy means no grout to clean or seal, which is a massive win for bathroom maintenance.
Exploring Colour and Style Options
Popular Flake Colour Blends for Australian Homes
Australian homeowners tend to gravitate towards colours that complement our natural landscape and architectural styles. Coastal blues and sandy neutrals suit beachside properties perfectly. Earthy reds and ochres work beautifully with brick homes common throughout the suburbs.
When requesting epoxy flooring samples, consider how the colours will appear under your specific lighting. Flakes can look quite different under natural sunlight versus artificial lighting. Most reputable suppliers, including Sydney epoxy floors specialists, will provide samples so you can see colours in your actual space before committing.
Epoxy Swirl Flooring vs Flake Flooring: What's the Difference?
Understanding the distinction between epoxy swirl flooring and flake options helps you make the right choice. Swirl patterns create flowing, marble-like effects using coloured pigments manipulated during application. Flake flooring, meanwhile, achieves its look through scattered vinyl chips in various sizes and colours.
Both options offer stunning results, but they suit different aesthetics. Swirl patterns tend toward contemporary, artistic appearances, while flakes create more textured, practical finishes. Many custom epoxy floors actually combine both techniques for truly unique results.
Metallic Epoxy Floor Alternatives
What is Metallic Epoxy Floor and How Does It Compare to Flake?
Metallic epoxy floor coatings create stunning three-dimensional effects that mimic flowing lava, clouds, or marble. The epoxy metallic floor finish uses metallic pigments suspended in the coating, which shift and settle during curing to create unique patterns.
Compared to flake flooring, metallic options offer a more dramatic, artistic appearance. However, flakes provide better slip resistance and hide imperfections more effectively. Both options are equally durable when properly installed.
Combining Epoxy Metallic Floor Effects with Flake Designs
Why choose one when you can have both? Creative installers often combine metallic bases with flake accents for truly spectacular results. Imagine a shimmering silver metallic floor with scattered black and white flakes – the depth and visual interest are remarkable.
These combination designs work particularly well in entertainment areas, home bars, and creative spaces where you want maximum visual impact.
Custom Epoxy Floors: Bringing Your Vision to Life
Working with Professionals Like Sydney Epoxy Floors Specialists
Creating truly custom epoxy floors requires expertise and artistic vision. Sydney epoxy floors specialist and professionals across Australia can help translate your ideas into reality. They'll consider factors you might not think about – substrate preparation, humidity levels, and curing times all affect the final result.
Professional installers also have access to commercial-grade products and colours not available through retail channels. This opens up far more design possibilities than DIY approaches typically allow.
How to Create a Truly Custom Design
Start by gathering epoxy floor coating pictures and inspiration images. Browse epoxy floor pics online, create mood boards, and think about how the floor will complement your existing décor. Consider the room's purpose – a garage needs different characteristics than a living space.
Discuss your vision with professionals who can advise on practical considerations. Sometimes the most stunning epoxy floor coating images require specific techniques or materials that only experienced installers can provide.
DIY vs Professional Installation
Can You Buy Floor Epoxy Bunnings Products for DIY Projects?
Yes, floor epoxy Bunnings and other hardware stores stock products suitable for DIY projects. These kits work reasonably well for small, straightforward applications like single garage floors or utility spaces.
However, DIY epoxy has limitations. The products available to consumers generally aren't as durable as professional-grade materials. Application requires careful preparation, and mistakes can be costly to fix. Temperature and humidity affect curing, and getting the flake distribution even takes practice.
When to Hire a Professional for Decorative Epoxy Flooring?
For interior spaces, large areas, or designs requiring multiple colours and techniques, professional installation makes sense. Decorative epoxy flooring in living areas demands perfection – you'll see any imperfections daily. Professionals also provide warranties and can address any issues that arise.
Complex designs, metallic effects, and custom colour matching all benefit from experienced hands. Think of it as an investment in your home's value and your daily enjoyment of the space.
Choosing the Perfect Epoxy Flake Flooring Design for Your Space
So, what have we learned about epoxy flake flooring? This versatile option works brilliantly across numerous applications – from custom epoxy garage floors that impress the neighbours to sophisticated bathroom floor coatings that simplify your cleaning routine.
The key to success lies in careful planning and choosing the right approach for your space. Take advantage of epoxy flooring samples before making final decisions. Consider how colours will work with your existing décor and lighting. Think about the practical demands of each area – high traffic, moisture exposure, or heavy use all influence the best specification.
Whether you're dreaming of a bold dark green epoxy floor, a subtle neutral blend, or something completely unique, epoxy flake flooring offers the flexibility to make it happen. Chat with local professionals, gather inspiration from epoxy floor coating images, and don't be afraid to think creatively. Your perfect floor is waiting to be created!

How Humidity Affects Different Categories of Stored Items
Learn how humidity affects different categories of stored items and protect furniture, electronics, clothing, paper, and food from damage
Ambient environment is one of the factors that shape how well your stored belongings hold up over time. Too much moisture can cause mold, while dry air can lead to cracks. Many people overlook how humidity affects different categories of stored items, yet the impact is often costly. You need to understand these risks to protect both everyday and valuable possessions. Storage spaces vary in airflow, temperature, and exposure to moisture. These factors change how items react during long periods. Knowing what to expect helps you avoid damage and extend the item's lifespan.
Why Humidity Control Matters More Than You Think
Humidity refers to the amount of moisture in the air. High levels mean more water vapor, while low levels create dry conditions. Both extremes affect stored goods in different ways.
First and foremost, moist air supports mold growth and weakens materials over time. Dry air pulls moisture from items, which leads to cracks and brittleness. These changes often develop slowly and remain unnoticed at first.
Second, airflow plays a key role in moisture balance. Trapped air increases humidity, especially in enclosed spaces. Consistent ventilation helps maintain stable conditions and reduces sudden shifts.
Humidity also affects how materials age. Metal surfaces may corrode faster in damp air. At the same time, dry conditions increase dust buildup, which settles on stored items and affects their surface quality.
Environmental changes add yet another layer of risk. Seasonal shifts bring varying moisture levels, which stress materials repeatedly. Over time, these cycles reduce durability and structural strength.
The Way Humidity Affects Different Categories of Stored Items
Each material reacts differently to moisture in the air. Some absorb water quickly, while others resist it but still face damage over time. Understanding these differences helps you plan storage better.
Porous materials, such as wood and fabric, take in moisture easily. Non-porous items, such as metal and plastic, still suffer from condensation. Each category needs a specific approach to prevent damage.
Planning ahead makes a clear difference. Separate items based on material type and sensitivity. This simple step reduces risk and improves storage results.
Before storing large items, you may sort and remove unwanted objects. A clear space helps you organize better and avoid crowding. Having a clear vision on how to prepare for junk pickup, like separating items by type and ensuring easy access for removal, can support a stress-free junk removal process. This, in turn, will ensure better storage conditions.
Furniture and Wood: Warping, Cracking, and Swelling Risks
Wood reacts strongly to moisture changes. It expands when humidity rises and contracts when the air dries. These movements can distort shape and weaken joints. High humidity leads to swelling and mold growth. Surfaces may feel sticky, and finishes can degrade. Over time, the structure may lose stability.
Low humidity causes cracks and splits. Wood loses internal moisture, which makes it brittle. This damage often affects tables, chairs, and cabinets. In addition, positioning furniture above the ground reduces exposure to damp surfaces. Air circulation around each piece helps maintain balance. These steps support long-term durability without complex adjustments.
Electronics and Appliances: Moisture vs Circuits
Electronics contain delicate internal parts that react poorly to moisture. Water vapor can settle on circuits and cause corrosion. This damage may stop devices from working. Temperature changes increase condensation risk. For example, moving items from cold to warm spaces creates moisture buildup. This process harms internal components over time.
Common items at risk include televisions, laptops, and kitchen appliances. Even small amounts of moisture can lead to failure. Repairs often cost more than prevention. Above all, moisture-absorbing materials help reduce internal exposure. Stable environments limit condensation and support consistent performance. Protection depends on controlling both air and temperature conditions.
Clothing and Fabrics: Mold, Odors, and Fiber Damage
Fabrics absorb moisture quickly, especially in closed spaces. This creates a damp environment that supports mold growth. Odors can develop and spread across items.
Natural fibers such as wool and cotton are more vulnerable. Synthetic fabrics resist moisture but can still trap smells. Over time, fibers weaken and lose strength.
Poor storage can ruin clothing that holds personal or financial value. Seasonal garments often face these risks during long storage periods. Damage may not appear until you unpack them. You can prevent issues with breathable containers and proper drying. Avoid sealing damp clothes in plastic bags. Keep storage areas clean and dry to reduce risk.
Paper, Books, and Documents: Fading and Decay
Paper products react quickly to humidity changes. High moisture causes pages to stick and warp. Ink may fade or bleed, which ruins important information. Books often develop mold in damp conditions. This growth spreads fast and damages entire collections. Photos and documents can lose clarity and detail.
Low humidity can also harm paper. Dry air makes pages brittle and easy to tear. This damage affects archives, files, and personal records. Protective storage materials slow down these effects. Dry environments help preserve structure and clarity. Stable conditions support long-term preservation.
Food and Perishables: Spoilage and Safety Concerns
Humidity affects how long food stays safe to eat. Moist air speeds up spoilage and supports bacterial growth. This increases the risk of contamination. Dry foods such as grains and flour absorb moisture easily. This leads to clumping and mold formation. Even sealed packaging may fail in poor conditions.
Perishable items face even higher risks. Changes in humidity can shorten shelf life. Food may spoil before the expected dates. Controlled environments help maintain food quality. Limiting moisture exposure reduces contamination risks. Regular checks help identify early signs of spoilage.
Protecting Your Belongings from Humidity Damage
Humidity has a direct impact on the condition of stored items. Each category reacts differently, which requires careful planning. Ignoring these differences often leads to damage and loss. These risks can be reduced by controlling moisture and organizing items by material type. Small adjustments in storage methods can make a clear difference over time. Understanding how humidity affects different categories of stored items helps you protect your belongings with confidence.