

A resource for those seeking information on organizing and transforming spaces.
How To Replace Your Kitchen Faucet
Whether your kitchen is undergoing a major renovation or you just have a fixture that is outdated and not working properly, replacing your kitchen faucet is one of the most popular DIY projects. However, while it can be a relatively easy job, it can also have its share of difficulties. If you are preparing to replace your kitchen faucet, here's how to do it with as few problems as possible.
Whether your kitchen is undergoing a major renovation or you just have a fixture that is outdated and not working properly, replacing your kitchen faucet is one of the most popular DIY projects. However, while it can be a relatively easy job, it can also have its share of difficulties. If you are preparing to replace your kitchen faucet, here's how to do it with as few problems as possible.
Choose Your Replacement Faucet
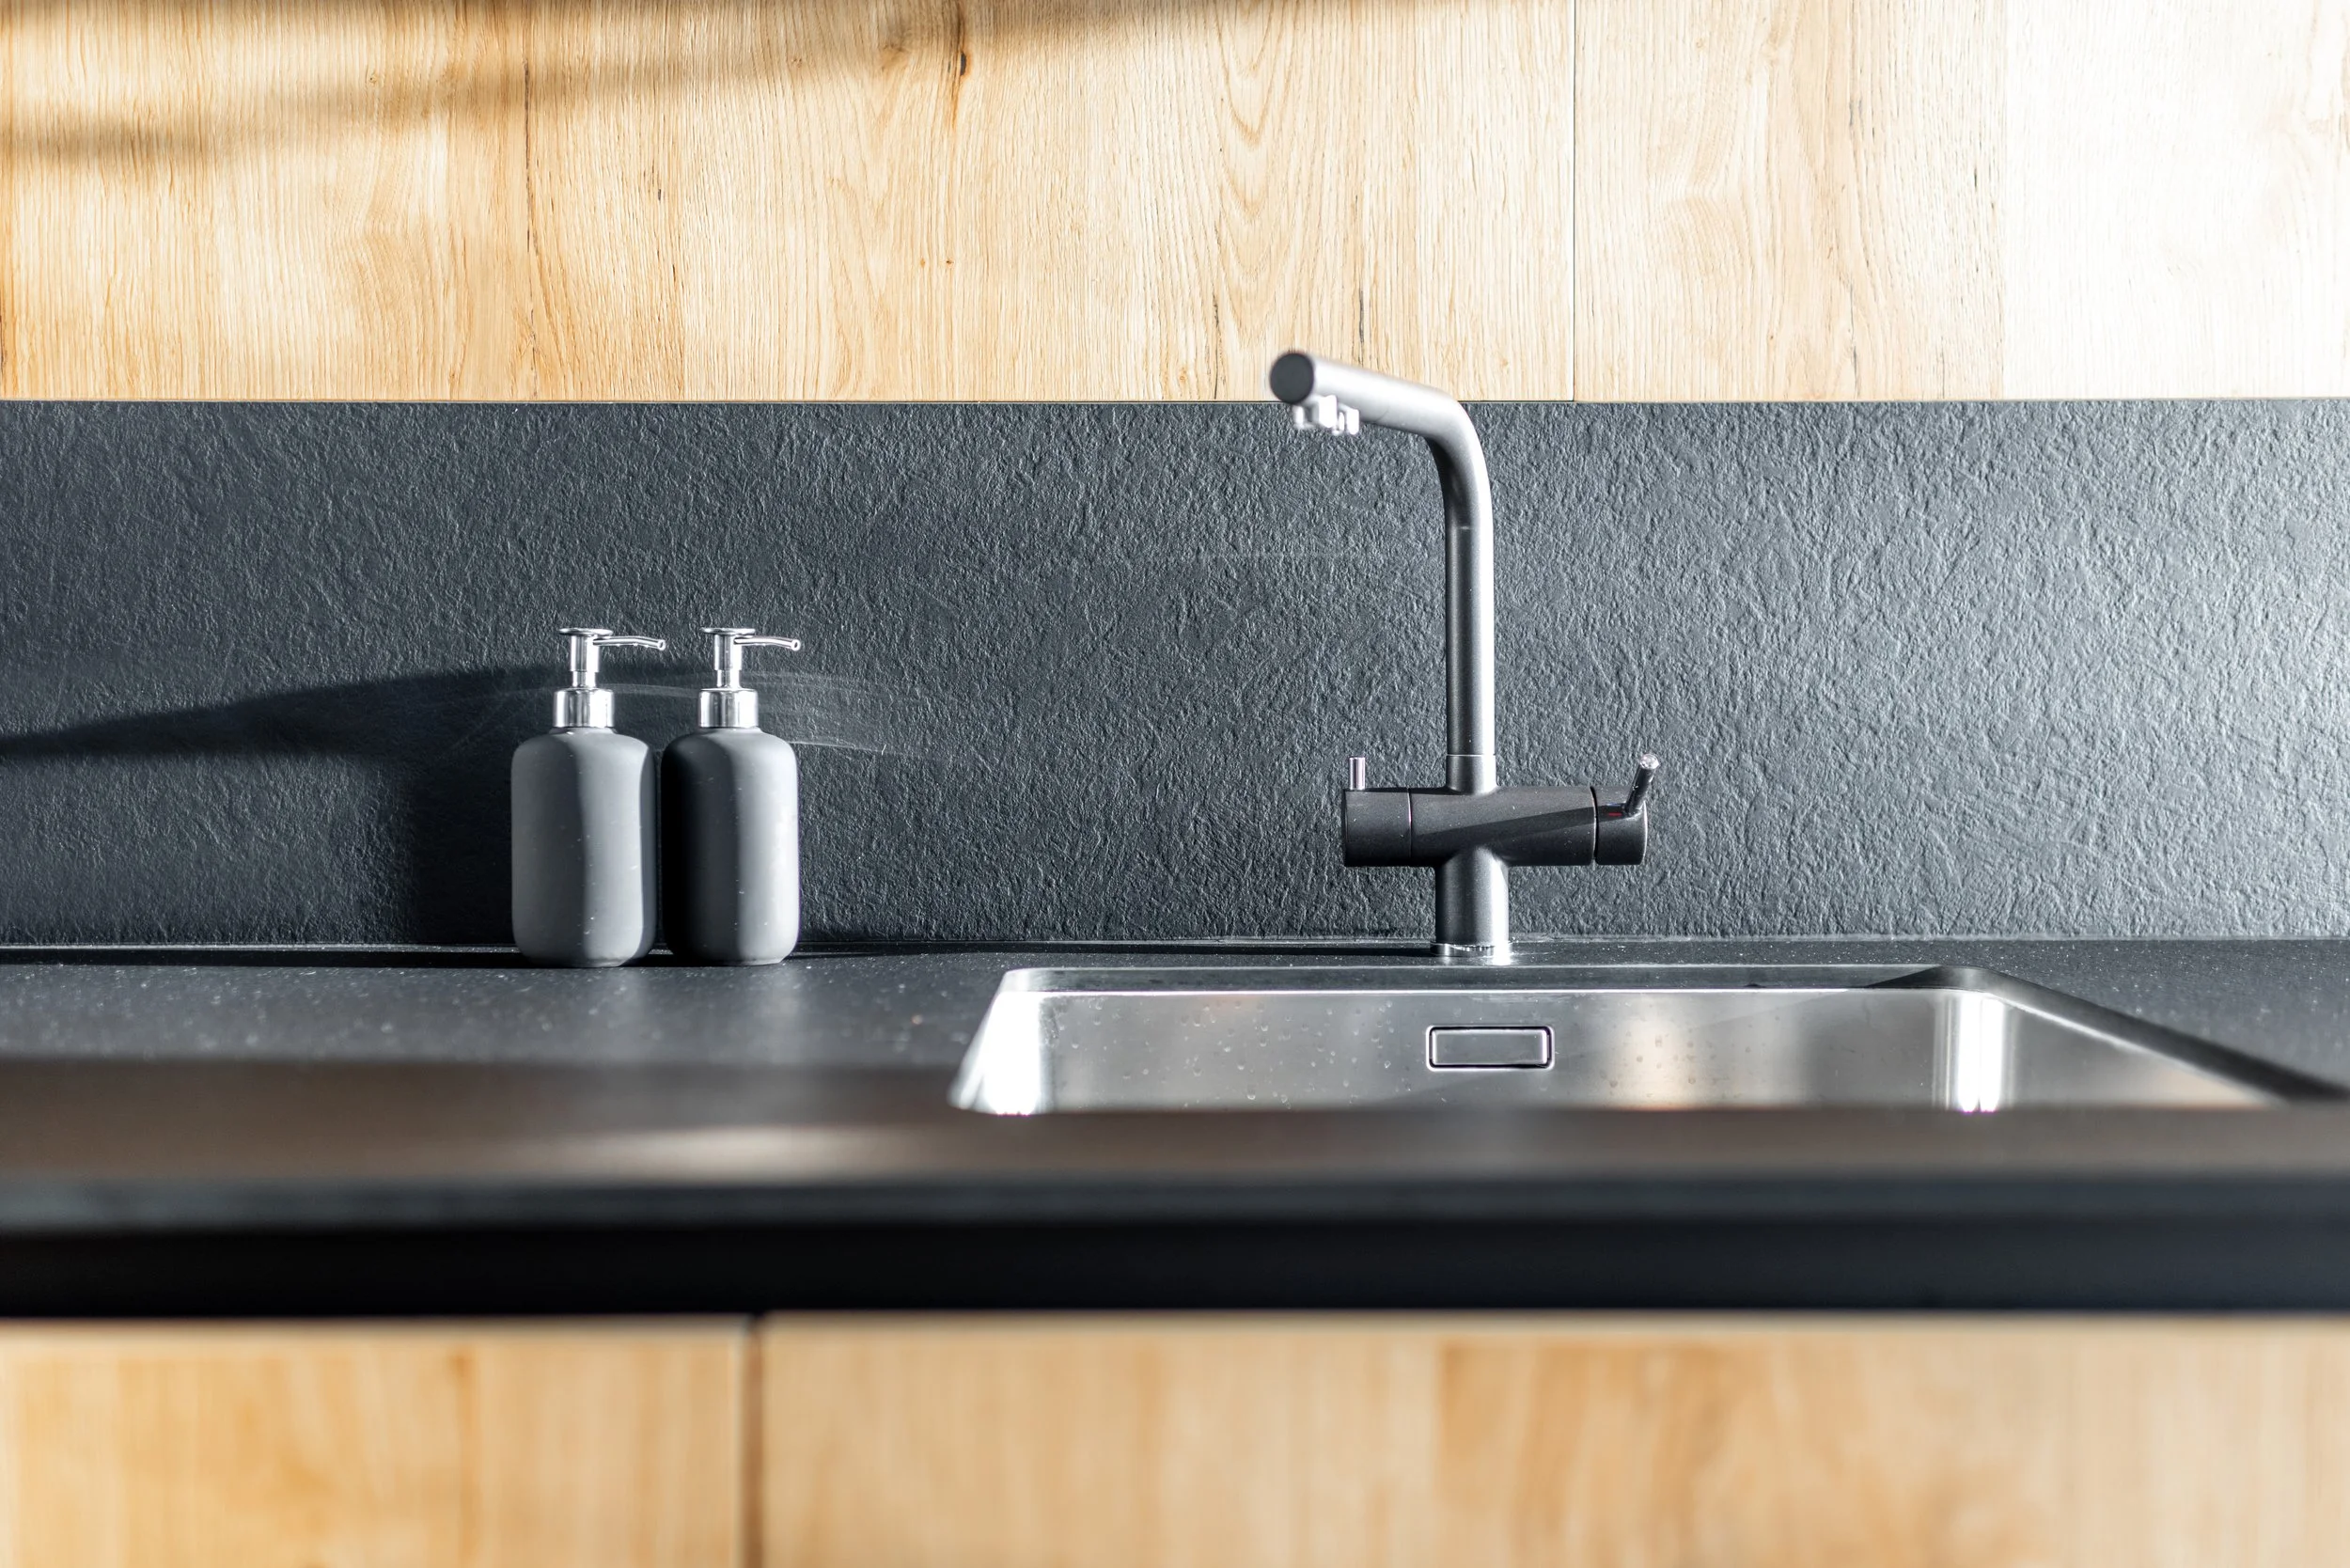
If you want your replacement job to go smoothly, choose a replacement faucet that is exactly like your current faucet, or at least as close as possible. By doing so, your replacement simply becomes a matter of seeing how your current faucet is connected and doing what's already been done.
Shut Off the Water Valves
After choosing your replacement faucet, shut off the water valves underneath the sink. If they are stuck or rusted, you can use the heat from a hair dryer to loosen them or spray some WD-40 on them to get them loose. If for any reason all your efforts to get the valves loose don't work or you have a water line that begins to leak, don't hesitate to call in professional plumbers to finish the job.
Remove the Old Faucet
Assuming all has gone well and your kitchen is not flooded, it's time to remove the old faucet. This can be done by loosening the bolts that hold the faucet in place, which can be found underneath the sink. But like the water valves, the bolts can also be rusted or stuck, so be prepared to have an adjustable wrench to work them loose.
Place the New Faucet on the Sink
After removing the old faucet, place the new faucet on the sink into the holes where your old faucet was located. If you are using a new faucet that is not designed for a three-hole sink, you will need to install an escutcheon plate over the extra holes and make sure it is watertight. Once everything is in place, tighten the nuts and bolts until it is secure.
Reconnect the Water Supply
Finally, reconnect the water supply to the faucet and turn it on to see if everything works as expected. Since there may be some initial leaks, turn on the water gently. Once you're satisfied with your work, tighten the connections a final time and apply some caulking around the faucet's edges.
Should You Hire A Pro?
In most cases, people should hire a professional plumber instead of doing it themselves. In addition to the likelihood of breaking something and the challenges of fitting new faucets to your current system, plumbers will also take care of cleaning up after everything is done. That way you don’t have to worry about disposing of your old faucet or cleaning up any water that got around the area.
Once you conquer this DIY project and all goes well, you may be on your way to doing a few more projects around the house.

Guest Post - Why Are Most Homes Built With Asphalt Shingles?
If you’re considering having a new roof installed, you’re probably wondering what your different roofing options are and which one is best. The vast majority of American homes have asphalt shingles, and this definitely isn’t a coincidence. Simply put, asphalt shingles provide a number of important advantages that other styles of roofing simply cannot compete with. What are these advantages, you ask? Read on to learn all the reasons why asphalt shingles are so popular.
If you’re considering having a new roof installed, you’re probably wondering what your different roofing options are and which one is best. The vast majority of American homes have asphalt shingles, and this definitely isn’t a coincidence. Simply put, asphalt shingles provide a number of important advantages that other styles of roofing simply cannot compete with. What are these advantages, you ask? Read on to learn all the reasons why asphalt shingles are so popular.
Versatility and Flexibility
Asphalt shingles are far more versatile than most other roofing materials, which means they can be used on almost any home. Compared to harder clay, slate or wood shingles, asphalt shingles are extremely flexible. This allows them to seamlessly cover roofs of any size, style or design. In addition, asphalt shingles are available in a huge range of colors and styles, which makes it far easier to find an option that perfectly matches the rest of your home’s exterior.
Energy Efficiency
Another reason that asphalt shingles are so popular is that they are highly energy efficient. When hiring a roofing contractor such as Top Ridge Roofing & Restoration to replace your roof, they don’t simply tear off the old shingles and replace them. Instead, they first install an underlayment on the roof and then put the shingles over the top. This underlayment is part of what makes asphalt shingles so energy efficient as it essentially adds another layer underneath the shingles that provides additional protection and insulation. Asphalt shingles can also contribute to energy efficiency in another way by helping to reflect more of the sun’s rays and thus heat away from your home.
High Performance without the High Price
Maybe the biggest benefit that asphalt shingles have over other types of roofing is the price. Compared to other roofing materials, asphalt shingles tend to have a far lower upfront cost while still providing almost the same level of performance and durability. Depending on which style of shingles you choose, your new roof should last anywhere from 20 to 30 years. Although some other roofing materials do last longer, asphalt shingles are still the most cost-effective option in both the short and long term.
Now that you know about all the advantages that asphalt shingles provide compared to other types of roofing, it should be fairly obvious why most people choose this type of roofing. Simply put, no other roofing materials can really compete when it comes to versatility, style, price, and performance.
Repairs are Cheaper
Typically, when replacing wooden or ceramic shingles, you have to invest a significant amount to get repairs. Depending on where the damaged roof shingles are, the repairs can be very time-consuming, costing you additional money. However, due to the flexibility of asphalt shingles combined with the relatively affordable price for each sheet, the price to replace damaged shingles or small holes in your roof is usually cheaper and faster to repair.
Warm and Humid Environment-Proof
When considering if you should get asphalt shingles compared to other types of roofing, consider the environment that you live in. As mentioned in the energy efficiency section, asphalt reflects the sun better and thus is more valuable in warmer climates. In addition, they are more fire-resistant, meaning that it would be ideal for environments that are more prone to fire. Interestingly enough, they are also more resistant to algae growth so you’re more likely to benefit from asphalt shingles if your area has an algae problem.
Lighter Weight
When getting a roof installed on your home, one of the major considerations a contractor takes into account is the weight capacity of the roof. Tile roofing, for example, requires significantly more support than wood or asphalt shingles. A huge benefit of asphalt shingles is that they are lightweight. Not only does this mean that you have less weight on your roof and it may be safer in case of a roof collapse, but it also means that getting it installed or repaired will be cheaper due to less equipment needed to ship and bring it up to the roof. Plus, the pallet of asphalt shingles will be smaller than a pallet of wooden shingles or tile shingles so you will need less space to transport and store them during construction.
About the Author
Anica is a professional content and copywriter who graduated from the University of San Francisco. She loves dogs, the ocean, and anything outdoor-related. You can connect with Anica on Twitter @AnicaOaks. She recommends Top Ridge Roofing & Restoration when it comes to roofing.

Guest Post - Modifications That Will Help You Age Gracefully in Your Home
Do you dream of staying in your home forever? Updating your house so it functions throughout your retirement years is easier than you might imagine.
With a few simple updates, your home can become the perfect oasis to help you age gracefully.
Do you dream of staying in your home forever? Updating your house so it functions throughout your retirement years is easier than you might imagine.
With a few simple updates, your home can become the perfect oasis to help you age gracefully.
1. Create No-Step Access
Something many seniors struggle with is difficulty navigating stairs. To keep your home accessible to the outdoors, consider creating a point of no-step access.
You can remodel a door or a large window into an entry that stays level to the ground – without any need to step up.
Complete this process with a contractor to ensure you keep your home properly sealed against water damage. You may need to install a drainage system depending on your location.
2. Lay New Flooring
Falls accounted for 32% of preventable injuries in the United States in 2019. One way to secure yourself from accidental falls is to refresh your old flooring.
Short-nap carpet or non-slick hard flooring is the best option to prevent a fall. You should not slide around on your floors while wearing socks, and you don’t want to get tripped up by a high carpet nap.
Also, consider using uniform flooring throughout your home to reduce height differences between rooms. If you are not paying attention, even small lips and bumps can cause a fall.
3. Install a Home Elevator
If you live in a multilevel home, you should consider installing a home elevator. These are available in various styles and price points and increase your options for mobility.
Home elevators are different from the clunky, dusty lifts you’ve used in office buildings and department stores. They are designed to seamlessly blend into your home, adding elegance as well as functionality.
In addition to reducing your dependence on stairs, elevators are fun to ride and bring benefits like helping you move groceries, laundry and elderly pets between different floors.
4. Update Shelving
To reduce the need for reaching and lifting overhead, consider lowering the shelving and cabinet units in your kitchen and bathroom.
Installing pull-out drawers will also make your kitchen cabinets more accessible. This storage solution is easier to clean and access and is kinder to your body.
Many modern cabinets are designed with seniors in mind and blend updated style with long-term functionality. You can even consider open shelving. It shouldn’t be difficult to find exactly what you’re looking for.
5. Add a Walk-in Shower
Getting in and out of the bathtub is a struggle for many seniors. The best solution for updating this space is to renovate it so there are no steps required.
Walk-in showers are designed to keep water out of the rest of your bathroom while easing access to showering facilities. They come in many beautiful designs and can be tailored to suit your individual style and preferences.
Refresh Your Home
Aging gracefully at home is something you can thoughtfully prepare for. Updating safety and accessibility is a wise way to get ready for the unknowns of the future.
Follow these five tips to design intentional spaces that will support you and your family for many years to come.
Author bio: Rose Morrison is the managing editor of Renovated, where she offers advice on home renovation, maintenance, and organization.

Interior Painting Tips for New Homeowners
Check out these interior painting tips for new homeowners to make your painting projects go smoothly (and guarantee you get the look you want)!

Now that you’ve purchased a house, you want to make it feel like your own. One of the most satisfying ways to completely change the look and experience inside a home is to update the paint. Here are some interior painting tips for new homeowners to ensure you get the best look possible.
Try Samples Before Choosing
Picking up swatches at the home improvement store is one thing, but you can also get paint samples to try out. As helpful as it is to picture certain paint colors in a room, the only way to know for sure whether a color is right is to try it out. Paint a large square of each of your sample colors, and view them at different times of day to see how the paint looks in varying qualities of light.
Prepare the Surface
Before you paint your walls, you’ll need to prepare them for painting to ensure the best results. First, dust your walls with a damp rag, and wait for them to air dry. Next, remove outlet covers and any smoke detectors on the walls. Cover vents with painter’s tape, and use painter’s tape to attach tarps to your floor.
If there are any holes in your walls, fill them with spackling and wait for the spackle to dry. Then, sand the spackling until it sits flush with the rest of the wall. Now you’re ready to break out the brushes and rollers!
Know Design Trends
Whether you follow them or not, it’s good to know current design trends to help generate ideas. Right now, there’s a movement toward bold interior paint colors, along with eye-catching accent walls. Search the web for homes that have followed trends to see if they feel right for your house. If you think you’ll ever sell your home, sticking with trends can generate interest from buyers!
Now that you know these interior painting tips for new homeowners, make your house look exactly how you want it to and wow your friends with a sleek new design.