

A resource for those seeking information on organizing and transforming spaces.

Interior house painting: how to choose the right colors for every room in your home
Interior house painting is one of the easiest ways to change the mood, comfort, and style of a home without a full renovation.
We partnered with a home improvement company for this post. The opinions in the post are honest. All reviews and opinions expressed in this post are based on our personal views. We are excited because we know you will love it.
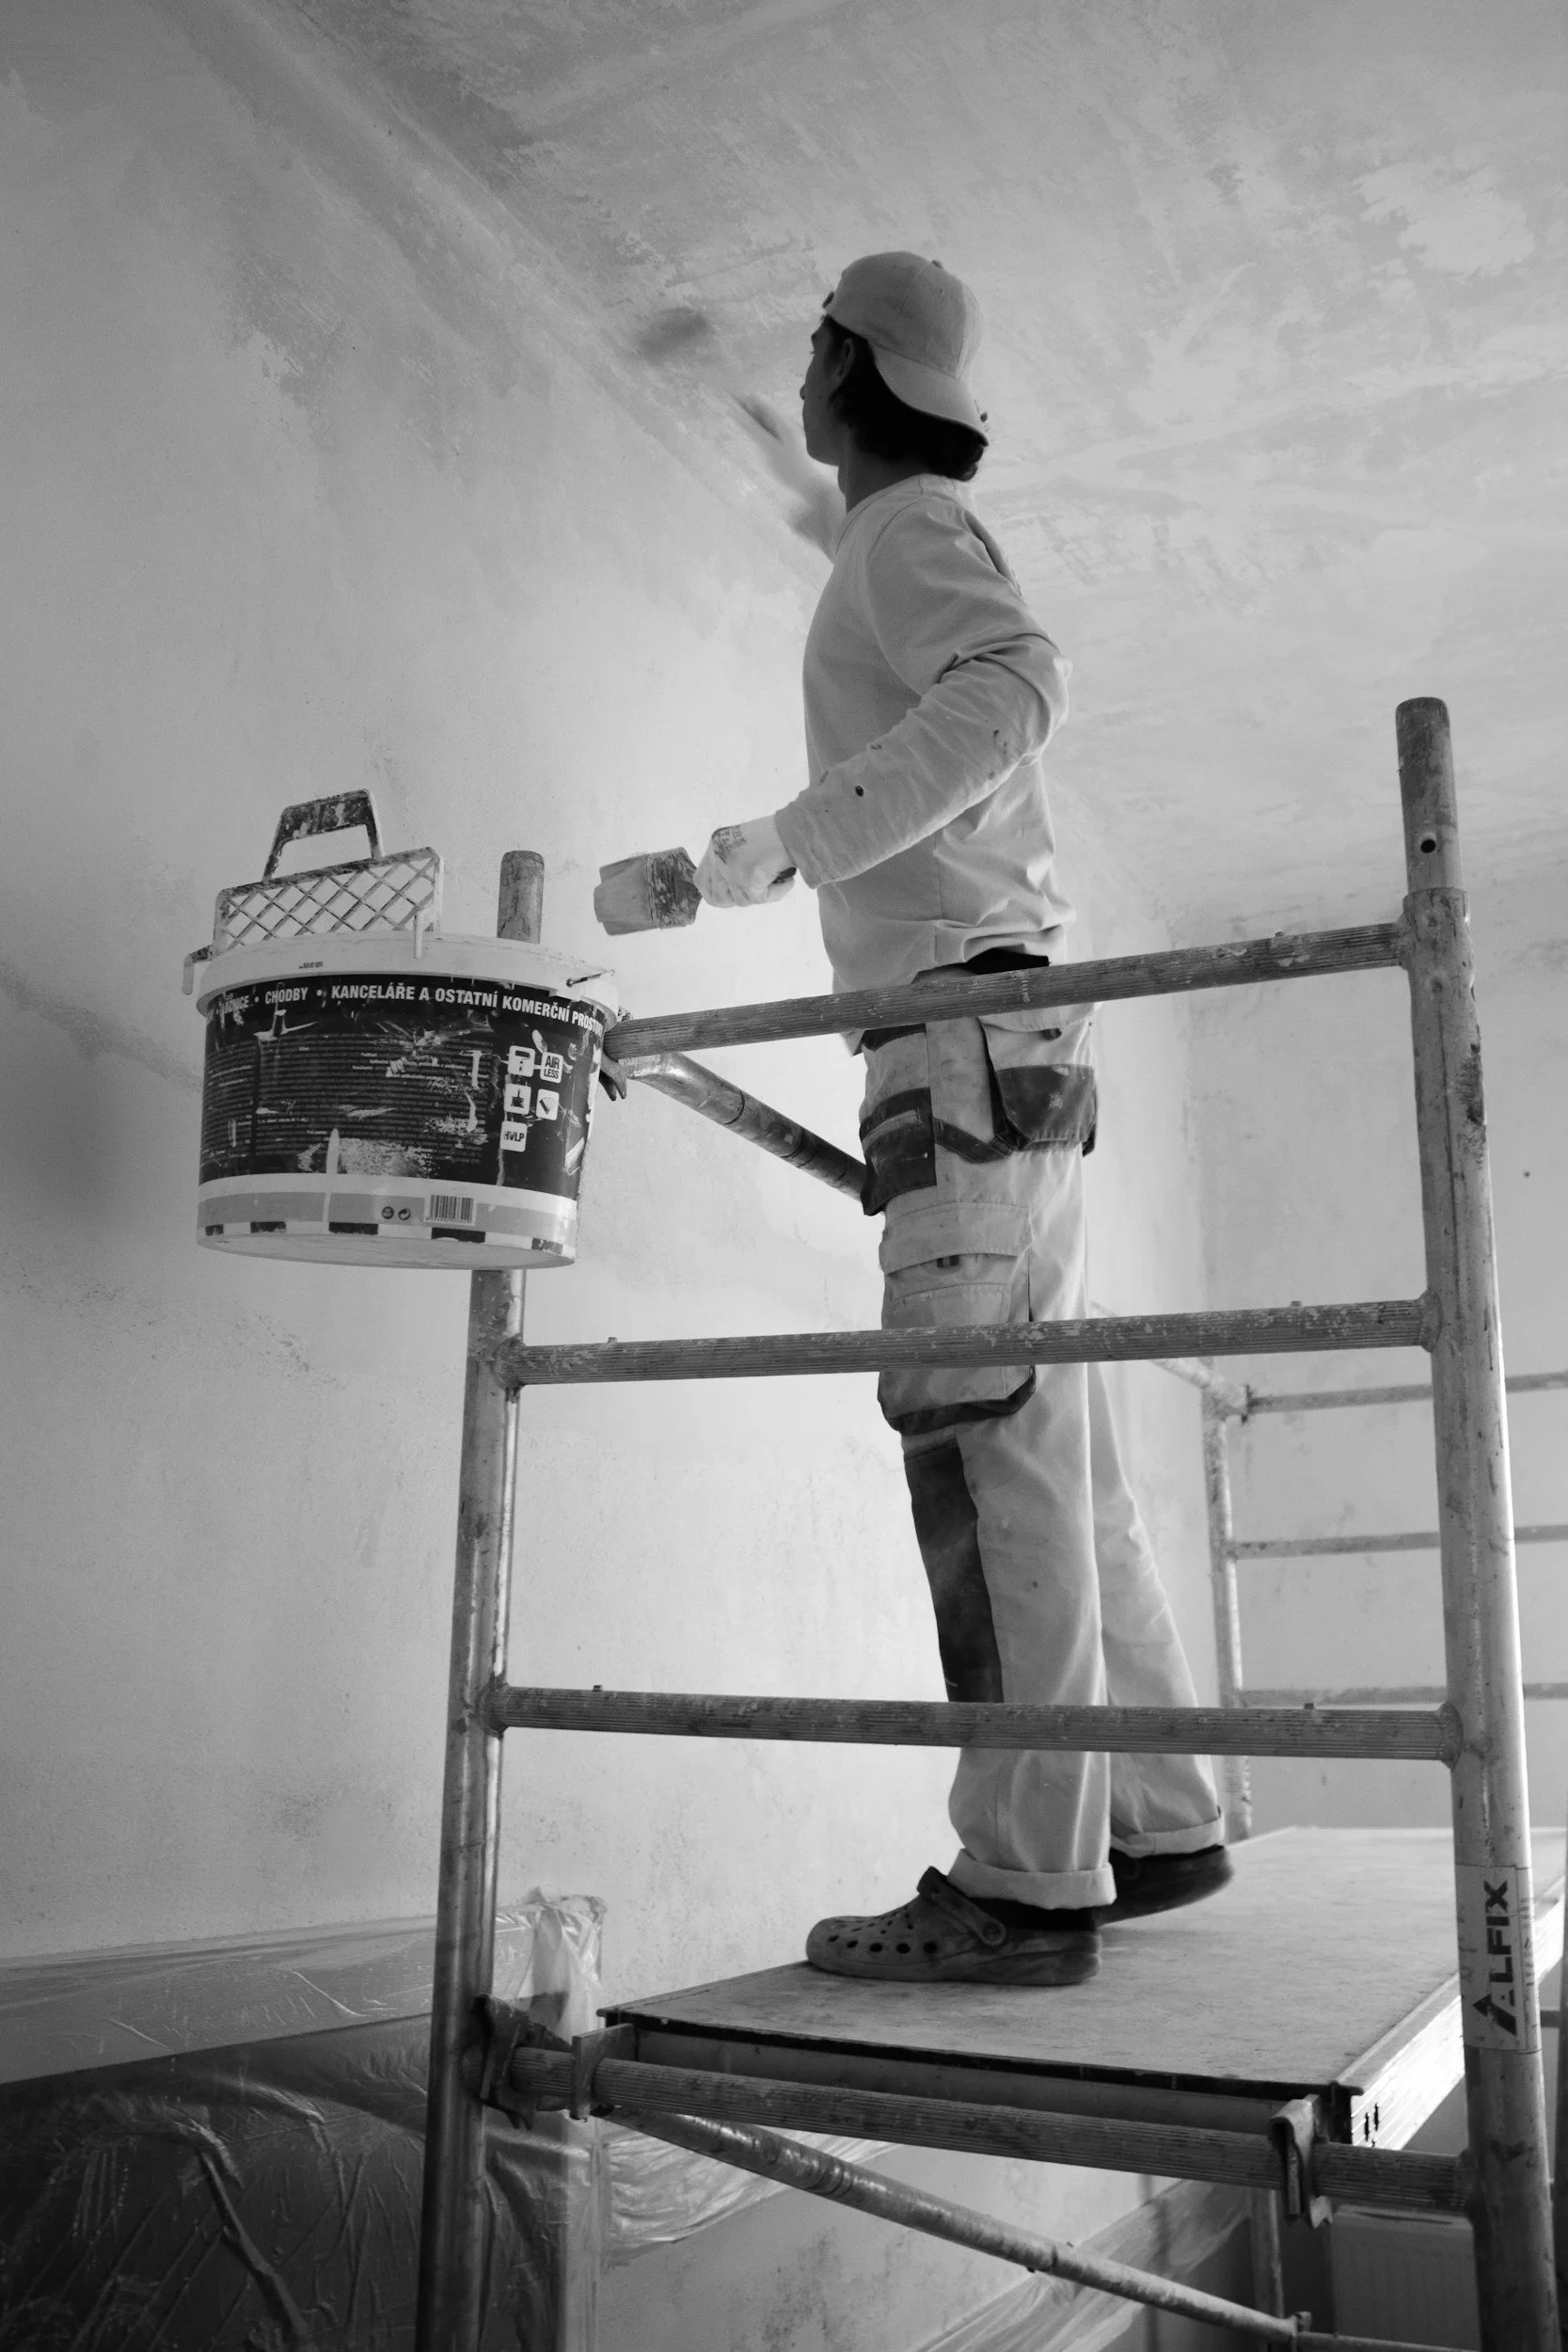
Interior house painting is one of the easiest ways to change the mood, comfort, and style of a home without a full renovation.
I learned that firsthand after helping repaint a family home where one wrong shade made a bright room feel dull by late afternoon.
That experience made it clear that choosing paint is never just about liking a color chip.
It is about how that color works with light, furniture, flooring, and daily life.
Why the right paint color changes everything
A wall color does more than sit in the background.
It shapes how a room feels the second you walk in.
A soft neutral can make a space feel calm and open.
A deep tone can add warmth, depth, and character.
I remember visiting a friend after she repainted her dining room in a muted, earthy green.
Before that, the room felt plain and forgettable.
Afterward, it felt grounded, elegant, and much more welcoming during dinner parties.
Nothing else in the room had changed.
That is how powerful the right shade can be.
Many homeowners choose colors too quickly.
They see something online, fall in love with it, and expect the same result at home.
Real rooms do not behave like staged photos.
Natural light, lamp light, ceiling height, and trim color all affect the final result.
It is essential if you want consistent results, especially when planning a professional interior house painting project.
Start with the light in each room
Before picking a single sample, study the lighting.
This step saves time, money, and frustration.
A room with strong morning light will show color differently from a room that gets only soft evening light.
North-facing rooms usually feel cooler and can make gray, blue, or white shades look sharper.
South-facing rooms often pull out warmth and make soft neutrals glow.
East-facing spaces feel bright early in the day, while west-facing rooms warm up later in the afternoon.
I once tested a clean white in a hallway that looked beautiful at noon.
By evening, it turned flat and slightly cold under overhead lighting.
We changed it to a warmer white, and the hallway immediately felt softer and more inviting.
Always test swatches on multiple walls.
Look at them in the morning, afternoon, and night.
That simple habit can prevent a costly repaint.
How to choose living room colors that feel natural
Living rooms usually do the most work in a home.
They host guests, family movie nights, quiet mornings, and sometimes even work calls.
The color needs to be flexible enough to handle all of that.
Warm whites, greige, soft taupe, muted olive, and gentle gray-blue tones are strong options.
These shades create a welcoming base without overpowering the furniture or decor.
They also allow pillows, rugs, art, and wood finishes to stand out.
A few years ago, I helped repaint a living room that had a yellow-beige wall color that made everything look dated.
We switched to a light greige with warm undertones.
The sofa looked newer.
The natural light looked cleaner.
The room finally felt relaxed instead of tired.
If you want more personality, use color through one feature wall, built-ins, or trim detail.
That gives the room visual interest without making the whole space feel too busy.
Bedroom colors should support rest
Bedrooms need a different approach.
This is where strong light reflection and overstimulating tones can become a problem.
A bedroom should feel calm when the day starts and even calmer when it ends.
Soft blue, dusty rose, warm sand, muted lavender, and creamy off-white tones work well in many bedrooms.
These colors create a softer visual atmosphere and help the room feel settled.
I once painted a guest bedroom in a pale gray that looked elegant on the sample card.
After the full coat went up, the room felt lifeless.
The fix was simple.
We added a warmer undertone with a light taupe-gray, and the room became far more comfortable.
Dark colors can also work in bedrooms.
A charcoal, moody green, or rich navy can feel surprisingly cozy when balanced with lighter bedding and natural textures.
The key is making sure the room still feels restful rather than closed in.
Kitchens need colors that stay fresh all day
Kitchens are different because they are active, practical spaces.
The right wall color should feel clean, bright, and easy to live with.
It also needs to work with cabinets, counters, backsplash tile, and flooring.
White and off-white remain popular for a reason.
They reflect light well and make kitchens feel crisp.
But the wrong white can feel harsh or sterile.
That is why warm whites, creamy neutrals, and soft mushroom tones often feel more lived-in.
I saw this happen in a small kitchen with bright white walls and cool LED lighting.
The room felt almost clinical.
Once the walls were repainted in a softer warm white, the cabinets looked richer and the whole kitchen felt more inviting.
Soft sage and muted blue-gray tones can also work well in kitchens, especially when paired with wood accents or brushed metal finishes.
These shades add personality without making the room feel heavy.
Bathrooms benefit from simple, clean palettes
Bathrooms tend to be smaller, so color has a stronger visual effect.
A heavy shade can make the room feel boxed in.
A thoughtful shade can make it feel fresh and open.
Light gray, pale blue, soft green, and warm white are reliable choices.
These tones reflect available light and create a cleaner, airier look.
They also pair well with tile, mirrors, chrome fixtures, and natural stone.
I once helped redo a powder room with a dramatic dark color because the homeowner wanted something bold.
It looked stylish in photos, but in real life the room felt cramped.
After switching to a lighter color with subtle warmth, the room felt twice as comfortable.
If you want drama in a bathroom, try using it in the vanity color, mirror frame, or accessories instead of the entire wall surface.
Undertones make or break the final result
This is the part many people skip.
Undertones are the hidden hints of color beneath the main shade.
A beige may lean pink, yellow, or gray.
A white may lean blue, cream, or green.
That matters more than most people realize.
Two grays can look almost identical in a store and then look completely different once painted.
One may feel warm and balanced.
The other may turn icy next to wood flooring.
I always compare paint samples beside trim, flooring, furniture, and countertops.
That side-by-side view tells the truth quickly.
It also helps avoid the common mistake of picking a color that clashes with fixed surfaces already in the room.
Keep your whole home connected
Every room does not need to match, but the home should still feel cohesive.
The easiest way to do that is by choosing a palette that shares similar undertones.
That gives each room its own identity while still making the full house feel connected.
A hallway, staircase, or open-plan layout especially benefits from this approach.
When one room suddenly shifts into a color that feels unrelated, the house can feel visually disjointed.
I saw that in a home where every room had been painted from a different trend cycle.
One room was blue-gray.
The next was tan.
The next had a pink-beige tone.
Individually, each one was acceptable.
Together, they made the home feel patchy and unfinished.
Once the palette was adjusted to warmer, softer tones throughout the house, everything flowed naturally.
Common mistakes that lead to repainting
The biggest mistake is choosing too fast.
Paint feels simple until it is on four walls and the room suddenly feels wrong.
Another mistake is relying only on tiny sample cards.
A color needs to be tested at scale.
What looks subtle in a small square may dominate a full wall.
Skipping surface prep is another issue.
If the wall has cracks, patch marks, grease, or uneven texture, even great paint will not look its best.
Clean surfaces and proper priming make a visible difference.
Finish selection matters too.
Flat and matte finishes soften walls and hide imperfections.
Eggshell and satin are easier to wipe down.
The right finish depends on the room and how much wear the walls will get.
Final thoughts on choosing paint with confidence
Choosing paint should feel thoughtful, not stressful.
When you pay attention to lighting, undertones, finish, and flow, the process becomes much easier.
You stop guessing and start making decisions that fit the way your home actually works.
The best rooms are not always the trendiest ones.
They are the ones that feel right when you walk into them.
They feel balanced in daylight.
They feel comfortable at night.
They support the purpose of the room instead of fighting it.
A good paint color does not beg for attention.
It quietly improves the space every single day.
That is what makes the right choice worth the extra time.

Streamline Your Daily Routine: A Parent’s Guide To Organizing Baby & Toddler Essentials
Parents often discover how quickly small items can take over a room. A shelf that looked organized last week can turn chaotic after a few busy mornings. It helps to create systems that simplify repeated tasks. Once those are in place, the day feels steadier and less reactive.

Parents often discover how quickly small items can take over a room. A shelf that looked organized last week can turn chaotic after a few busy mornings. It helps to create systems that simplify repeated tasks. Once those are in place, the day feels steadier and less reactive.
Creating Order Around Daily Essentials
High-use items like diapers, wipes, lotions and pajamas tend to migrate across the house because parents often grab things on the go. One helpful shift is to give these items very clear landing spots. A simple basket near the changing area often works better than a full drawer. Some families coordinate their routine around regular deliveries from a diapers supplier so stock levels never fall into the “urgent scramble” zone. Keeping a small backup supply in a different bin prevents the daily basket from overflowing.
Simplifying Clothing Routines
Toddler clothes can overwhelm even tidy households since outfit changes can happen several times a day. Splitting storage into smaller, predictable zones often helps. You might keep daytime outfits on a single shelf, pajamas in a soft bin and socks in a small container. These micro-categories cut down the time spent searching for one missing item. You’ll probably find the laundry cycle feels easier because clothes are returning to more intentional spots.
Managing Feeding Gear Without Chaos
Kitchens see the most activity, and feeding gear is usually the culprit behind clutter. Bottles, snack containers and tiny spoons get scattered in ways that make restocking feel more difficult than it should. A single drawer dedicated to toddler items creates a smoother rhythm. You can also place a small tray on the counter for drying daily cups and lids, which keeps them from blending into general dishwashing.
Making Toy Organization More Predictable
Large toy bins look convenient, though young children tend to dig through them and empty everything. Smaller baskets or transparent bins usually shape a better routine. One for books, one for blocks, one for soft toys. When toys rotate weekly, the play area stays interesting without becoming overwhelming. Kids often follow the pattern once they see how simple cleanup becomes.
Using Transfer Spots Around the Home
Many parents benefit from creating tiny “transfer stations” in busy areas. These are spots where you briefly put items that belong somewhere else. A basket near the stairs or a tray in the hallway lets you gather scattered things throughout the day. In the evening, you make one trip to return everything. It reduces interruptions and still keeps the home in decent shape.
Organizing Bathroom Items for Faster Evenings
Baby shampoo, washcloths, lotions and bath toys spread out easily. A single caddy helps contain them, especially when you move between the tub and the closet. Once everything sits in one place, the sink and counters stay clear, and bath time feels less like a scavenger hunt.
Organically Finding a Home Rhythm That Works
When the home begins supporting your routine instead of competing with it, the day slows down in a good way. Systems don’t stay perfect or rigid, but that’s a good thing. They need to be flexible, to meet the changing needs of a growing child and a family adjusting on a daily basis.
Having systems ensures that the structure remains in place, even as the details might change a little to conform to needs. Go with it. You’ll start noticing where items naturally land, and you can adjust your setup to match.
As time ticks on, things will feel smoother, mornings will feel less rushed and evenings will settle more smoothly. The entire home will feel easier to manage. The best part? Instead of focusing on the clutter, you’ll be able to focus on the joys of watching your baby or toddler thrive and your family grow.
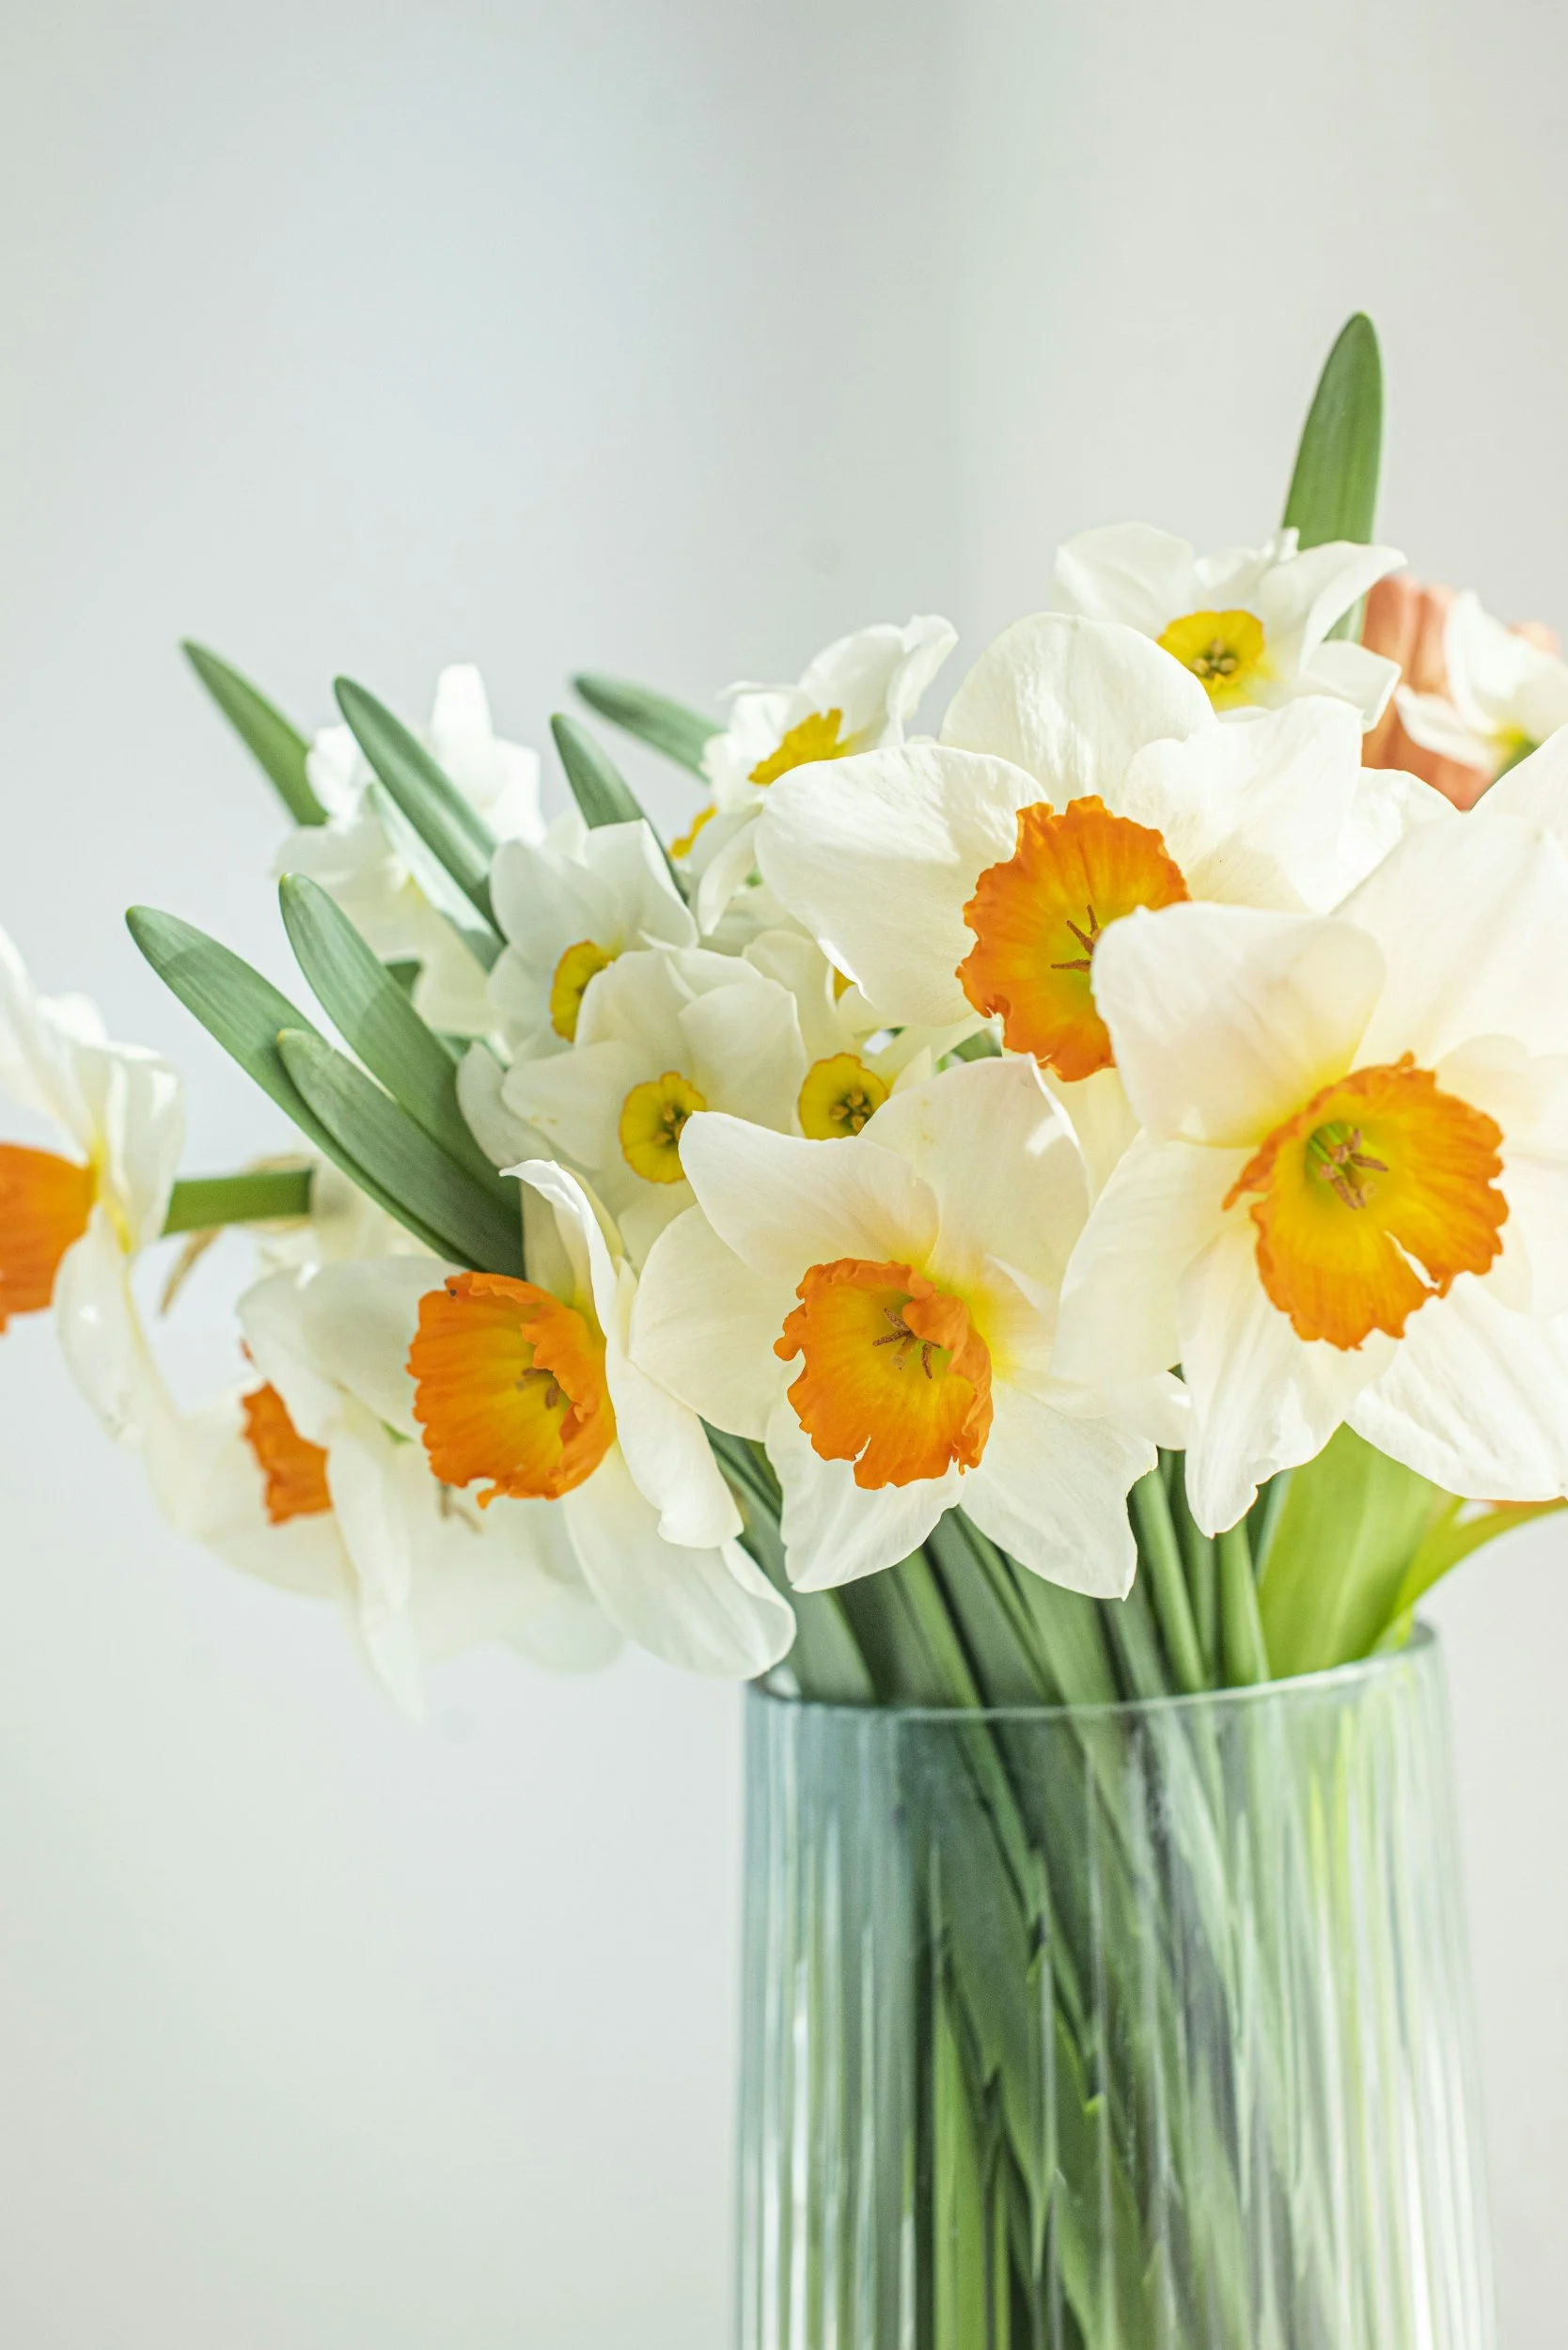
Swapping Your Winter Foliage for Spring Blooms Without Overspending
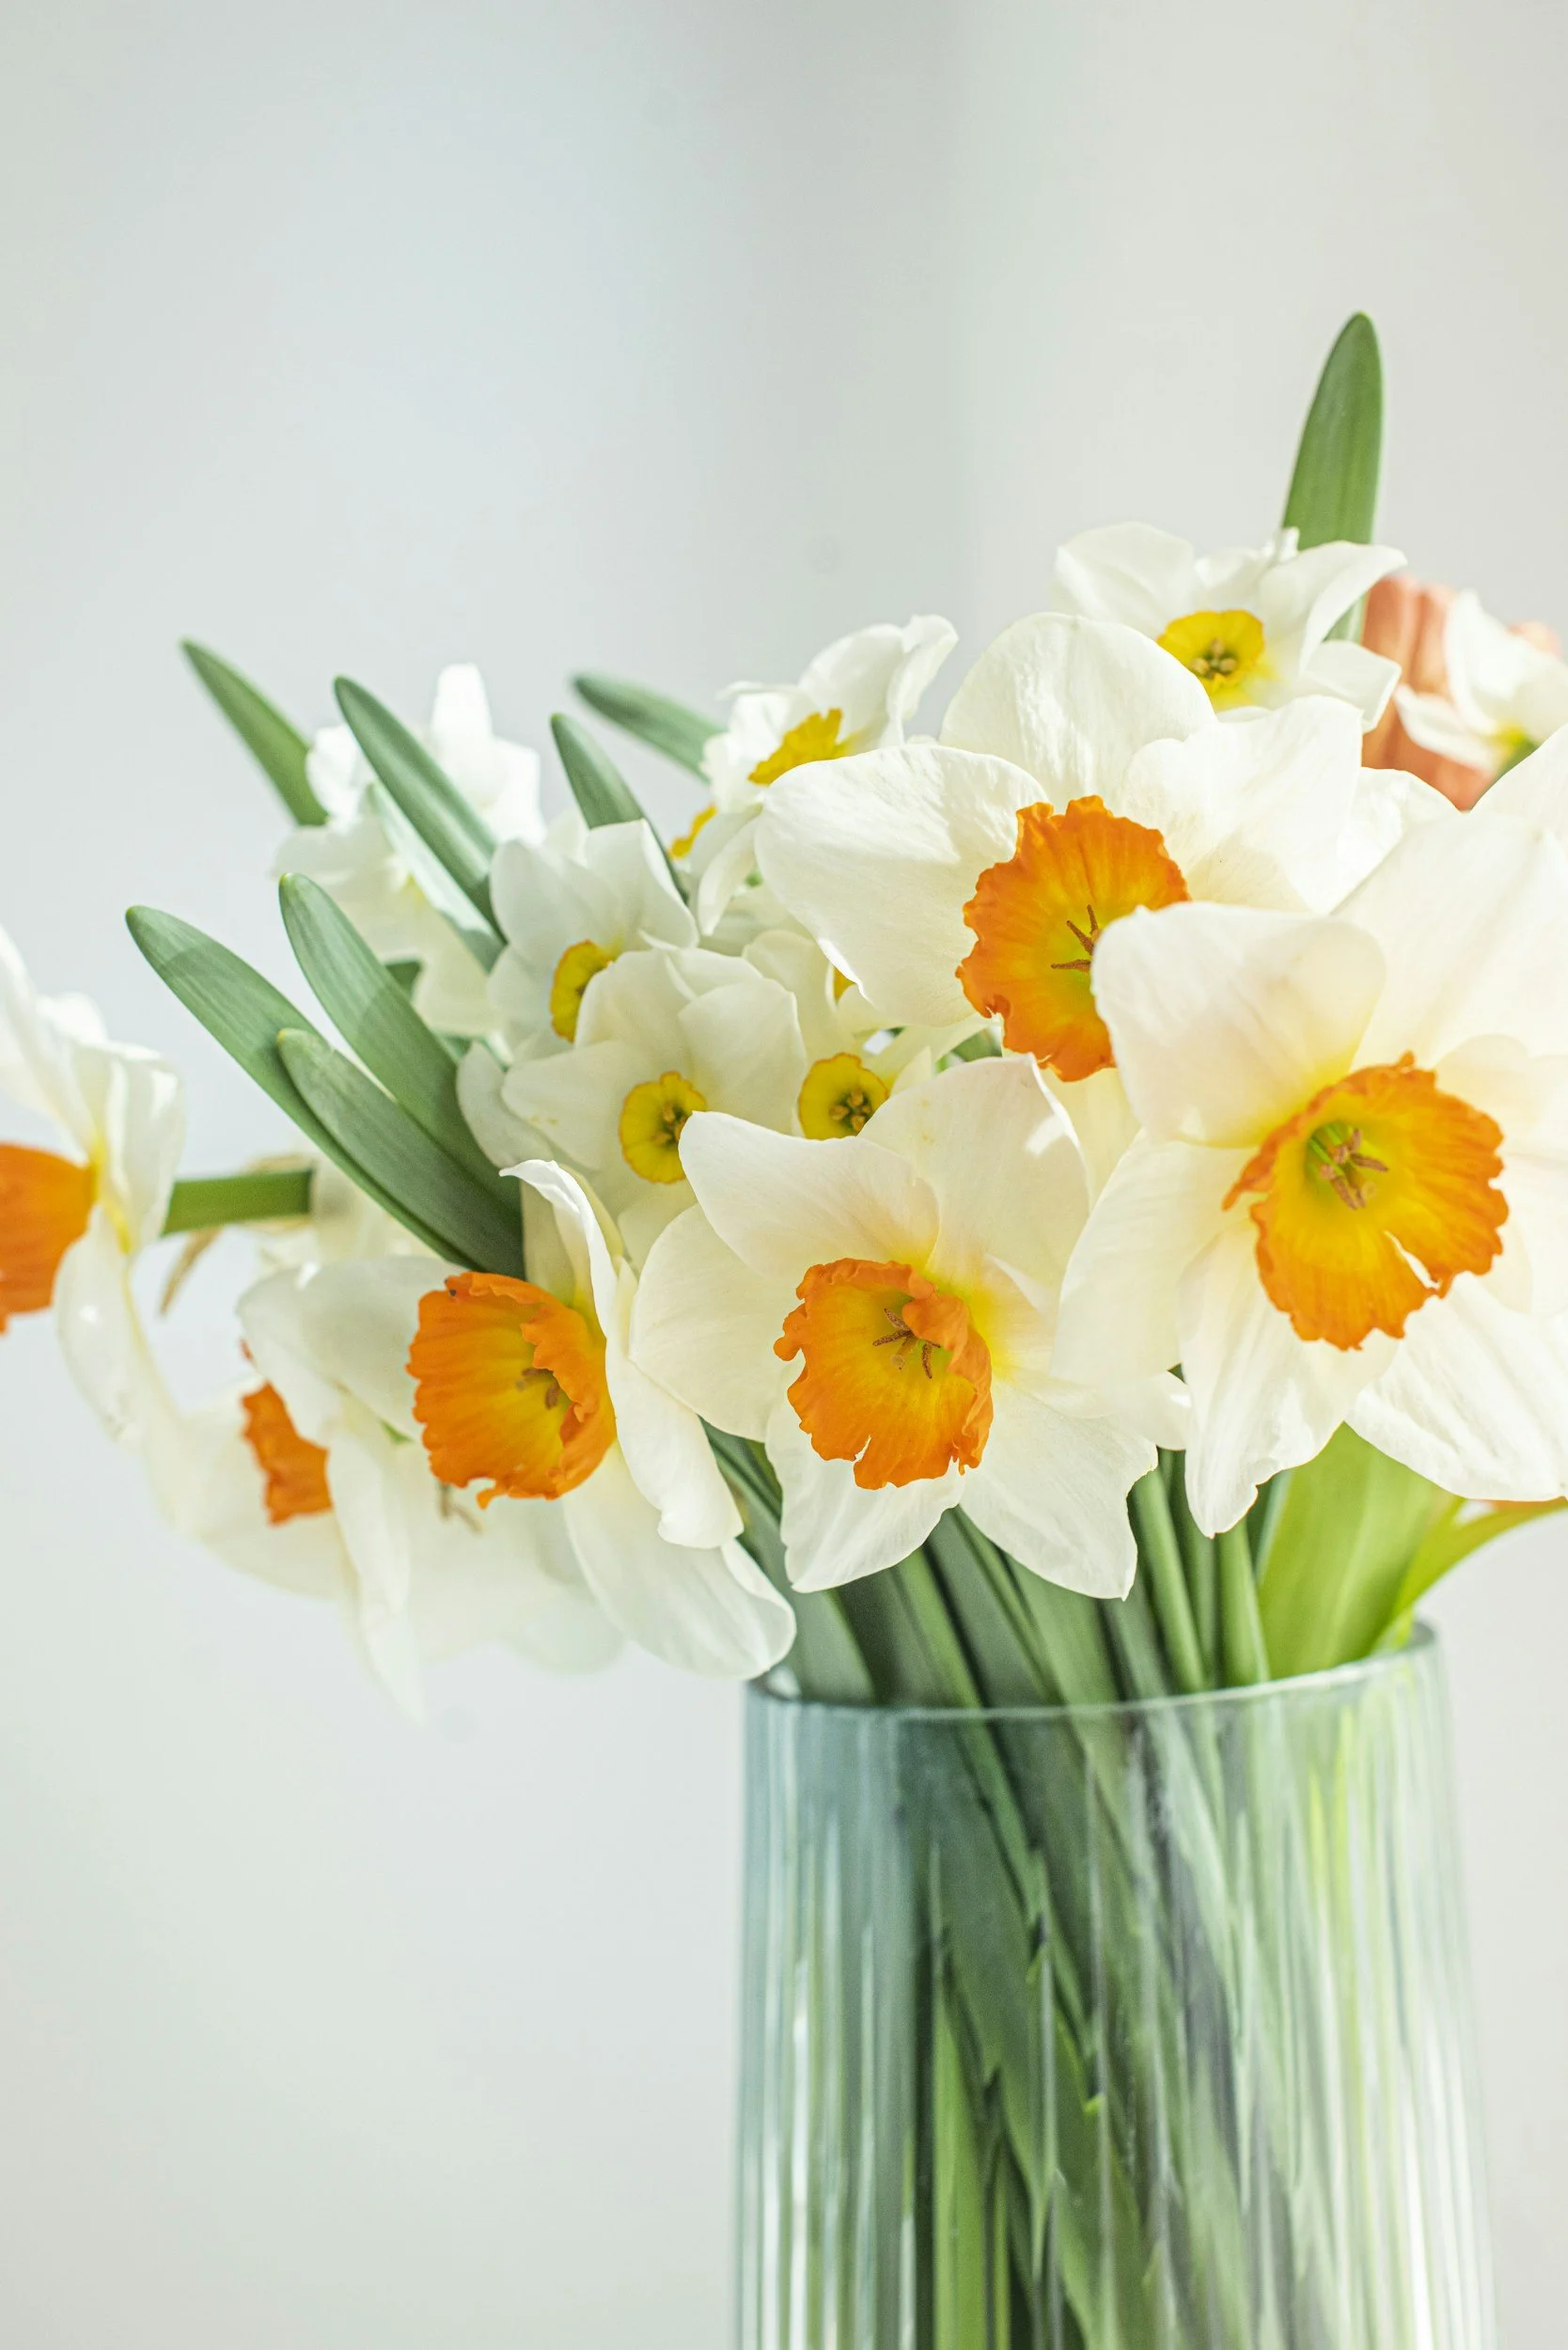
For avid gardeners, spring is an exciting time because that’s when it’s possible to add color to the garden. Evergreens are terrific for keeping some green in sight when snow is on the ground, but there’s no comparison to the palette of colors possible with vibrant spring blossoms.
For avid gardeners, spring is an exciting time because that’s when it’s possible to add color to the garden. Evergreens are terrific for keeping some green in sight when snow is on the ground, but there’s no comparison to the palette of colors possible with vibrant spring blossoms.
Before you break all your own budgeting limits and spend hundreds on flowering plants because you’re so desperate to get rid of the drab look in your yard, consider these budget-friendly strategies for swapping your winter foliage for spring blooms — without overspending.
Create Pockets of Color
You’re one person and completely overhauling your garden isn’t easy, or necessary. Just like interior designing, all you may need for right now is a few splashes of color or, as gardeners call it, planting pockets.
Basically, this approach simply means creating focal points throughout your garden while allowing your existing evergreen foliage to take a supporting role.
Get yourself a handful of perennial plants from an online plant store, where you can find a much wider selection — and potentially healthier plants — than your local department store. Clear an area for them and then plant them in a cluster formation right in the midst of the evergreens, positioning them where they’ll be the most visible.
If you’re itching to begin but you know the still cold ground is going to be impervious to your garden shovel, plant the perennials in a beautiful large planter. Because you’re already saving money, you could even splurge for an attractive planter decoration like a whimsical, mischievous, ceramic garden gnome, or whatever appeals to you.
Start Out With Seeds
If the idea of growing plants from seeds scares you, you’ve probably never tried it. It’s surprisingly easy, especially with the ever-widening assortment of seed-growing tools available. But seriously, all you need is an egg carton, some seed-starter mix, and your choice of seeds. If a kindergartener can do this on a classroom windowsill, you can too.
Seeds should start out in the dark. Then when they sprout, you move them into a sunny window. If the sun eludes your little corner in the world, pick up an affordable grow light. Just follow the seed packet instructions and pretty soon you’ll have so many plants you’ll feel like you won the plant jackpot.
Once they’re big and strong enough to set outside, you’ll have that colorful garden you’ve been yearning for all winter! Just be sure you start your seeds in late winter, so they’ll be ready to “leave the nest” by spring.
Promote Vegetative Reproduction
You don’t need to be a botanist to utilize the miracle of propagation. This is when a new plant can be started from a cutting off another plant. It’s shockingly easy to get free plants this way.
What do you need? Sharp shears, a bowl of water, and patience. Seriously though, use your shears to make a sharp cut just underneath a node — the bump in the stem, remove any leaves that would sit below the waterline, and place the cutting in a bowl of water. You can add some rooting hormone if you want (although it’s not mandatory). Keep the cutting in fresh water and sunshine. It will grow amazingly well, and then you’ll find that you’ve doubled your number of that plant, without spending a dime.
Many gardeners are quite happy to share cuttings with fellow green-thumbers, so if you see a flowering shrub that you like, don’t be shy about asking for a cutting.
Divide and Conquer
Another way to multiply your plants is by dividing them at the root level. Wait until the soil warms up, then dig up the plant, and gently separate the roots until you can start to see the natural divisions appear. You can use your hands or a knife to then part the plant. Then you replant both parts where you like, making sure to give them extra TLC until they’re firmly re-established. This is actually healthy for your plants, too, because it helps prevent crowding.
Above all, enjoy the process. Gardens bring great joy year-round, and you should feel free to make yours your own special work of art.
AUTHOR BIO: Ken Denton owns and runs Tillie’s Flower Shop, alongside his wife and child. Denton graduated from Wichita State University with a degree in aeronautical engineering and worked as an engineer for 10 years before returning to Wichita to take over the flower shop in 1975. Denton is the third generation to own Tillie’s, the largest retail florist in Wichita and the oldest business in the city owned by the same family.

Top Design Ideas for Epoxy Flake Flooring
Ever wondered how to transform a dull concrete floor into something truly stunning? Perhaps you're tired of looking at that boring garage floor or searching for a durable solution for your bathroom? Maybe you've spotted those gorgeous speckled floors on social media and thought, "I want that in my home!"
Ever wondered how to transform a dull concrete floor into something truly stunning? Perhaps you're tired of looking at that boring garage floor or searching for a durable solution for your bathroom? Maybe you've spotted those gorgeous speckled floors on social media and thought, "I want that in my home!"
Epoxy flake flooring has taken Australian homes by storm, and it's not hard to see why. This versatile flooring option combines durability with eye-catching aesthetics, making it perfect for everything from garages to living spaces. The beauty of an epoxy floor with flakes lies in its customisation options – you can create anything from subtle, sophisticated finishes to bold, statement-making designs.
In this guide, we'll explore the best design ideas for epoxy flake flooring across different spaces in your home. You'll discover inspiring garage flooring ideas, learn whether decorative epoxy flooring works for interior spaces, and explore exciting colour combinations. We'll also look at how epoxy compares to alternatives like metallic finishes, plus help you decide between DIY and professional installation. Ready to get inspired? Let's dive in.
Stunning Garage Flooring Ideas with Epoxy Flake
Why Custom Epoxy Garage Floors Are a Game-Changer?
Gone are the days when garages were just dark, dusty spaces for parking cars. Aussie homeowners are now transforming their garages into functional extensions of their homes. Custom epoxy garage floors play a massive role in this transformation.
The magic of garage epoxy flakes lies in their ability to hide imperfections while creating a showroom-quality finish. Those coloured flakes scattered across the surface do more than just look pretty – they add texture for slip resistance and help disguise tyre marks, oil drips, and everyday wear.
Best Garage Epoxy Flakes Colours and Combination
When it comes to coloured epoxy garage floor options, the possibilities are genuinely exciting. Popular choices for Australian garages include granite-inspired blends featuring greys, blacks, and whites. These neutral combinations complement any vehicle and never go out of style.
For something bolder, consider earthy terracotta blends that suit Australian homes beautifully. Blue and grey combinations create a cool, professional workshop vibe, while charcoal-dominant mixes offer that sleek, modern look many homeowners crave.
What is the Best Epoxy for Garage Floor Applications?
Choosing the best epoxy for garage floor projects depends on your specific needs. High-build epoxy systems with 100% solids offer maximum durability for heavy vehicle traffic. Water-based options work well for lighter use and easier application. For Australian conditions, UV-stable formulations are essential to prevent yellowing in areas with sun exposure.
Epoxy Flake Flooring for Interior Spaces
Bringing Flake Floors Indoors
Epoxy floor coating interior applications have grown massively popular in recent years. While many people associate epoxy with industrial settings, modern formulations and design options have made them perfectly suitable for residential interiors.
Living room epoxy flooring for homes might sound unusual, but it offers brilliant benefits. The seamless surface eliminates grout lines where dirt accumulates, making cleaning incredibly straightforward. Plus, the reflective properties can brighten rooms and make spaces feel larger.
How Durable is Decorative Epoxy Flooring in High-Traffic Areas?
One of the biggest concerns homeowners have is whether decorative epoxy flooring can handle daily life. The answer? Absolutely. Quality epoxy installations resist scratches, impacts, and chemical spills far better than many traditional flooring options.
High-traffic areas like hallways and kitchens benefit enormously from epoxy's durability. The flake components add visual interest while also increasing surface texture for better grip. For families with kids and pets, this flooring option proves incredibly practical whilst remaining stylish.
Bathroom Floor Coatings: Epoxy Resin Options
Can You Use Epoxy Resin Bathroom Floor Coatings in Wet Areas?
Here's a question we hear constantly – can epoxy resin bathroom floor applications really work in wet environments? The short answer is yes, but with some important considerations.
Quality bathroom floor coatings must include proper anti-slip additives and appropriate sealers designed for moisture exposure. When installed correctly, epoxy creates a waterproof barrier that protects the substrate beneath. This makes it an excellent choice for bathrooms, laundries, and even outdoor covered areas.
Design Ideas for Bathroom Floor Coatings with Flakes
Bathrooms offer fantastic opportunities for creative epoxy designs. Light blue and white flake combinations create a fresh, spa-like atmosphere. Sandy beige tones with subtle gold flecks bring warmth to modern bathrooms. For something dramatic, consider a dark green epoxy floor with contrasting lighter flakes – it's bold, sophisticated, and absolutely striking.
The seamless nature of epoxy means no grout to clean or seal, which is a massive win for bathroom maintenance.
Exploring Colour and Style Options
Popular Flake Colour Blends for Australian Homes
Australian homeowners tend to gravitate towards colours that complement our natural landscape and architectural styles. Coastal blues and sandy neutrals suit beachside properties perfectly. Earthy reds and ochres work beautifully with brick homes common throughout the suburbs.
When requesting epoxy flooring samples, consider how the colours will appear under your specific lighting. Flakes can look quite different under natural sunlight versus artificial lighting. Most reputable suppliers, including Sydney epoxy floors specialists, will provide samples so you can see colours in your actual space before committing.
Epoxy Swirl Flooring vs Flake Flooring: What's the Difference?
Understanding the distinction between epoxy swirl flooring and flake options helps you make the right choice. Swirl patterns create flowing, marble-like effects using coloured pigments manipulated during application. Flake flooring, meanwhile, achieves its look through scattered vinyl chips in various sizes and colours.
Both options offer stunning results, but they suit different aesthetics. Swirl patterns tend toward contemporary, artistic appearances, while flakes create more textured, practical finishes. Many custom epoxy floors actually combine both techniques for truly unique results.
Metallic Epoxy Floor Alternatives
What is Metallic Epoxy Floor and How Does It Compare to Flake?
Metallic epoxy floor coatings create stunning three-dimensional effects that mimic flowing lava, clouds, or marble. The epoxy metallic floor finish uses metallic pigments suspended in the coating, which shift and settle during curing to create unique patterns.
Compared to flake flooring, metallic options offer a more dramatic, artistic appearance. However, flakes provide better slip resistance and hide imperfections more effectively. Both options are equally durable when properly installed.
Combining Epoxy Metallic Floor Effects with Flake Designs
Why choose one when you can have both? Creative installers often combine metallic bases with flake accents for truly spectacular results. Imagine a shimmering silver metallic floor with scattered black and white flakes – the depth and visual interest are remarkable.
These combination designs work particularly well in entertainment areas, home bars, and creative spaces where you want maximum visual impact.
Custom Epoxy Floors: Bringing Your Vision to Life
Working with Professionals Like Sydney Epoxy Floors Specialists
Creating truly custom epoxy floors requires expertise and artistic vision. Sydney epoxy floors specialist and professionals across Australia can help translate your ideas into reality. They'll consider factors you might not think about – substrate preparation, humidity levels, and curing times all affect the final result.
Professional installers also have access to commercial-grade products and colours not available through retail channels. This opens up far more design possibilities than DIY approaches typically allow.
How to Create a Truly Custom Design
Start by gathering epoxy floor coating pictures and inspiration images. Browse epoxy floor pics online, create mood boards, and think about how the floor will complement your existing décor. Consider the room's purpose – a garage needs different characteristics than a living space.
Discuss your vision with professionals who can advise on practical considerations. Sometimes the most stunning epoxy floor coating images require specific techniques or materials that only experienced installers can provide.
DIY vs Professional Installation
Can You Buy Floor Epoxy Bunnings Products for DIY Projects?
Yes, floor epoxy Bunnings and other hardware stores stock products suitable for DIY projects. These kits work reasonably well for small, straightforward applications like single garage floors or utility spaces.
However, DIY epoxy has limitations. The products available to consumers generally aren't as durable as professional-grade materials. Application requires careful preparation, and mistakes can be costly to fix. Temperature and humidity affect curing, and getting the flake distribution even takes practice.
When to Hire a Professional for Decorative Epoxy Flooring?
For interior spaces, large areas, or designs requiring multiple colours and techniques, professional installation makes sense. Decorative epoxy flooring in living areas demands perfection – you'll see any imperfections daily. Professionals also provide warranties and can address any issues that arise.
Complex designs, metallic effects, and custom colour matching all benefit from experienced hands. Think of it as an investment in your home's value and your daily enjoyment of the space.
Choosing the Perfect Epoxy Flake Flooring Design for Your Space
So, what have we learned about epoxy flake flooring? This versatile option works brilliantly across numerous applications – from custom epoxy garage floors that impress the neighbours to sophisticated bathroom floor coatings that simplify your cleaning routine.
The key to success lies in careful planning and choosing the right approach for your space. Take advantage of epoxy flooring samples before making final decisions. Consider how colours will work with your existing décor and lighting. Think about the practical demands of each area – high traffic, moisture exposure, or heavy use all influence the best specification.
Whether you're dreaming of a bold dark green epoxy floor, a subtle neutral blend, or something completely unique, epoxy flake flooring offers the flexibility to make it happen. Chat with local professionals, gather inspiration from epoxy floor coating images, and don't be afraid to think creatively. Your perfect floor is waiting to be created!