

A resource for those seeking information on organizing and transforming spaces.

A Practical Checklist for Keeping Your Home’s Water System Maintained
Your home’s water system works hard every day. Faucets, toilets, baths, and the water heater all depend on plumbing that’s hidden from plain sight. Fortunately, keeping that system in good shape doesn’t require you to constantly check the pipes or call your local plumber. With simple habits, you can catch possible problems before they turn into costly repairs.

Your home’s water system works hard every day. Faucets, toilets, baths, and the water heater all depend on plumbing that’s hidden from plain sight. Fortunately, keeping that system in good shape doesn’t require you to constantly check the pipes or call your local plumber. With simple habits, you can catch possible problems before they turn into costly repairs.
Open the Cabinets and Look Around
Start under the sinks. Move the cleaning supplies out of the way and check the bottom of the cabinet. Are there water stains? A damp smell? Now, look at the pipes themselves. Is there any peeling material or corrosion around a connection? Next, run the faucet. A drain connection may seem perfectly fine until water is actively moving through it.
Do the same for toilets and any water-connected appliances. Refrigerator supply lines are particularly easy to forget because they’re hidden away and sometimes difficult to get to. Make a habit of checking these from time to time and take note of any changes.
Don’t Get Used to Bad Water Pressure
Any changes to your faucet can tell you quite a bit about your home’s plumbing. If one bathroom faucet is running slow, unscrew and check the aerator. Sediment can collect there and restrict water flow. The same goes for unusually high pressure. Excessive water pressure can put additional stress on supply lines, valves, and appliances.
If all your faucets have a noticeable change in pressure, check the home’s water pressure with a pressure gauge. Once you’ve confirmed it (or you simply don’t have access to a pressure gauge), call your plumber. There may be a larger issue at hand.
Go Look at Your Water Heater
Check around the bottom of your water heater for water and inspect any visible connections for corrosion. Listen, too. Tank-style heaters sometimes start making popping or rumbling sounds as sediment builds up.
Don’t impulsively drain the tank because you read somewhere that it should be done once a year. In addition, flushing a neglected older heater isn’t always a straightforward DIY job.
Instead, check the manufacturer’s instructions for your unit. While you’re there, find the manufacturing date. Knowing you’re dealing with an aging water heater will be helpful in making future repair or replacement decisions.
Keep Up with the Equipment That Treats Your Water
Water treatment equipment requires some due diligence. Filters have replacement intervals that you need to be aware of. Put the replacement date on your calendar or write it directly on the filter housing, if possible. That puts less pressure on you to remember a specific date.
Water softeners need attention as well. Check the brine tank rather than blindly adding another bag of salt whenever it looks low. A hard crust can form over the salt, creating what’s known as a salt bridge. From above, the tank may appear to contain plenty of salt even though the system isn’t drawing it properly.
For other equipment, make sure to keep the manual on hand. Different systems have different cleaning and maintenance requirements.
Know How to Shut Off the Water
Picture a washing machine hose splitting while the machine is filling. This isn’t the best moment to Google where a home’s main shutoff valve might be.
Find yours now.
Depending on your home, it might be in the basement, crawl space, utility area, or near the point where the main supply enters. Make sure it isn’t buried behind holiday decorations or a shelving unit.
Next, find the individual shutoffs for sinks and toilets. Turn the valves only if you know they’re in serviceable condition, as old valves can seize or begin to leak when disturbed. If your shutoff valves need to be fixed or replaced, make sure to do so before disaster strikes.
Keeping your home’s plumbing in good condition comes down to knowing what’s normal and what’s not. Check the areas that are easy to overlook, keep up with maintenance, and learn where your shutoff valve is before you really need it. Above all, don’t put off investigating any changes to your water system. Plumbing problems are easier to address when they’re still small.
Author Bio: John Woodard is the Technical Support and Training Manager at Fresh Water Systems, an industry-leading supplier of residential, commercial, and pharmaceutical water treatment solutions and fluid components. Woodard has 34 years of experience in the water treatment industry, covering many facets, working for manufacturers, dealers and wholesale distributors. He also has a Master Water Specialist certification from the Water Quality Association.

Keep Backyard Cookouts From Wrecking Your Kitchen
The burgers are ready, but your kitchen looks like a disaster. Try a few smart cookout habits to keep the mess outside so you can enjoy the party!
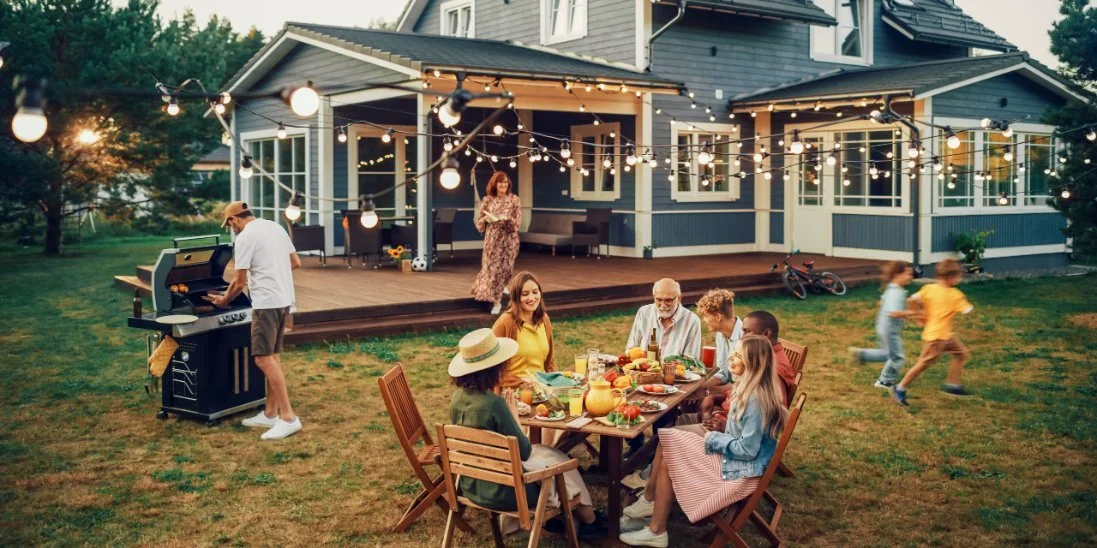
By the time the burgers are ready, your kitchen looks like it hosted the entire party. Someone has left an open bag of buns on the counter, your child is hunting for ketchup, and guests keep coming inside for ice. You wanted an easy afternoon outdoors. Instead, you're dodging people while trying to finish dinner.
You don't need a second kitchen to keep backyard cookouts from wrecking your kitchen. A few changes to how you prep food and guide guests through the meal will help you enjoy your own gathering, even after a long workweek.
Choose a Menu That Leaves the Kitchen Free
The easiest cookout menu gives you less to do once guests arrive. If you're grilling burgers, don't plan three side dishes that all need your stove at the last minute. Choose one dish you enjoy making ahead, such as pasta salad, and refrigerate it until serving time.
Think about the number of serving bowls you'll need, too. A complicated menu means more dishes to wash after everyone leaves. If you have a busy workweek, permit yourself to buy a ready-made side. Your guests came to spend time with you, not watch you prepare an elaborate meal.
Do the Messy Prep Before Anyone Arrives
Chopping vegetables while guests walk through the kitchen creates a predictable mess. Handle as much preparation as possible before the doorbell rings. Wash the produce and cut what you need, then put the cutting board away. Clean the sink before anyone arrives so you'll have room to handle unexpected spills later.
Keep One Counter Clear
Designate a small counter near the back door for items heading outside. Keep the rest of the kitchen clear for cooking instead of spreading trays across every surface. When it's time to serve, you'll know where to find the food without opening every cabinet.
Keep Serving Supplies Together in One Bin
How often do you head outside with plates, only to return for napkins? Those repeated trips make the kitchen feel busier than the cookout itself. Instead, keep outdoor serving supplies in a bin with a handle. Pack it before the gathering and carry everything to the patio in one trip.
After the party, return clean reusable supplies to the same bin. You'll save time when the next cookout comes around. If your children are old enough, ask them to help stock it before guests arrive.
Give Guests a Clear Route to the Yard
Guests naturally follow the easiest route between food and seating. If the outdoor table sits far from the back door, people might cut through your kitchen every time they want another serving. Try placing the buffet closer to the patio entrance while leaving enough space for everyone to walk around it.
The do’s and don’ts of backyard space planning remind you to consider how people move between outdoor areas. You don't need a major backyard renovation. Even shifting a table away from the main walkway might reduce the traffic heading back inside.
Move the Drink Station Out of the Kitchen
An indoor refrigerator becomes a bottleneck when everyone needs a drink. Set a cooler in a shady spot near the seating area so guests help themselves. Use enough ice to keep drinks properly chilled, and check the supply during the afternoon.
If you're hosting families, put a separate water dispenser where children can reach it without asking an adult. Keep cups beside the dispenser so nobody runs into the kitchen looking for one. Place a small towel nearby for spills, and you won't spend the party wiping sticky footprints from your floor.
Make Outdoor Serving Easy To Manage
A serving table works best when guests find what they need without asking you to fetch something. Put food where people have room to move and keep the grill area separate so nobody crowds the person cooking.
Before everyone sits down, check these outdoor essentials:
Place a roll of paper towels near the serving table.
Keep a trash bin where guests will notice it.
Set out napkins before bringing the food outside.
Put a covered container away from the food for used utensils.
Bring perishable dishes out shortly before the meal rather than letting them sit in the sun while the grill warms up. This keeps the serving area manageable and reduces unnecessary cleanup.
Catch Dirty Dishes Before They Reach the Sink
After everyone eats, dirty plates tend to land wherever someone finds a space. Give guests a clear place to return their dishes before they head inside. A sturdy tray near the back door helps collect everything without turning your kitchen counter into a drop zone.
For reusable dishes, scrape food scraps into the trash before carrying the tray inside. A few organized trips are easier to manage than a parade of people setting dishes beside your stove.
Give Kids One Simple Cleanup Job
Children don't need complicated instructions to help. Ask one child to collect empty water bottles while another checks the patio for stray napkins. Keep the jobs short, especially after a long afternoon of play. They'll contribute without needing constant reminders.
Put Leftovers Away Before You Start Relaxing
Once guests settle into conversation, it's easy to lose track of how long food has sat outside. Refrigerate perishable leftovers within two hours, or within one hour when outdoor temperatures reach 90°F or higher. Use shallow containers for cooked food so it cools promptly in the refrigerator.
Set those containers aside before the cookout starts. Otherwise, you might find yourself searching for matching lids as you try to clear the table. Check your refrigerator space earlier in the day, so leftovers have somewhere to go.
End With a Kitchen Reset
Don't save every task for the moment the last guest leaves. Run the dishwasher when it's full and wipe up spills as you notice them. If you clear the counters before bedtime, tomorrow's breakfast will feel much less overwhelming.
As you plan your next get-together, look for small changes to keep backyard cookouts from wrecking your kitchen. The best cookout is one where you get to sit down with your family instead of spending the afternoon managing the mess.

What To Do With a Backyard That Feels Unusable
Turn an awkward or neglected backyard into a space your family can actually enjoy with these practical ideas for improving comfort, function, and flow.

A backyard doesn't need to be enormous or perfectly landscaped to become one of your family's favorite places. Yet when the ground slopes awkwardly, toys take over the lawn, or there's nowhere comfortable to sit, heading outside can feel like more trouble than it's worth.
Figuring out what to do with a backyard that feels unusable starts with understanding what's keeping you from enjoying it. Then, making a few thoughtful changes can turn even a challenging outdoor space into a welcoming extension of your home.
Figure Out What's Making the Space Difficult
Before planning a major makeover, spend a little time identifying your backyard's biggest frustrations. Maybe the lawn stays soggy after rain, the afternoon sun makes sitting outside uncomfortable, or the kids' outdoor equipment has slowly claimed every available corner.
Walk around your yard and consider how your family would realistically use it. Would you enjoy eating dinner outside? Do your children need room to play? Would a quiet spot for morning coffee make your daily routine more enjoyable? This simple step will help you focus on improvements that solve actual problems.
Divide the Yard Into Manageable Zones
An open backyard can feel surprisingly disorganized. Creating separate activity zones gives each area a purpose without requiring fences or permanent structures. For example, you might designate a:
A relaxation zone: Comfortable chairs, a small table, and some shade
A play zone: Open grass or a dedicated area for outdoor toys
An entertaining zone: A patio with a dining table and room for guests
A storage zone: A discreet location for gardening tools, sports equipment, and seasonal supplies
These zones don't need to be large. Even a compact backyard can accommodate several activities when you thoughtfully arrange furniture and equipment. Use outdoor rugs, planters, or changes in ground materials to create subtle boundaries.
Find a Solution for Sloped or Uneven Ground
A sloping backyard can make ordinary activities frustrating. Furniture wobbles, children's games can become difficult, and certain areas may feel too steep to use safely. Fortunately, you don't necessarily need to flatten the entire yard.
Create Small, Level Gathering Areas
Instead of tackling every uneven section, concentrate on creating one or two comfortable, level spaces. A patio or small deck can provide stable footing for outdoor furniture. In other areas, stepping stones or gently graded pathways can make moving around easier.
Consider Terracing for Steeper Slopes
If your property has significant elevation changes, terracing can transform a difficult hillside into several functional levels. Retaining walls can support these sections while creating opportunities for seating areas, planting beds, or play spaces.
Material selection matters, particularly when you're balancing appearance with maintenance and structural needs. Understanding the differences between concrete block and natural stone walls, for example, can help you evaluate which option makes sense for your landscape.
Because retaining walls must manage soil pressure and drainage, consult a qualified professional before making any structural changes.
Address Drainage Problems
Nothing makes a backyard less inviting than standing water or muddy patches that never seem to dry. Before investing in new landscaping, observe where water collects after heavy rain. Check whether downspouts direct runoff toward gathering areas and whether low spots remain wet for several days.
Depending on the problem, potential solutions include extending downspouts, improving grading, installing appropriate drainage systems, or replacing struggling grass with more suitable landscaping.
Avoid covering persistent drainage problems with gravel or decorative materials. Addressing the underlying issue first protects your improvements and keeps outdoor areas more comfortable.
Make Shade Part of the Plan
A backyard that feels wonderful in the morning might become unbearably hot by midafternoon. Adding shade can dramatically change how often your family uses the space, especially during summer afternoons. Consider a patio umbrella for a small seating area, a retractable awning near the house, or a pergola for a more defined gathering spot.
You can also use existing trees to your advantage. Positioning chairs beneath mature branches may create a pleasant reading nook without requiring a major installation.
Give Outdoor Clutter a Permanent Home
A backyard can feel unusable simply because there's too much stuff competing for space. Bicycles, soccer balls, garden hoses, and forgotten toys can quickly make a small yard feel overwhelming.
Choose weather-resistant storage options that fit your available space. A deck box can hold cushions and smaller toys, while a compact shed provides room for larger equipment.
Make cleanup easier for children by assigning specific containers to different activities. When everyone knows where things belong, resetting the backyard after playtime becomes a manageable task instead of another lengthy chore.
Choose Landscaping That Fits Your Schedule
Beautiful landscaping shouldn't create another exhausting weekend responsibility. If you're juggling work, family activities, and household responsibilities, prioritize plants and materials that won't demand your constant attention. Native plants suited to Connecticut's growing conditions can be practical choices. Mulched planting beds can also reduce the amount of lawn that requires regular mowing.
Rather than redesign everything at once, start by upgrading a manageable section. A smaller, well-maintained landscape often feels more welcoming than an ambitious project that's difficult to keep up with.
Make the Backyard Enjoyable After Sunset
Busy family schedules don't always leave much time for outdoor relaxation during daylight hours. Thoughtful lighting can extend the usefulness of your backyard into the evening. Solar pathway lights can define walking routes, while weather-rated string lights create a cozy atmosphere around seating areas. Consider adding gentle lighting near steps, entrances, and changes in elevation for safer movement.
Start Small, and Build Around Your Family's Needs
Knowing what to do with a backyard that feels unusable doesn't have to mean committing to an expensive renovation. Simply removing clutter, creating a comfortable seating area, or fixing one persistent problem can result in big improvements.
Choose a single project that would make the greatest difference in your daily routine. Once you’ve completed that improvement, see how your family uses the space before deciding what comes next.
Your backyard doesn't need to look like a magazine cover. It just needs to support the activities, routines, and moments that make your family feel at home.

How to Design an Organized and Stylish Home
A stylish home that does not function is a showroom. An organized home with no style feels flat. The goal is both.
We partnered with a home design company. for this post. The opinions in the post are honest. All reviews and opinions expressed in this post are based on our personal views. We are excited because we know you will love it.
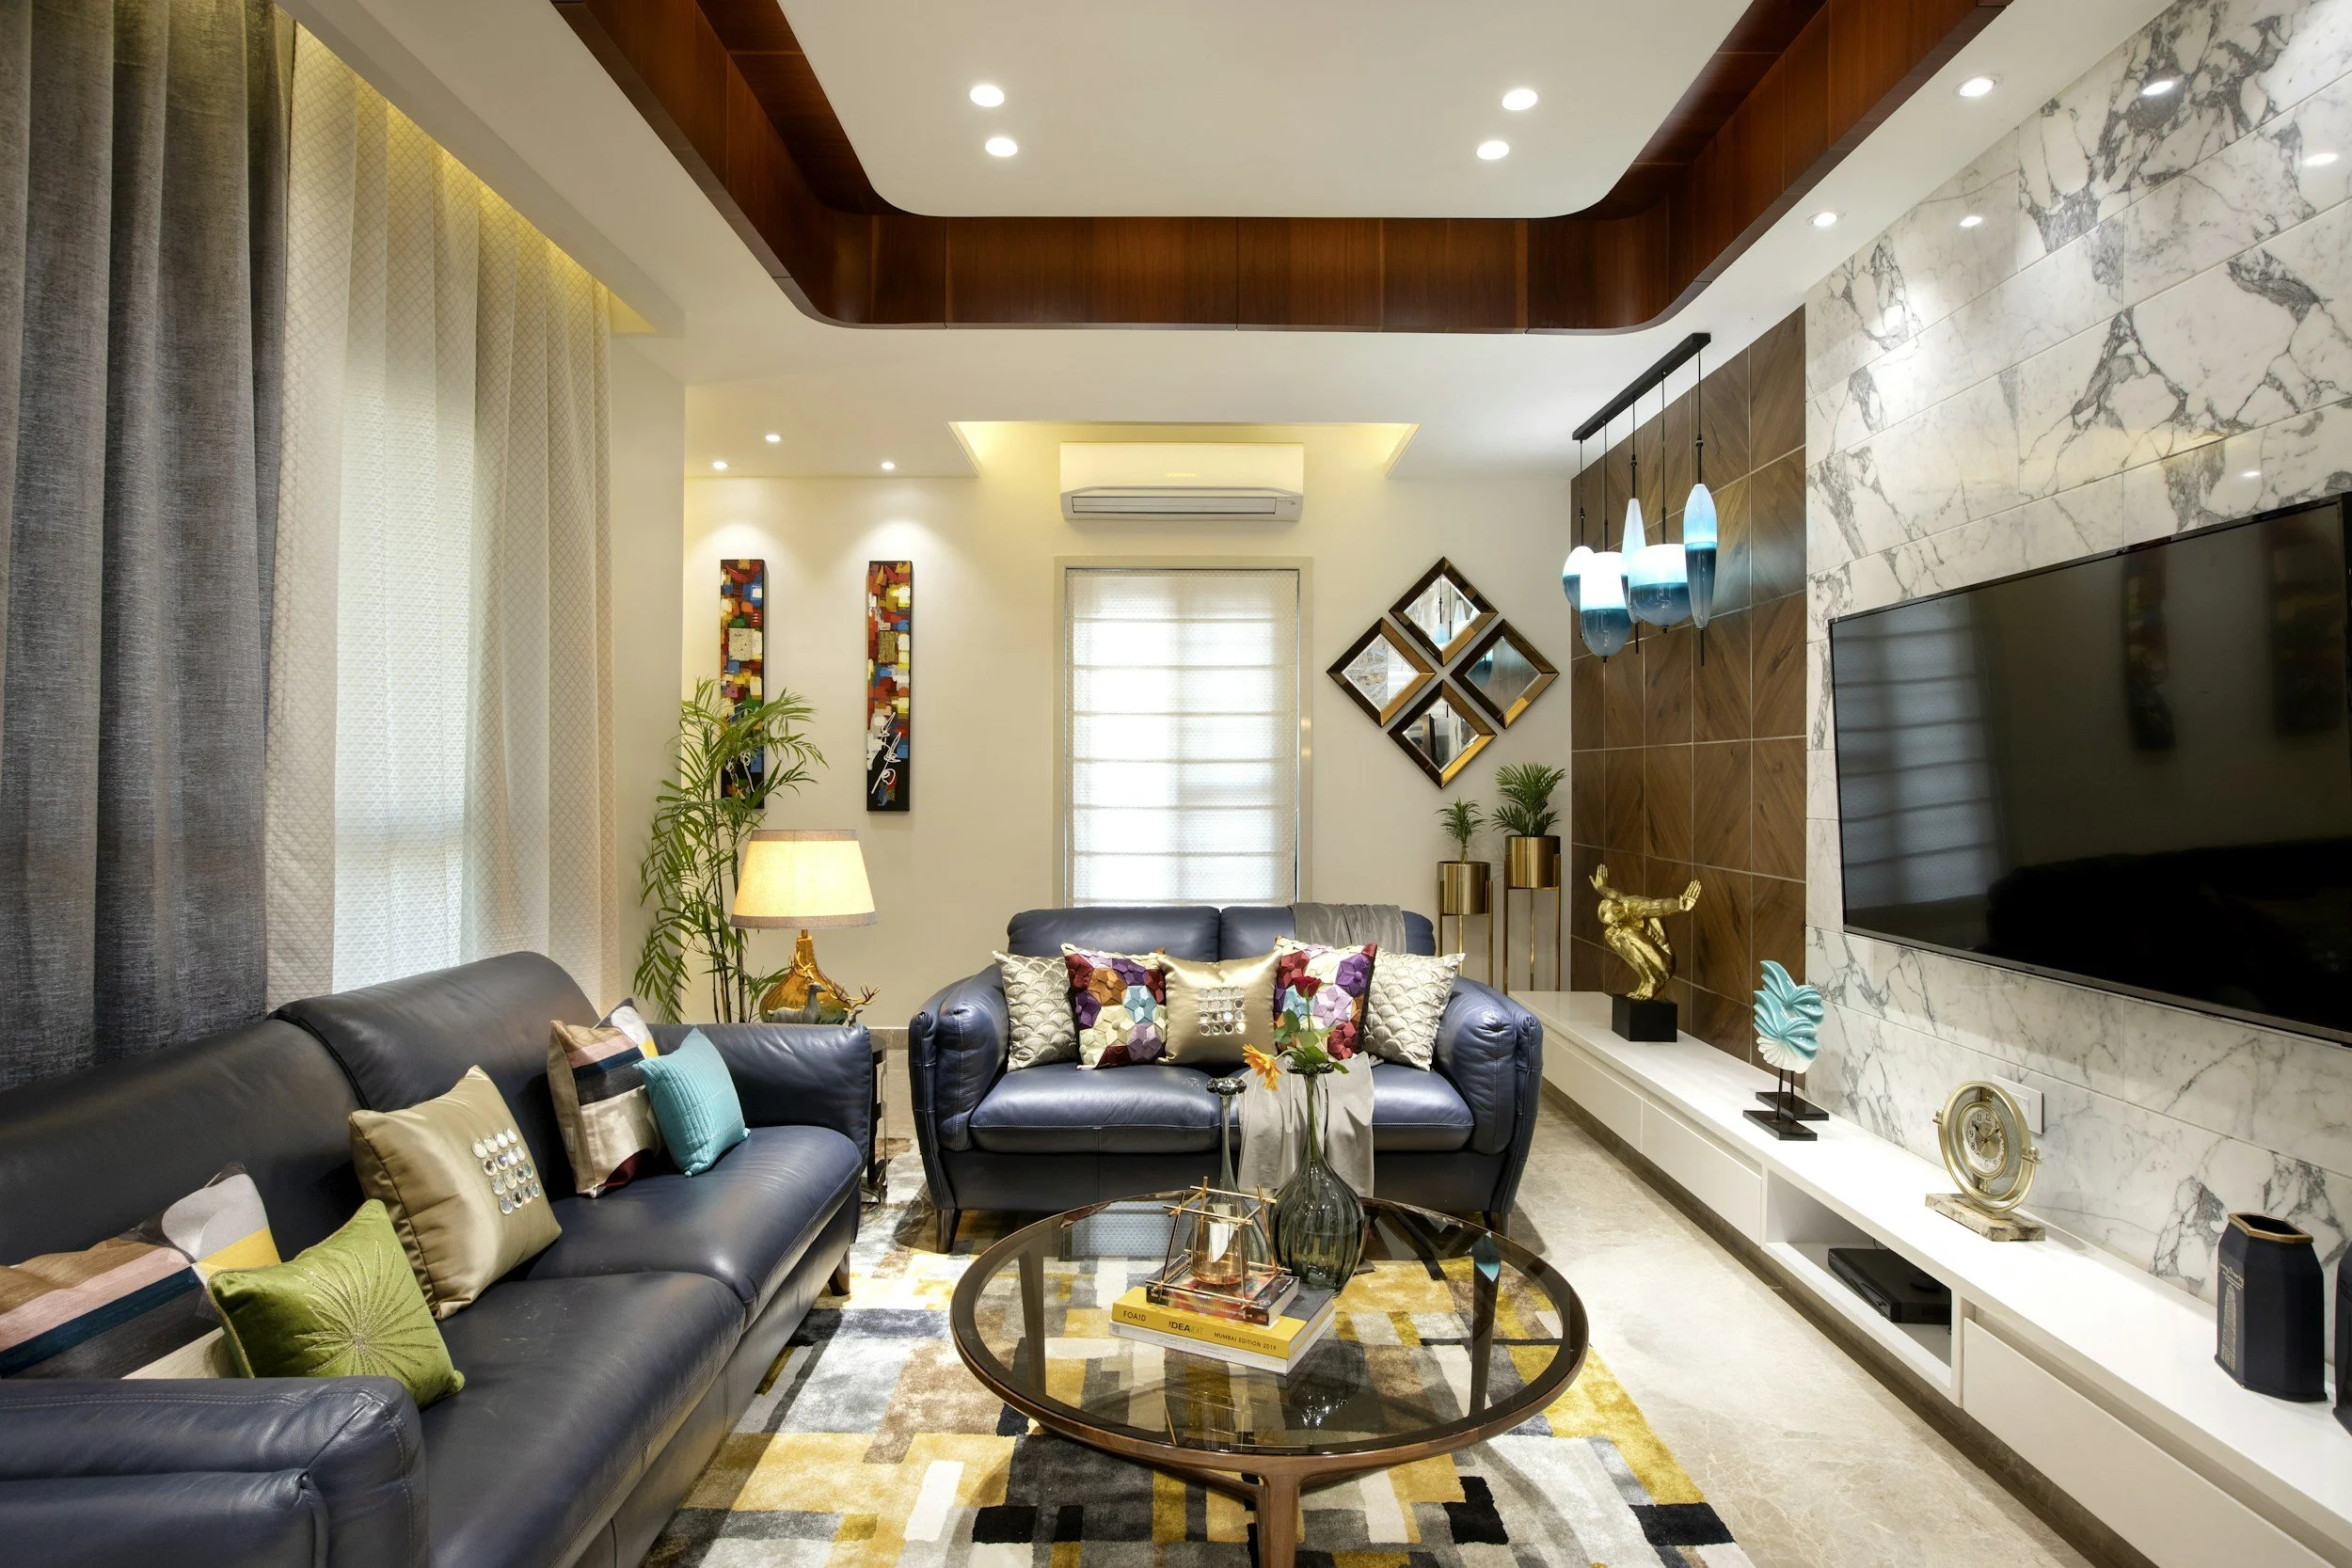
A stylish home that does not function is a showroom. An organized home with no style feels flat. The goal is both.
Good design starts with systems. Style comes after. This guide walks through the process in order: measure, plan, zone, store, then decorate.
Start With a Layout Plan
Measure every room before you buy anything. Record wall lengths, window positions, door swings, and outlet locations. Many homeowners now test layouts with AI interior design tools before moving a single chair. Upload a floor plan, try three arrangements, and compare traffic flow.
Keep main walkways at least 36 inches wide. Leave 14 to 18 inches between a sofa and a coffee table. Check clearances for drawers and cabinet doors too. A door that hits a chair gets ignored, and ignored storage fills with clutter.
Work one room at a time. Sort every item you own into one of four groups:
Keep and use weekly
Keep and use seasonally
Donate or sell
Discard
Divide Each Room Into Zones
Every room needs defined zones. A living room might hold a seating zone, a media zone, and a reading corner. Give each zone one purpose and its own storage. Mixed purposes create mixed piles.
Store items where you use them. Keep remotes near the sofa. Keep a blanket basket within arm's reach. Entry hooks, shoe trays, and a mail slot stop clutter at the door. Distance creates clutter. If an item takes more than ten seconds to put away, it will stay out.
Leave open surfaces partly empty. Shelves and counters look best with about 30 percent free space. That gap is a design choice. It gives the eye a place to rest and shows off what you chose to display. Clear the counters daily. Surfaces set the tone for the whole room.
Choose Storage That Works Hard
Vertical space is the most overlooked asset. Install shelving up to 80 inches high and keep rarely used items on the top tier. Add wall hooks, rails, and pegboards in entryways and kitchens. Use the zone between 30 and 60 inches for daily items. Label bins on the front edge so contents are visible at a glance.
Choose storage with a clean look. Matching bins, uniform labels, and closed cabinets reduce visual noise. Limit finishes to two or three across a room. Wood, black metal, and white work well together. Label shelves by category, not by owner. Fewer materials make a space feel calm.
Small tools support the system too. A set of ceramic coasters protects wood tables, and a tray near the seating area keeps them in reach. It is a minor habit that prevents rings, spills, and stray cups.
Build a Color and Texture System
Build color with the 60-30-10 rule. Use a neutral base for 60 percent of the room. Add a secondary color for 30 percent. Keep the final 10 percent for accents like pillows, art, or a vase. Test paint samples on two walls and check them at noon and at night.
Layer texture to add depth without adding objects. Wool throws, linen curtains, wood grain, and matte metal all work. Mix at least three textures per room. Texture gives a room character that clutter only imitates.
Light the Space in Layers
Plan lighting in three layers. Ambient light covers the whole room. Task light supports reading and cooking. Accent light highlights art and shelving. Choose bulbs between 2700K and 3000K for warm living areas. Dimmers add control and cost little.
Do not forget daylight. Keep window areas clear of tall furniture. Sheer curtains let light in and control glare. Mirrors placed across from windows push light deeper into the room.
Maintain the System
Design lasts only if you maintain it. Set a ten minute reset each evening:
Return items to their zones
Clear counters and tables
Fold throws and straighten cushions
Start the next day with empty surfaces
Review each zone every season. Remove what you no longer use. Adjust storage when habits change. If the task feels heavy, hire one of the professional organizers listed through NAPO. They can build a system that fits your routine. Donate unused items within a week so they do not drift back.
Start small. Pick one drawer, shelf, or corner. Finish it before moving on. Small wins build the habit faster than a weekend marathon.
An organized home is built on measurements, zones, and routines. A stylish home is built on restraint, consistency, and good light. Combine both, and the result looks effortless because the work happened early. Use that sequence on every room you touch.